Sunday, November 30, 2014

THE CHRISTMAS TREE PLAYPEN

I thought a fun way to start the December blog this year was to show you a memory from my past.
 

Even growing up, my Mom would decorate for Christmas. 
 
 But I wonder how many Mothers placed their Christmas tree in the playpen to keep the kids away from it?  Well, my Mom did.....
 
I came upon this picture and wanted to share it with my siblings.  I am not quite 2 yet in this picture and being the youngest of the brood at the time, I think my Mom was wise to deter me from playing with the tree.  My older sisters were well behaved and I was, well, the rambunctious one.


The gentleman hiding from the camera was my Mother's Uncle Tom.  I have a faint recollection that he was 'Santa Claus' on Christmas Eve.

 
Whether the placing of the tree was more a practical reason or not, it left me with fond memories of my early Christmas holidays.
 
What early Christmas memories do you still recall?


Monday, November 24, 2014

CHRISTMAS COOKIE RECIPE COOKBOOK-PART 2

 
With the covers completed, it was time to work on the inserts.

I found a few of Grandma's original recipes. 


I began scanning, sizing and printing each recipe 2 times and trimming them.
  
I pulled my Christmas cookie recipes from my 2 cookbooks and found a pizzelle recipe that my Father-in-law likes.  I repeated the process.


After printing the copies of each recipe, they were trimmed to fit into the book.
 
I went back to my pad of Christmas papers and pulled 2 backgrounds of each so I could make the pages identical for the girls.


Each recipe was put on a background paper and an embellishment was added.  When this stage was completed, my pages looked like this.


I also added in my last year's Christmas cookie list.


Because the basis of the cookbook was to honor my Grandmother, I wrote a forward for the front of the cookbook.


A vintage picture of Grandma accompanied the page.


With all the recipe pages and forward completed, they were placed in the plastic sleeves.


Once placed in the book, the pages added much color to the project.


I hope the girls will treasure this gift of love passed down from 2 generations of their family


I am thrilled to have completed this act of love.  I'm sure my girls will continue to carry out the families Christmas traditions.  I hope they are surprised come Christmas morning.


Wednesday, November 19, 2014

THE CHRISTMAS COOKIE RECIPE BOOK-PART I

 
I am so thrilled to share this homemade Christmas gift with you.
I wanted to create a lasting Christmas gift for my girls this season.  They are getting in the kitchen more now and this would be the perfect opportunity to make each of them their very own cookbook.
Since it is was the holiday season, I decided to make a cookie cookbook.

 Making Christmas cookies with my Grandmother was a childhood memory that most all of us cousins treasure.  Grandma was SO patient with all of us.  We would take turns going over to her house, one by one, on Saturdays leading up to Christmas Day.  She routinely made about 20 different types of cookies every year.

So this year, I took some of Grandma's favorite recipes and added ones that we have made here at home to design a Christmas Cookie Cookbook.

I made a class cookie book for an auction project for the 2nd graders back in Little Rock.  Each student in the class brought in a copy of their most favorite cookie recipe and they were placed in the cookbook.

Here is a picture of that cookbook.  The picture is a bit blurry, but you get the idea.

                                                        
So onto this creative venture....

I started collecting my supplies last February. I thought it was crucial to get photocopies of the original recipes.

 I  knew that I wanted to use a book with heavy cardboard covers. The book I purchased came with 20 plastic sleeves which was great.  When the girls actually make the recipes, they will be protected from spills.

 I   compiled stickers, borders, papers, wrapping paper and 3 dimensional elements to embellish the recipes themselves and the front covers.
 

My secret weapon in creating this book was using age old Mod Podge.
 

I found these 2 wonderful holiday wrapping paper rolls at Hobby Lobby for a dollar apiece.
 

The key was to use the Mod  Podge to glue the wrapping paper  onto the covers of the cardboard scrapbook.
 

After the red wrapping paper was glued on to the cover, the inside had a very uneven look.
 

I took two pages from the Christmas pad


 and glued them over the uneven seams.  I think it looks better.
 

Here is the front cover before the embellishments were added.


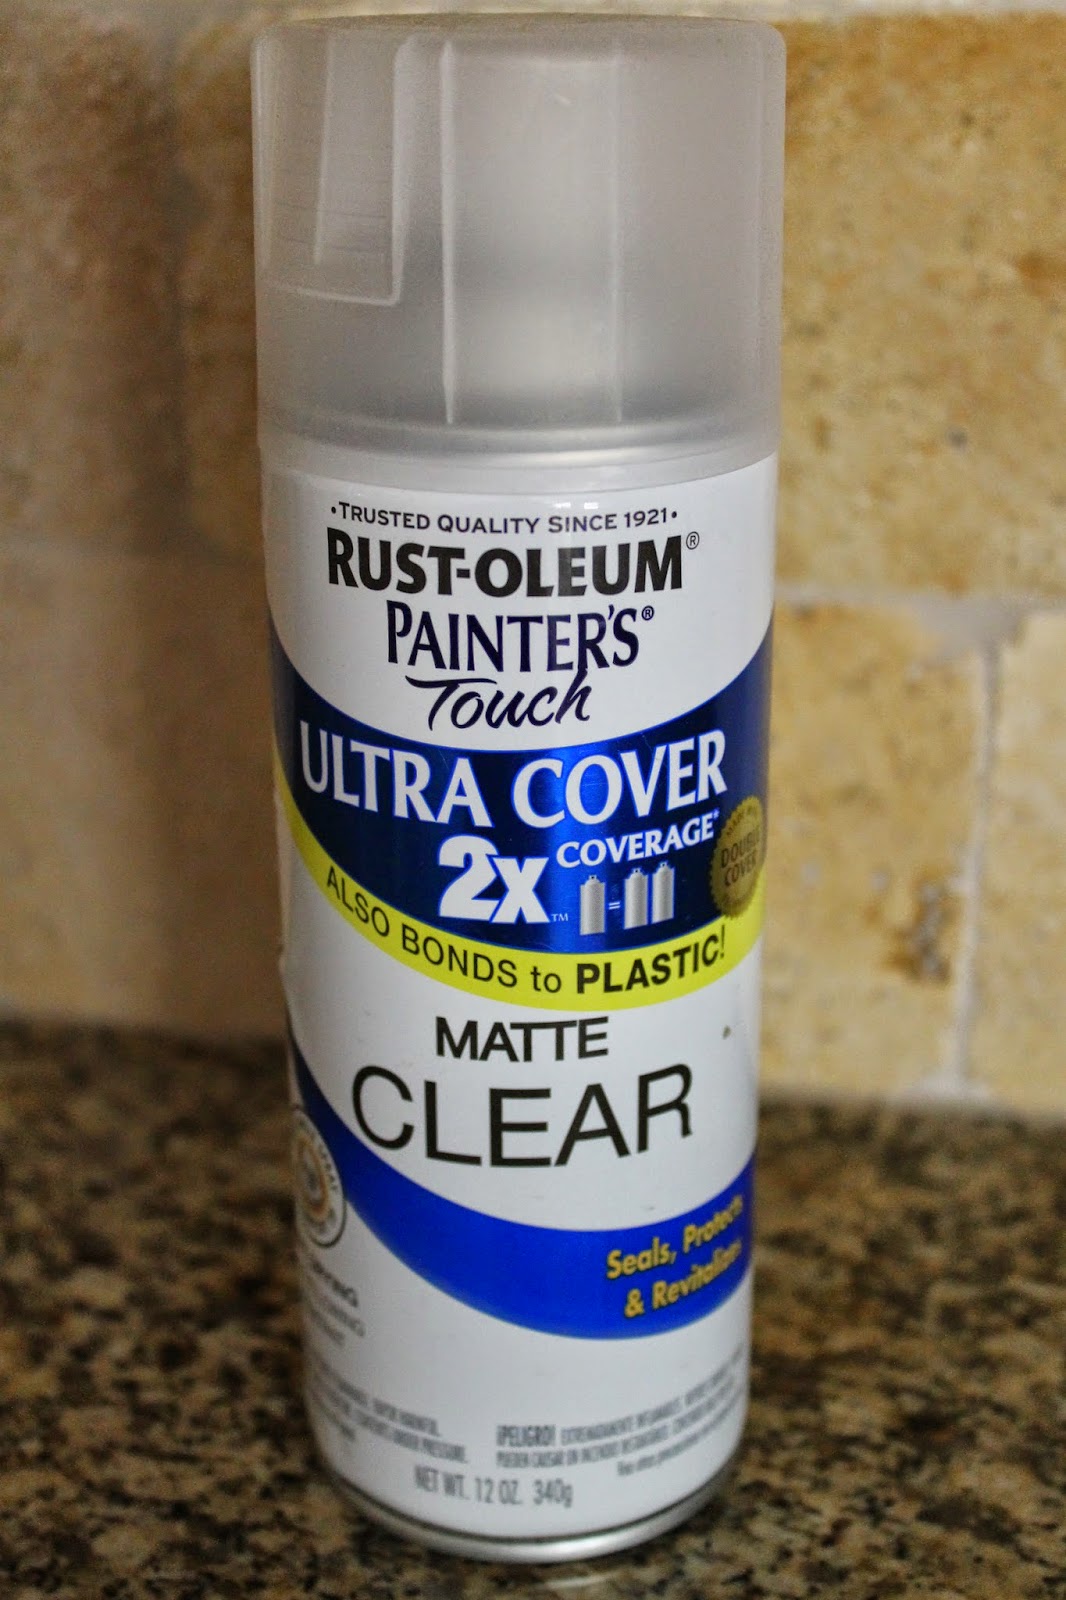
After the covers were dried, I lightly sprayed two coats of the matte sealer to protect the paper.
 

To decorate the cover, I found a copy of Grandma's Christmas cookie list from 1980.  She didn't waste anything, and I find it interesting that she used an envelope sent to her from my uncle's home at the Benedictine Abbey.(I love the red drips--probably icing.)


 Because the stamp was gone, I glued a plastic Christmas stamp in it's place.  A vintage picture of a little girl making cookies was printed off.  A few felt ginger  men along with a 3 dimensional cookie sheet of modeled cookies were the last embellishments added.


Now with the cover completed, it was time to insert the recipes.

 
Stay tuned for the finished project.
 

Monday, November 17, 2014

HAPPY THANKSGIVING 2015

I wish a HAPPY THANKSGIVING to all my family and friends out there.  It was about 5 years ago this time that my friend Susan so graciously created this blog for me to record all my craft projects.  No one could have told me that  some 400 posts later, the site would still be alive.

Besides being grateful for everything in our lives, especially our families, it is the time to pause and be grateful for all of our bounties.

This Thanksgiving, I hope all of you have safe travels for those traveling.   This is the time to make new memories with those that we invite into our homes.

Saturday, November 15, 2014

RECYCLED CABINET DOOR SEASHELL TRAY-Part II


Back to finishing the Seashell Tray Project.  Here comes my favorite part----painting.  I love to see how the chalk paint works its magic.

This is the first coat of paint.  Notice the uneven paint coverage.  Never fear.  All that is needed is another coat of paint.  Prior to painting the second coat, I lightly sanded the entire door.


The second coat of paint evened out the color.


Once dry, I sanded the underside and the top of the cabinet door outside the molding.    I was going to glue on the shells  inside of the molding area so there was no reason to sand.

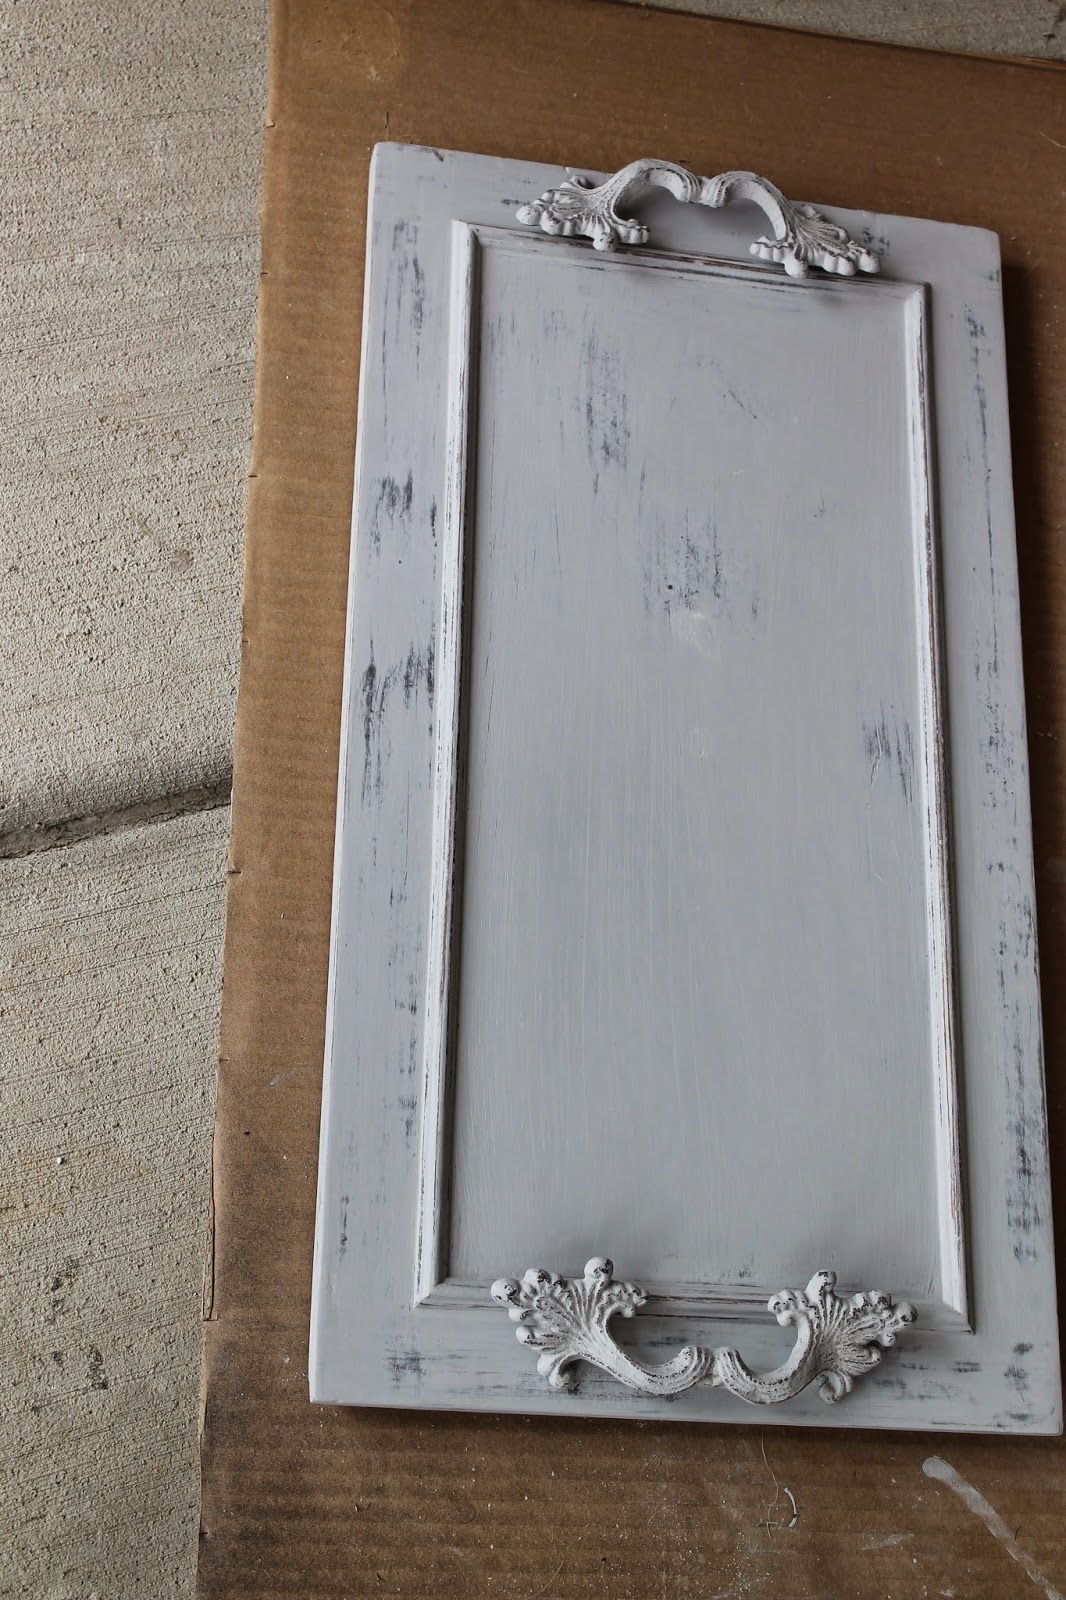
I painted all sides of the handles.  Notice the difference in the two handles.  The top handle was scuffed up with sandpaper.  The sanding gives a more dimensional feel to the handles.
 

Before attaching the handles back to the tray, I rubbed and buffed a layer of Annie Sloan clear wax onto all  the surfaces of the tray and the handles.
Then the handles were reattached.  The waxed  areas would become smooth as silk.


Doesn't look like a cabinet door anymore, does it?


My biggest dilemma in attaching the shells was which adhesive product should I use.
There was the E6000, which did not work.  It was messy and left residue all over the shells.


I decided on using the ceramic tile adhesive which I have always used on my mosaic projects.


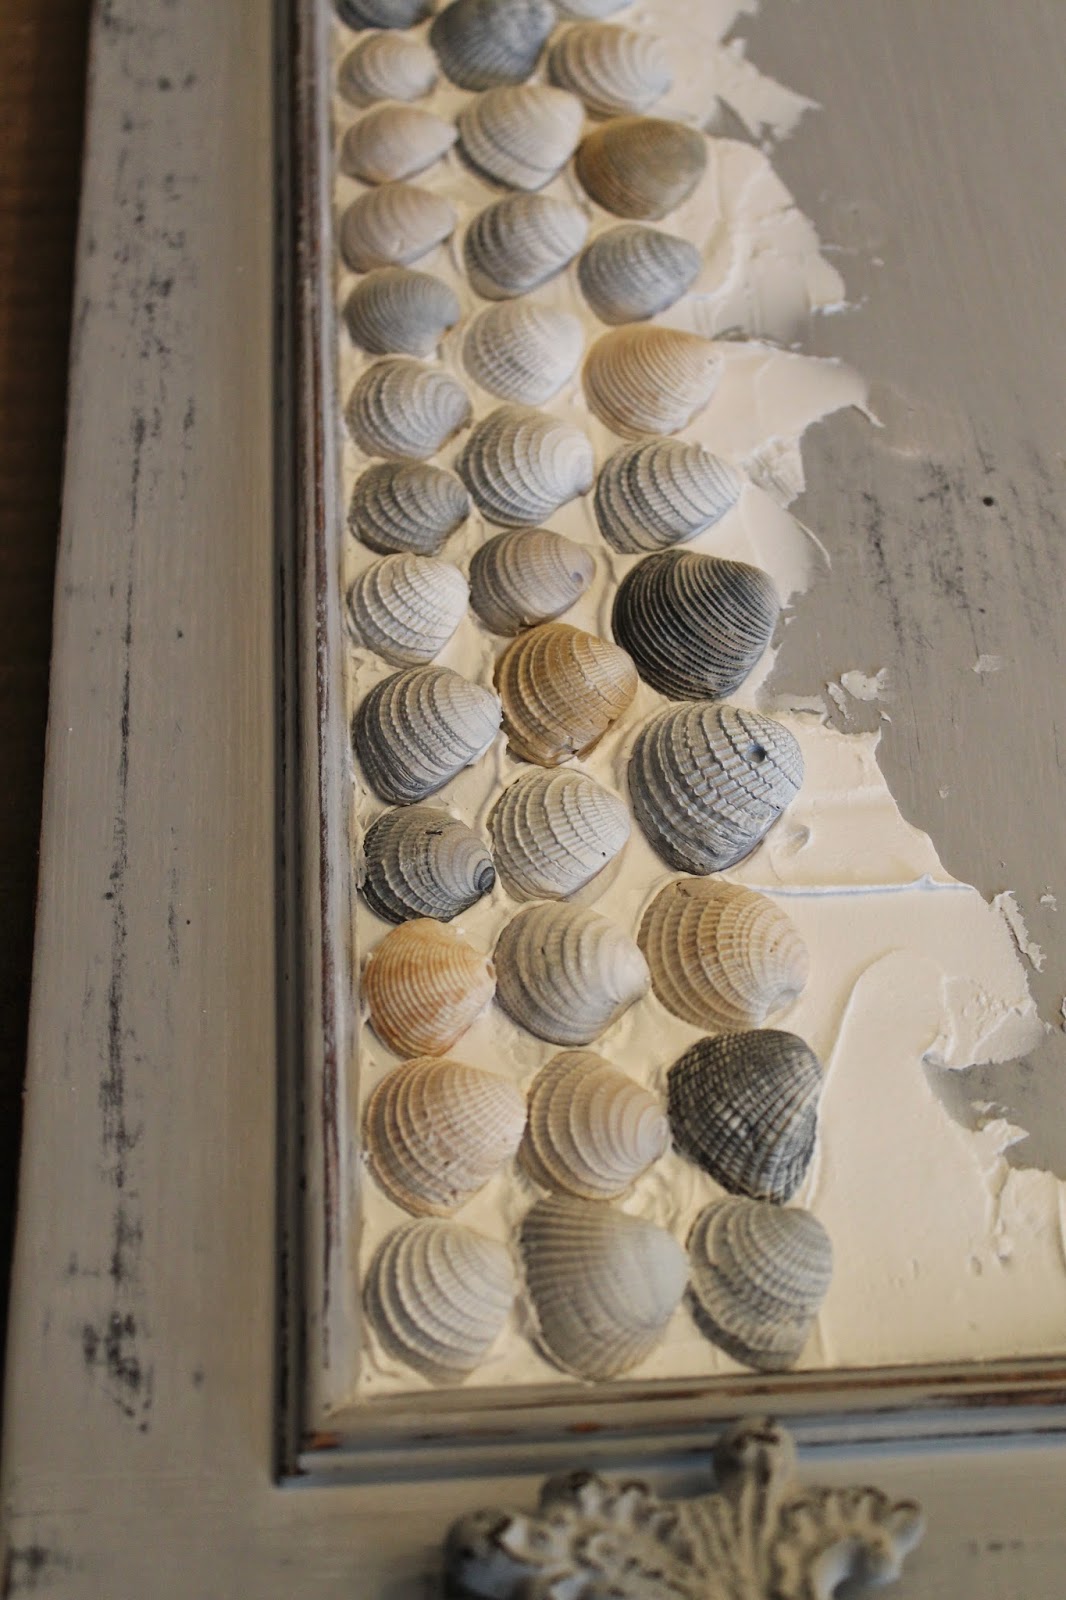
I again dry fitted the shells onto the top of the tray.  I was really liking the color contrasts between the paint and the shells.


Notice how I frosted the base of the tray and set each shell into the adhesive.


Because I didn't want the adhesive to dry too fast, I applied it a few rows at a time.  It was a bit tedious, but I didn't want to ruin the entire project by slapping on all of the glue at first.


 When done  placing the shells onto the tray, it looked like this.


After drying overnight, I realized that the shells were still too delicate to leave as is.  To make sure the adhesive was dry,  I let it dry for a few more days.
Mr. Thrifty took a look at it and mentioned that we should rip off the rectangular molding pieces and buy larger ones so we could have  the shells under glass.  My fear was that any attempt at removing the molding would possibly break the shells already dried in the adhesive.  It was too late for that now.  I would have to forge ahead.


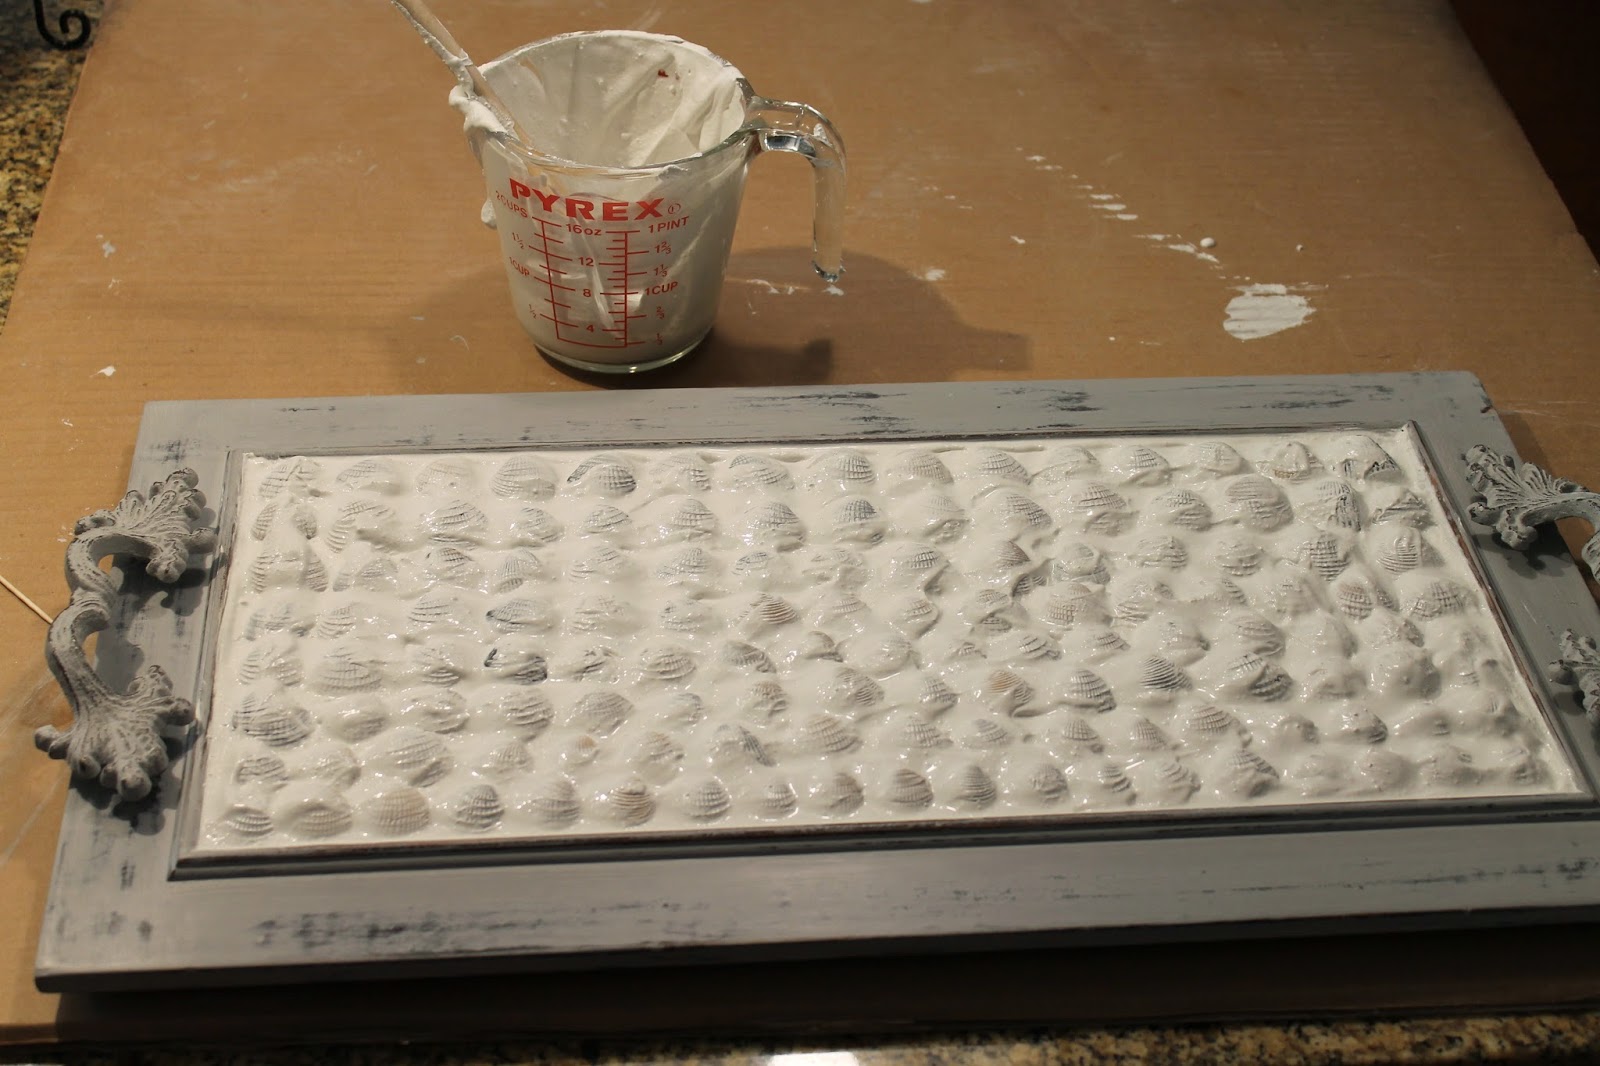
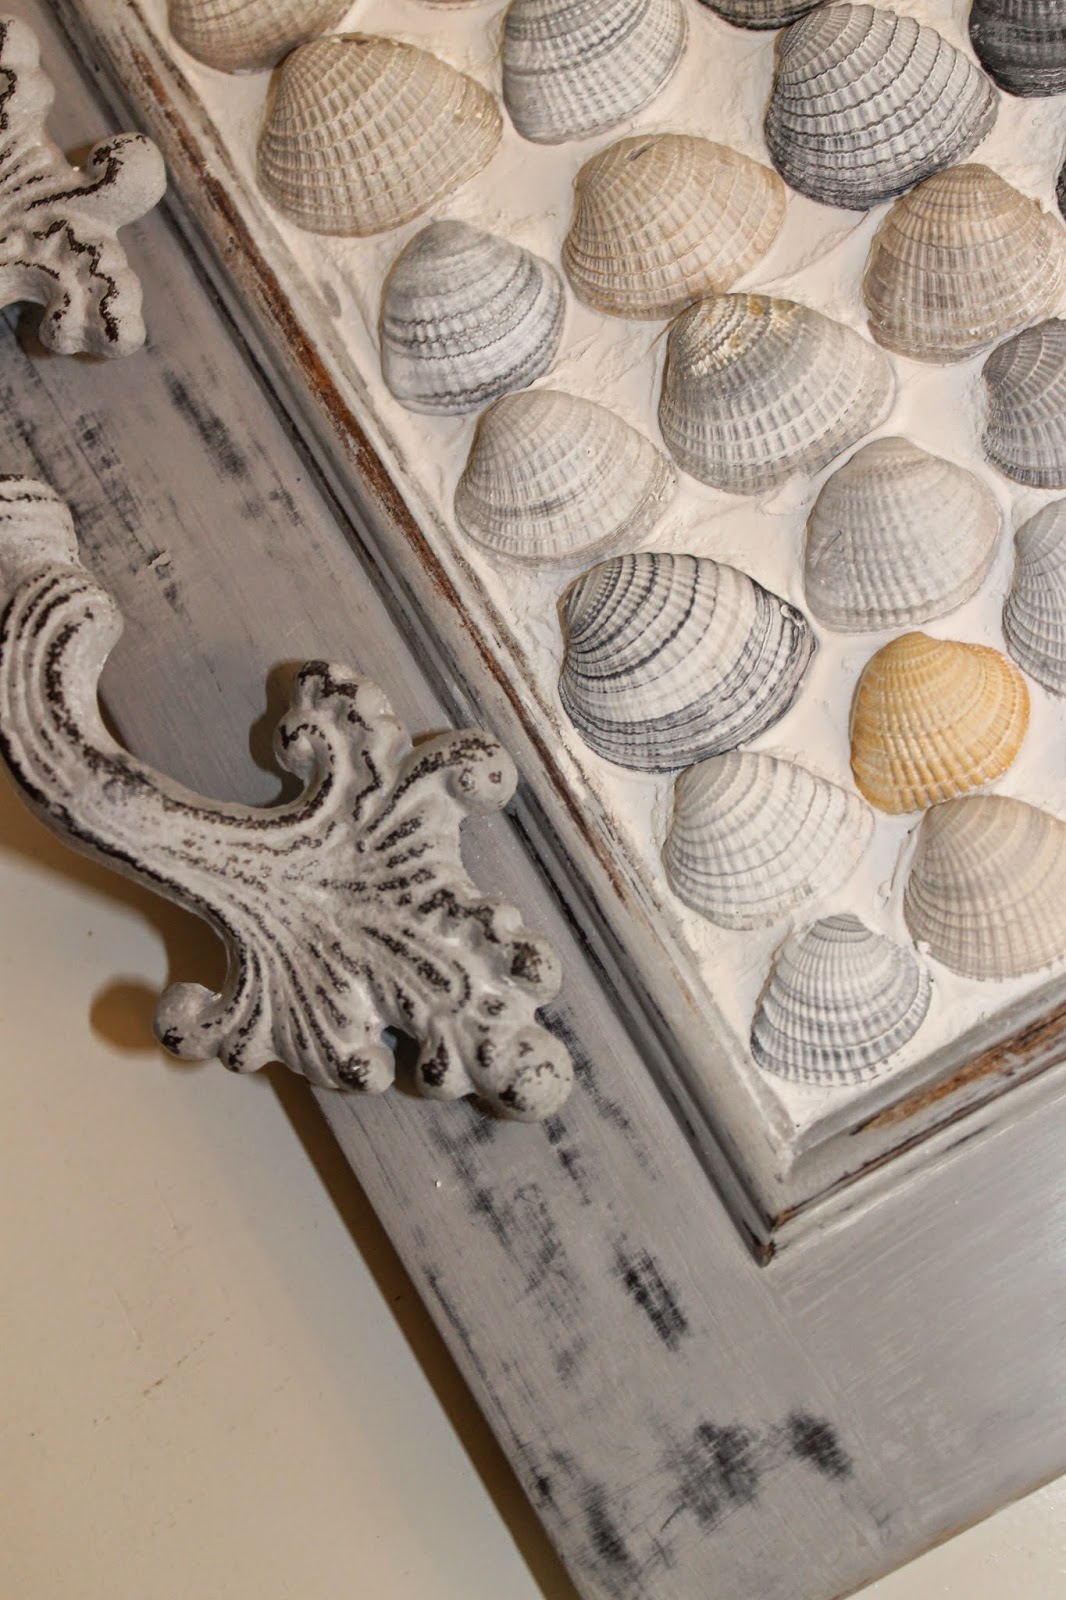
After contemplating how to finish the tray, I decided to mix up a very thin set of un-sanded grout and carefully fill the shell area without covering too much of the shells.
 I have used this grout mixture at least 3 times before.  The box is still 4/5ths full.  It doesn't take much of the mixture to use for each individual project.
 The directions are shown in picture form on the back of the box.  I just usually 'wing' it. 


Spread the mixture over the shells making sure that no air pockets form.


Wait 20 minutes and then using a damp rag, start wiping the surface until the shells are fairly dry.
Wait another 20 minutes.  Wipe again.

Two days later I took out an old toothbrush and dipped it in water and brushed off each shell  dabbing the excess moisture as I went.  This cleaned the shell crevices very well.


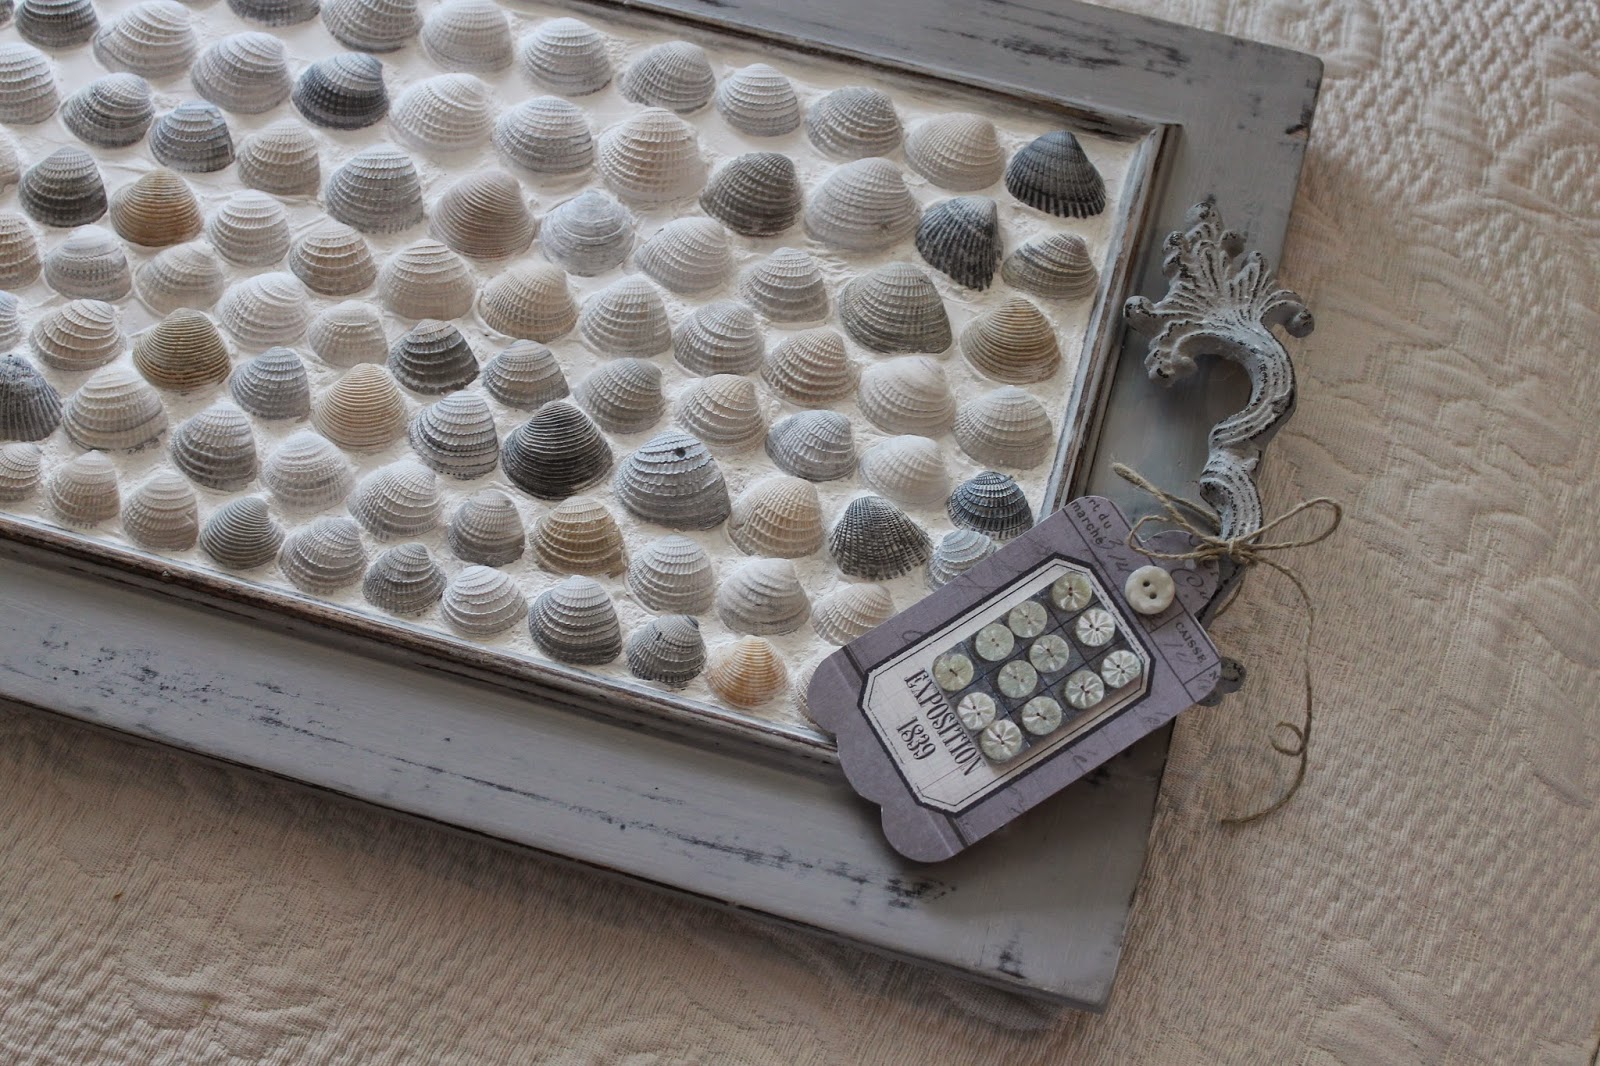
I was happy that the color contrast worked out so well with the Paris Grey distressed paint and the white grout.


What would a present be like without a gift tag? 

I like the way the positioning of the buttons on the card coincide with the placement of the shells on the tray.


I hope this present gives Tara joy and a lifetime of happiness.

Happy 50th birthday!


Tuesday, November 11, 2014

RECYCLED CABINET DOOR SEASHELL TRAY-Part 1

You might recall how I used one of these cabinet doors to create a mosaic tray about one year ago.
 
 
I have been saving the second cabinet door to create a very special 50th birthday present for my dear friend Tara.  She loves the ocean so I wanted to honor her with a tray related to it.
 
While in Gulf Shores this summer, my youngest and I would scour the beach to find seashells.  I came back with a gallon zip lock bag full of such treasures.
 
I pulled my cabinet door out of the garage heap.(Sorry Tara!)
 
 
I  pulled two different kinds of shells out and dry fitted them inside and outside the molding trim.

 
The tray seemed too busy, so I decided to only use those shells that fit inside the molding.
 
The tray needed handles, so I went to my knobs and handles stash and pulled out a matching set of handles.

I originally purchased these at Hobby Lobby when they were 50% off.  They are very sturdy and somewhat heavy.


I could envision the handles really making a statement on this tray.


Because all my surfaces would be painted with Annie Sloan Paris Grey paint and then distressed, I was feeling confident that this would become a beautiful display tray for her to set on her coffee table.


After I was happy with  dry fit, I transferred the shells over to two metal sheets to keep them in order.  Looking left to right, you can see the entire row of shells to be applied to the cabinet door inset.


With the shells set aside, it was time to tackle the actual cabinet door.
 
I first drilled my holes for the handles and made sure that once they were screwed on would fit well.
 
Then it was time to get the spackling compound out and fill all the holes, ridges and cracks on the door. 
 
Here is the back of the door.


And the front of the door....


Every inch was sanded with 200 grit sandpaper and wiped clean with a damp cloth.


Once sanded, I was ready to begin painting.
 
And at this point, I'm going to take a break.  Stay tuned for my next posting on the finished RECYCLED CABINET DOOR SEASHELL TRAY.