Monday, March 30, 2015

PAINTING A HANDMADE QUILT RACK

 
When my Dad retired, he fiddled with wood working.  I think it was his 'therapy' to create wood crafted items for all of us.  I am so glad that he gave me this gift of the quilt rack.
 
This quilt rack was very austere, almost Amish looking. I   lived with the dark stain for about 15 years. 
 

Even though I love the punches of color that the quilts added to that side of the room, the dark stain didn't fit in with my shabby look.

A quick fix to display my treasured quilts was an easy remedy.  Chalk Paint!!!!
 
The chalk paint companies are now coming out with vintage or pastel shades.  This might be a good reason to try a new chalk paint.
 
This is a new French lime paint.  I took this picture when I was at the antique mall with my cell phone.  Notice how soothing these colors are to the eye?  Lime paint works pretty much the same way the chalk paint does.  I cannot say that I have used this yet, but I love these shades.
 

At first, I was going to go with white chalk paint, but that seemed a bit too safe.

 I really like the vintage muted light green color that was on an old window frame that I had.

I know that if I mixed two chalk paint colors, such as Old White and Antibes Green, I could come up with a similar color.  I think more research must be done.


Here is the before picture of the quilt rack. 


So, even though it is freezing outside, I bundled up and headed out to the garage to sand the quilt rack.

Using the mouse sander, it took about one hour to sand the frame.


I noticed this joint with the putty filled holes.  Those  holes will only add to the character after it is painted.


So after I got the girls off to school today, I ran my errands and rewarded myself with a trip to the  antique mall.

I showed one of the store clerks the picture of the shabby green window on my cell phone.  I inquired about finding the closest color match from the frame to paint the quilt stand.

She showed me a color that was a bit too strong so I picked up a white paint to mix with it to tone the green down.

 Then, I walked off by myself and came upon the new European colors in the Miss Mustard Seed (MMS) line.  And there it was.....Layla's Mint.  In the past, I never wanted to try this type of milk paint(similar to chalk).  It comes in dry form and you need to mix it with water.  Even though I had used chalk paints from the can that were already blended, I still had some apprehension.

 Besides being so close to the color I wanted, I loved the packaging.(I am so easily swayed.)


I was ready for a challenge.  After watching videos about mixing up MMS'd milk paint, I was convinced that this would be a success.  Instead of using a blender to mix the paint and water, I used my emersion blender.  Before blending the paint, I had a scalding pot of water and Dawn detergent ready to clean the blender.  It cleaned up easily.


It worked beautifully.  I was hooked!!!

I poured the mixture into a clean pickle jar and labeled it with my handy labeler.


This next picture shows one coat of paint on the quilt rack.


This paint dries very quickly.  However, I didn't have more time to work on the project, so I came back to it the next day.

The next day, I sanded the entire piece with a very fine sand paper sheet.


A second coat was applied to the rack.


Then, the piece was sanded again.


I really liked the imperfections of the piece showing through.

Then a coat of clear wax was applied.  Once buffed, running your hand over a rung on the piece felt like butter.  Smooth as silk.


I placed the three quilts back on the frame.


 I am so happy with the finished quilt rack. The milk paint really softened the piece.  It really compliments the old window frame now.


When I set the window frame and flowers in the graniteware and placed them in front of the quilt frame, I envisioned this set up to be placed in front of the fireplace this upcoming spring when we are finished using the fireplace.


 WELL, let me tell you, I'm sold on Miss Mustard Seed's milk paint!!!!  Find a store that carries her painting products and go see for yourself today.  She has many colors available in her stock list.


Thursday, March 26, 2015

SPRING FOYER WITH TEXTURE

The winter season this year has been more gloomy an dreary than the normal southern winters.  With the gray days, the anticipation for spring is more than welcome. 
 
To bring some spring essence into the foyer, bright pops of color were a necessity.
 
I started with the vintage headboard bench that Mr. Thrifty built for me years again. 
 
 
 To add some more chippiness, I grabbed the two gingerbread brackets from the porch posts. 
 

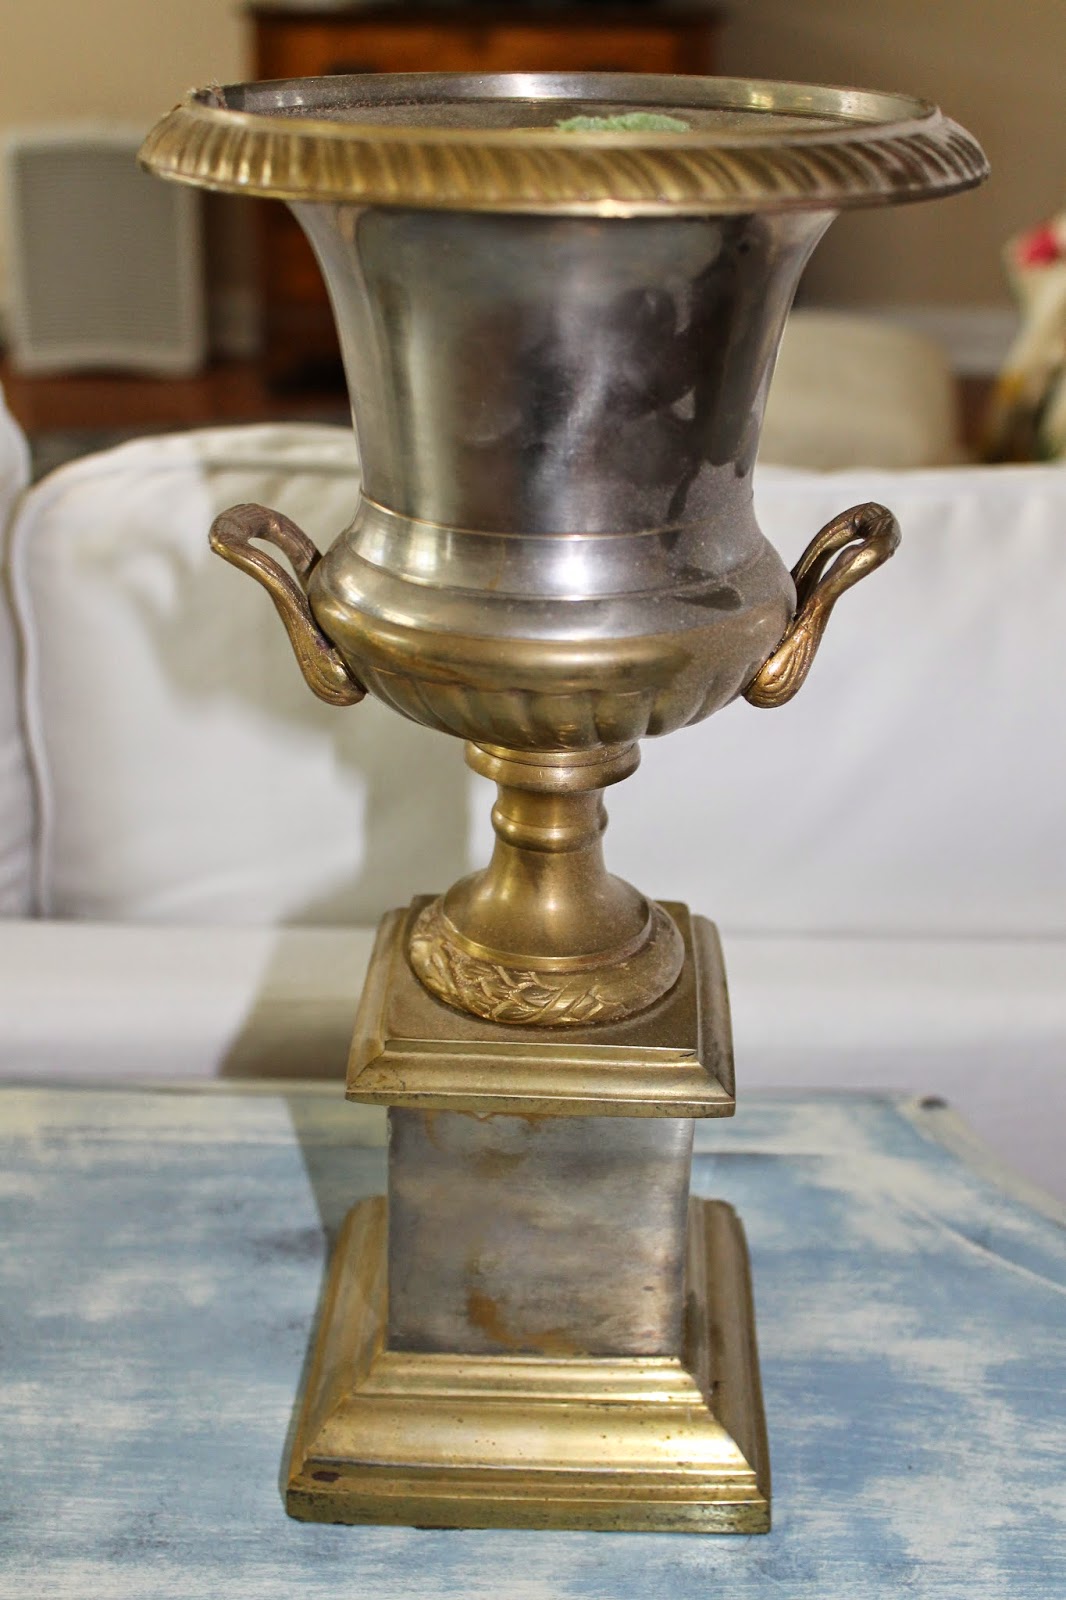
A up-cycled brass urn painted with Annie Sloan Paris Grey paint was set between the two brackets.


I took the pillow made from the shabby strips of quilting material  from  my bed and brought it into the foyer.  I needed pops of pastels to bring the spring indoors. 
 
 
A   ruffled coral peony was inserted into the gray urn.
 
 
A fresh look with the up-cycled Eastlake chair brought a pop of periwinkle into the foyer.

 
Even though the sun does not shine on these late February days, walking through the foyer and seeing  the bright pastels will give the sense that SPRING is right around the       
corner.                                                                                          


Sunday, March 22, 2015

HABITAT RESTORE WASTE BASKET


While visiting our local Habitat REstore shop, I found these treasures and paid $8.00 for all of them.

The cabinet door will be a future coffee table tray, the Merck medical dictionary is for my youngest, the baby blue book will be added to my collection of beautiful book covers,  the blue and white oval dish will become a soap holder in my upstairs bathroom, the dinner dish will be broken into mosaic pieces since it has a major chip on the side, the small cream bowl will accent my Irish Beleek bells, the small mirrored frame will become a picture frame, the grey crown molding piece will become a possible coat holder, the scalloped trim will be attached to a frame, the two clear bowls will be perfect dip bowls, the vintage cards will be used in card making and finally, the Hampton Inn wastebasket($1.00) will be used in this next project.

Yes, I am going to be very busy using my new found treasures.


Today, we will have an easy make-over with the wastebasket.


After a stop at Michael's I picked up this initial K to personalize the wastebasket.  Notice the $.59 price!


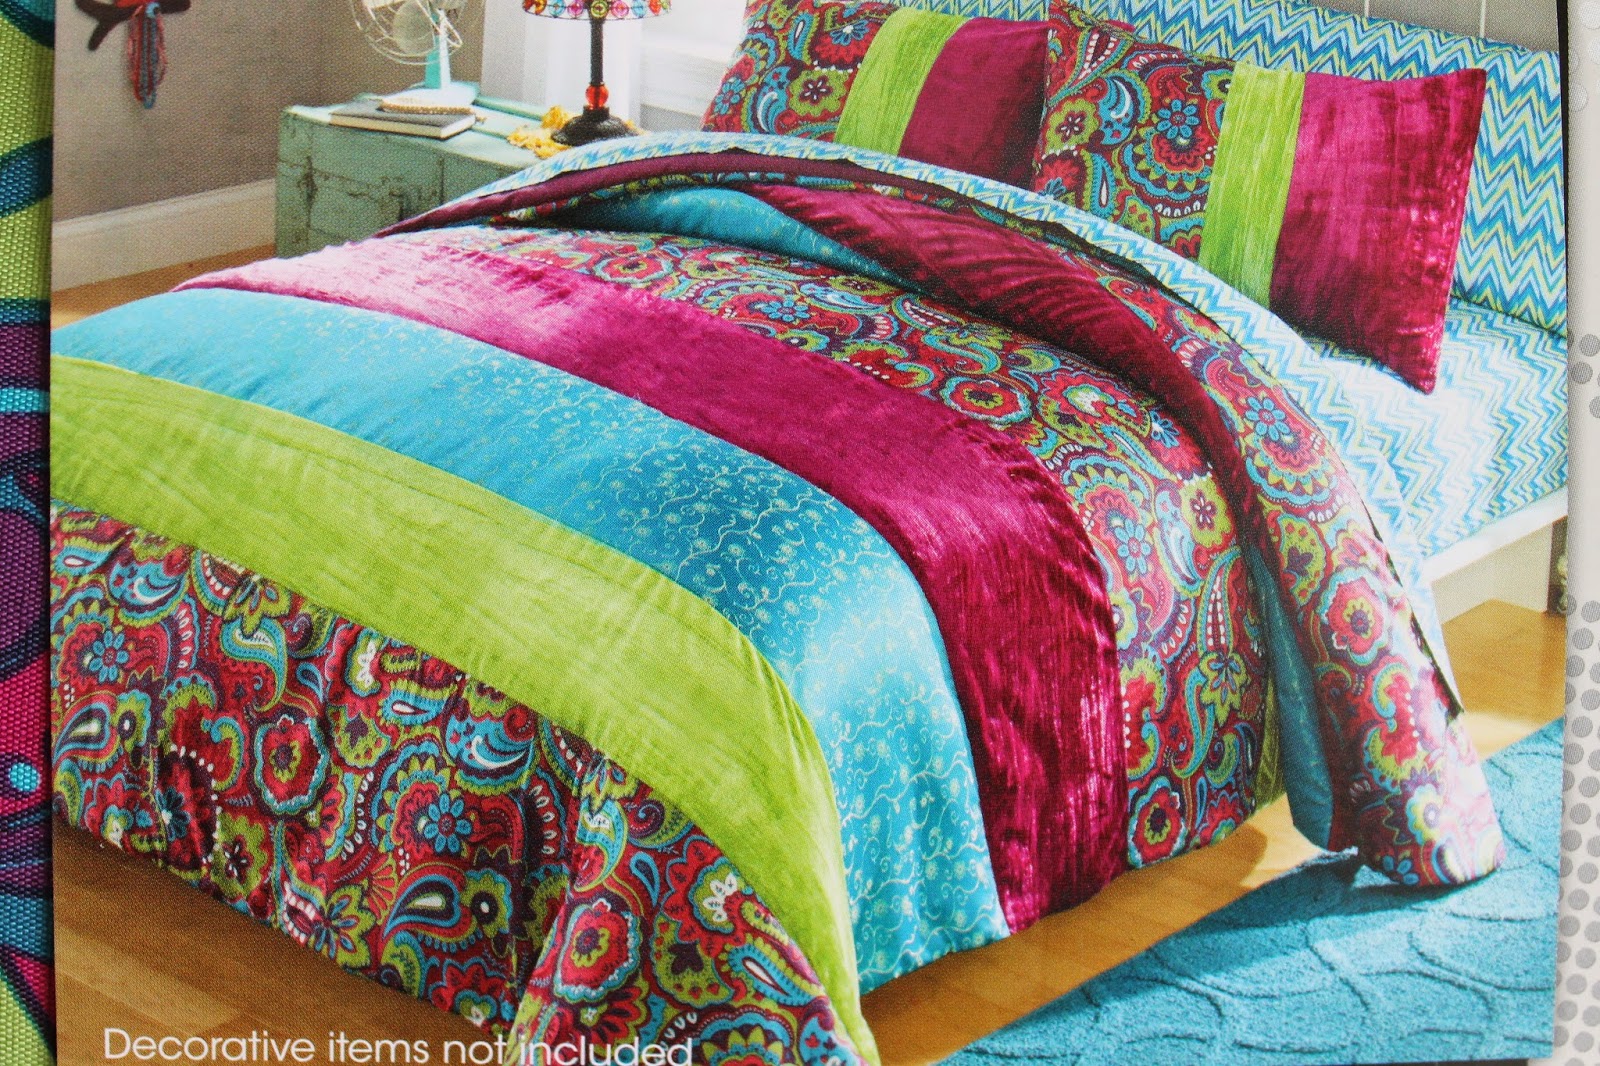
For the last 3 months, I have preparing to send my oldest off to college.  I purchased this colorful Bohemian bedding set for her.  It is just her style.


Isn't it cute?  I can almost picture a Moroccan hanging lamp from the ceiling, but I should stop myself, after all, it's just a college dorm room.


Using E6000 adhesive, I glued the initial on to the front of the wastebasket.


I let it dry overnight.


The next day, I gave it a coat of my most favorite spray primer.  This too, was left overnight.


That was easy work!


A quick trip to the store found this perfect color to compliment the bedding.


With 2 coats of paint, the wastebasket is transformed.
                                                                                                                                                                                                                                                                                                                                                                                                                                                                                                                                                                                                                                                                                                                                                                                                              

This was an fun, easy project.  For $1.59 minus tax, I think my oldest daughter will be surprised at her own personalized waste basket.


Monday, March 16, 2015

HAPPY ST. PATRICK'S CARD 2015

To create my annual St. Patrick's card, I found this image on Graphics Fairy.
 
frame-faux-bois-Vintage-Image-Graphics Fairygrn
 
 
This cute little Irish lass was also found on the computer under Irish lasses.
 
 
Once these two were printed off,(the frame was printed on cardstock)  I trimmed around the lass and placed her image on a pieced of weathered dusty green scrapbook paper.
 
The inside of the frame was trimmed out and the lass was placed behind it.  Gluing the cardstock onto the blank card was simple.
 
A green button tied with green an white baker's string was glue gunned onto the corner of the frame.


My little lass appears to be jumping out of the picture.

 
 With a tied ribbon at the edge, the card is complete.


HAPPY ST. PATRICK'S DAY


Thursday, March 12, 2015

UPDATED FORSYTHIA BLOOMS


This posting follows one from last week regarding the forcing forsythia blooms inside.  Now, we are able to track how long it takes for them to bloom inside.  I am loving springtime in my house!

 When I first placed the forsythia branches into the vase filled with water, I had no idea how quickly they would become fully blooming. 
 

You might noticed the paper taped to the vase with the day numbered in the sequence of the blooming.  This next picture shows on day 2 the blooms just starting to bloom.


Day 3


Day 5


Day 6-in full bloom
 
 
So, in the future I can anticipate 6 days to force the forsythia.  Next time you want to bring spring inside, try your hand at forcing branches from the outdoors.