Monday, April 27, 2015

ANOTHER BEDSIDE TABLE FROM THE HOMESTEAD-PART 2

I brought this bedside table from the family home last summer.


After I completed the mirror-glass mosaic and black mirror for inside the front door, I knew what I wanted to do with this bedside table.  It would be a perfect fit to place under the mirror, so painting it black was the answer.


Sanding and a lot of filling in holes is necessary before the actual painting begins.  After 1 1/2 hrs. of sanding the piece was ready for patching.


Look at the close up of the top corner.  It almost looks like a dog chewed it, but instead, it was probably caused by the use of 10 kids.


 What I did notice was that the veneer on the top had a piece missing.  Before patching, wood glue was placed under the loose spot and let to dry.  This process cost me an added day.


I needed to fill one of the cabinet door pulls because the newer pull has a different space between the handles.  However, after measuring the new handle, I decided to fill only one hole.


This is a view of the top of the cabinet door with dried wood putty.  The putty filled the hole nicely.


The veneer on the top filled, but still needs another layer of wood putty.  Another day lost.  I have learned my lesson.  Even though it takes more time, it is wise to apply a layer of wood putty on the existing wood putty.  If the putty is applied too thick, it will not dry underneath and as time goes on, it will shrink from within.  Always remember to sand the puttied areas when dry to prepare for the next coat of putty.


And then there is the poor corner.  I think this area will take at least 2 more applications of wood putty to fully restore its shape. 


It still looks pretty ugly.  I promise you after painting, you won't even know that it was ever repaired.


The second coat of putty applied to the corner.


This is the cabinet door after the second coat was applied to the screw hole left by the old handle.  The top of the door was fixed with just one layer of wood putty.


The second coat of putty was applied to the top of the piece.

After re-sanding these puttied areas, I will be ready for the priming process.

  Stay tuned for the reveal.
 

Thursday, April 23, 2015

MILK CARTON RECYLING CONTAINER

Yesterday, the winter batch of compost was dumped onto the perennial bed.

When we first moved into the house, trying to plant in the red clay was a disaster.  In order to ready the soil for flourishing plants, numerous loads of compost were added. 

Here are pictures of the latest batch of winter compost dumped into the bed.  This batch 'cooked' all winter. 


I call this 'black gold'.  Nothing treats this Southern clay better than compost. 


The next job is to incorporate the compost into the exiting soil.


Notice how verdant the plants look and how lush the bed is already and it is only April.


I wanted to let you in on one of my tricks on saving vegetable scraps, coffee grounds and egg shells.   My father must be smiling looking down from heaven.  I think he saved every egg shell that was ever cracked in our house growing up to throw into his garden out back.

After finishing a gallon of milk, I rinse it out thoroughly and get my kitchen shears out.  Next I cut off the top of the carton leaving the handle.(I keep 4 of these clean, empty containers under my sink for the next batch of peelings.)  What is left is a convenient container to transport scraps from the kitchen to the compost bin.


 I never leave the bin in the kitchen overnight.  If I am in a rush, I just leave the filled bin outside the back door.


I can't tell you how many of these filled milk cartons I have carted outside.  But I will continue to save my scraps to help enrich that Southern red clay and turn it into more 'black gold'.  I have had awesome results thus far.
 

Sunday, April 19, 2015

WHIMSICAL PEONY CAGE

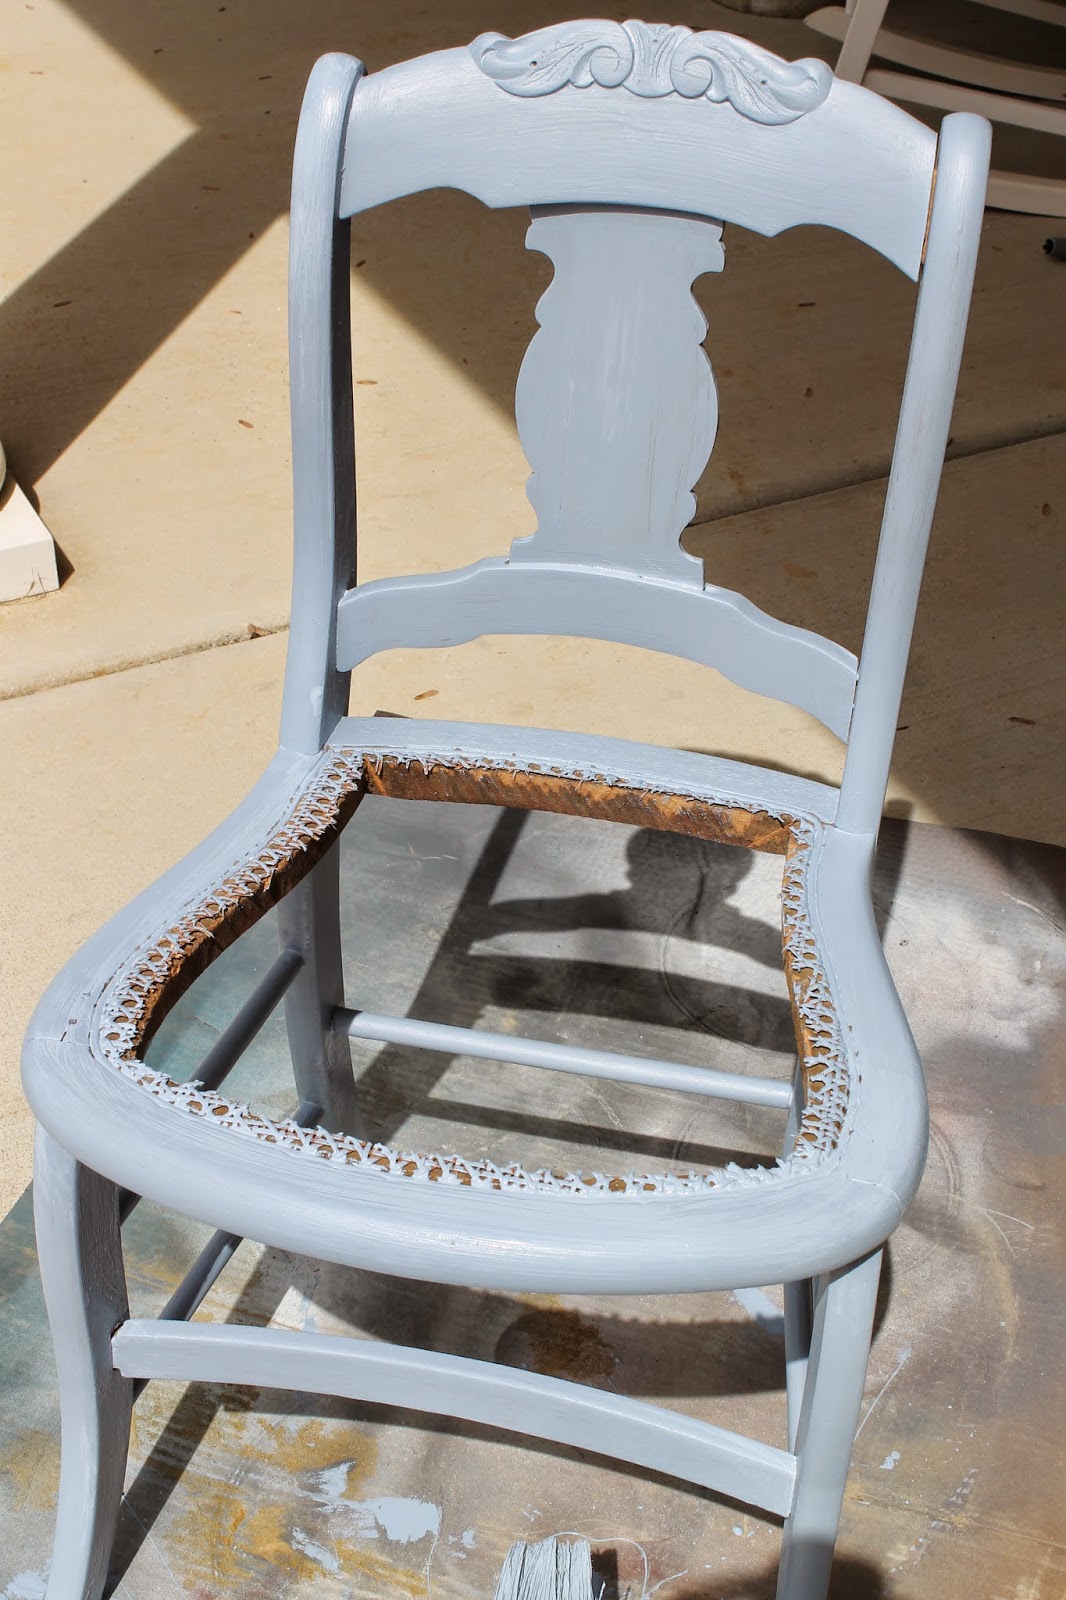
 In the past, I have painted a vintage chair with French blue paint, taken out the seat  and planted a pot of vibrant blue and pink annuals.  I found a picture on Pinterest that showed a similar chair used as a peony cage.  How intriguing! 
 
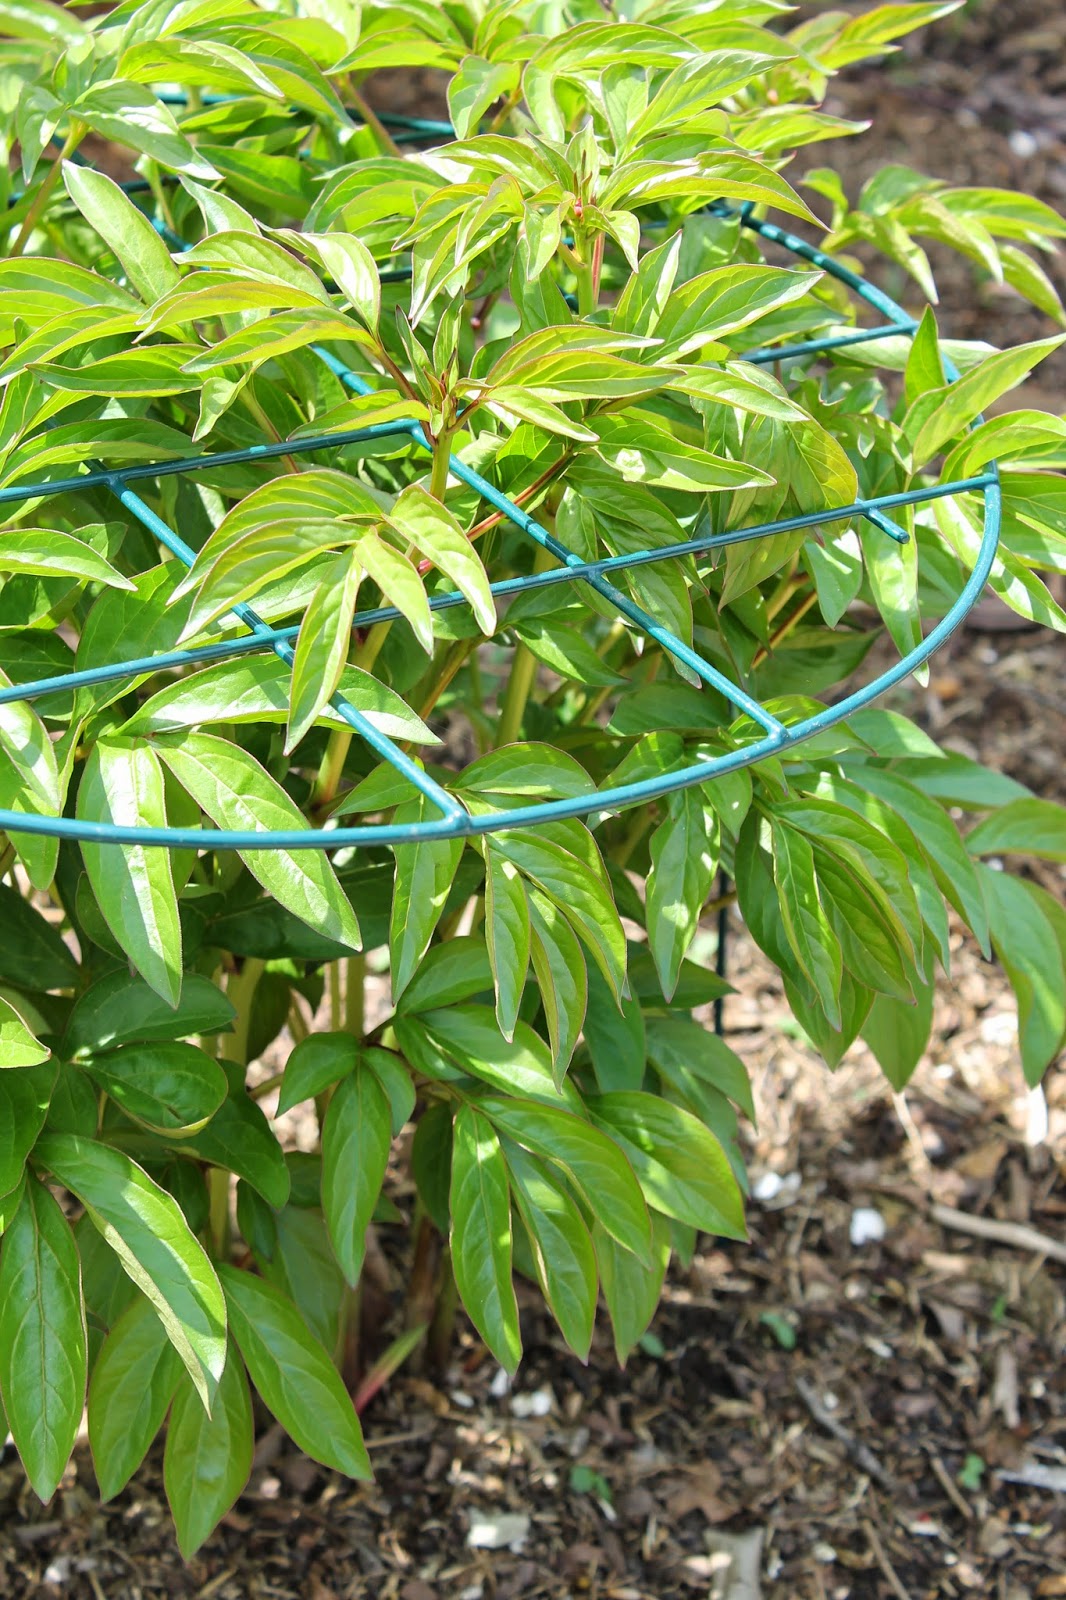
I have 8 peony cages already and use them in my perennial bed.  I noticed that the original peony plants were spreading through the flower bed.  I didn't have enough cages, so I thought I would try my hand at one of the chair cages. 
 
From beginning to end, sanding to installing the chair, it took me 2 hours.


Now there is a back story here.  I ran over to Wal-Mart to grab a quart French Blue paint.  Has anyone ever experienced ordering paint and not having it not come out the correct color?  I never have.  When the service person  first showed me the color on the lid, I was shocked.  I watched him put the correct color code into the computer and the color that resulted was a muddier shade of the anticipated color.
On the picture below, the first attempted color is the one in the paint sample circle.  The service person was very nice and suggested upping the blue and violet in the next attempt, I'm sure to keep me a satisfied customer.  In no way was it his fault from the beginning, so I was happy that he was willing to spend time with the paint to give me a satisfying result.  After 30 minutes of blending, shaking and drying the paint swatches, I didn't have the heart to tell him that I didn't want the paint.  After all, it was just for a shabby project anyway.  I told him how much I appreciated his efforts and purchased the paint.  The finished shade was close enough and it wasn't like I was going to use the paint on a house project.
 
 
Pulling out the chair from the garage, I also picked up the ....


saw to quickly get rid of the damaged cane seat.  This took less than 5 minutes.


Now I was back on schedule.  It wasn't a perfect job, but for the needed purpose, I was happy.


I did a very quick rough sanding which took about 20 minutes.


 Because I was putting it outside, I knew the exposure would crack and chip the paint faster, so I didn't bother to put a coat of primer on first.

I am almost embarrassed to say, but I slapped a coat of the paint on the chair.  I loved it!  Now isn't it funny how the creating of this paint color caused such a consternation?  I am convinced that there was divine intervention from the Holy Spirit to make the color perfect.  Thank you!!!!


The color is not that far off the paint chip.  I was going to give it another coat of paint, but it dried so quickly, that by the time I cleaned out my paintbrush, the chair was dry enough to put it in the flower bed.  So I hauled the chair up the hill.


After digging out dirt for the two back legs of the chair, I buried it in the slope of the flower bed.  After carefully pulling through the new peony growth, the chair looks like it's been there for awhile.


  Any more clutter up on this hill will give the likes of that old TV serial, Sanford and Son.


The great thing about this 'cage' is that I can move it later in the spring and summer and cage the purple and white columbine after the peonies bloom.


Now it is supposed to rain for the next three days, so I will see how the paint holds.  I can always put another coat of paint on it later.
 
So many of my projects are so time consuming, that when completing this project I had instant gratification for once.  How great is that?


Wednesday, April 15, 2015

SPRING LILACS ON THE COFFEE TABLE

What a wonderful discovery to find the lilac bush blooming outside.  Besides their lovely fragrance, the color compliments the soft greys in the Great room.
 
To get started, I took out a roll of paper doily trim.  


After cutting a piece to wrap around a crystal vase, I taped the ends in the back.


While taking the girls to the beach two weeks back, I purchased a beautiful shell from one of the tourist stores.  Laying it on Grandma's crocheted doily left a sweet memory of her.


While on the beach, the girls picked up some shells in the sand.


I gathered them into Mom's baby cup.


After cutting a few branches from the lilac bush, I inserted them into the doily decorated vase filled with water.


Adding the grey slate coasters to the whitewashed tray completed the setting.


Besides their beauty, the aromatic fragrance fills the room and brings a smile to my face.


Saturday, April 11, 2015

APRIL PERENNIAL GROWTH 2015

Spring has really taken off in the backyard perennial bed.  I love perennials!!  Even though they cost a bit more than annuals, you only plant them once.  And every spring, they surprise me.  I cannot believe how tall the peony bushes are getting in just a matter of days.  You might recall that I replanted three of these bushes from my Grandmother's house in Peoria.  What a connection that I can still enjoy the very plants that she once so tenderly cared for.

Another surprise was to see the buds starting to form on one of the plants.


Wooly lamb's ear is in abundance already.  In the distance you might spy my lovely lilac bush.


Just walking up to the top of the yard, the fragrance just takes me away.  Memories of long ago wafting in the breeze makes me so happy.


This lilac was planted 3 years ago.  I am very pleased with the growing results thus far.

Wait for the next posting of cutting the lilacs for the Great Room.


Tuesday, April 7, 2015

QUILT RACK FOR SPRING FIREPLACE DISPLAY

After I had painted the homemade quilt rack that my Dad had made for me, I thought about putting it in front of the great room fireplace.  My decision changed after I placed it in front of the bedroom mantle.  I had to place the chippy light green window in front of the quilt frame.  It almost looks like a framed picture.
 

This mantle has no heat source so it would be safer to place the quilts there.  I am so happy with the color of the quilt frame.  The colors in the hanging quilts compliment both the window and quilt frame.

 
For Christmas, my dear friend Tara gave me this adorable steam punk ornament.  The colors were perfect to add to this vignette.  Other than getting a nail and a hammer out of the garage, the ornament was quickly hung on the window frame.


 I love this new addition!


Who says a bit of bling can't add another layer of dimension?


I wonder why it took me so long to repaint the quilt frame?


This is now a great spot to sit down, take a rest and read a bit.  I think I will.