Saturday, October 24, 2015

HALLOWEEN BIRTHDAY CARD

I have some dear friends that celebrate their birthdays around Halloween, so therefore cards had to be created.
Using black and beige colors gave me an inspiration.  It started with a image of a chandelier.
Dimensional crystal accents were glued onto the image giving the feeling of garland strands of crystals.


Black and cream scrapbook papers serve for the backdrop and black and white polka dotted washi tape completes the front of the card.


Happy birthday to my cherished friends.


Monday, October 19, 2015

ARMY DECORATIVE BOWL

My daughter wanted to make a going away present for one of her graduating high school peers attending West Point Prep Academy.  She had previously made one for her Dad for his office.
She started out getting a small metal bowl and heat gun out. 
This project was made outside, so she got a piece of scrap wood out of the garage to begin work.  Because of the high heat of the heat gun, she worked on the wood on top of the metal patio table. 
After turning the bowl over, she began one army man at a time, melting it to form the bowl.  This process took over two hours to complete. 
Look at the result.
Another view.


Though this bowl cannot be used to eat cereal out of, it still is a cute way to hold paper clips on his desk at school.


Thursday, October 15, 2015

HALLOWEEN MANTLE 2015

In terms of coming up with an idea for my Halloween mantle, I resorted to using the up cycled window that I had used last year--with a twist.
Because this window was so heavy, I wanted to make sure that leaned up against the mantle mirror, it would not topple.
Taking a good hefty chunk of tacky, I placed three globs underneath the bottom of the window that would be sitting on the mantle itself.
Once on the mantle, it felt very secure.


 I picked up this black spider web material for 75% off at the end of last Halloween season.  Originally the package cost $1.49 so it cost almost nothing.  After purchasing it, I left a note on the package reminding me to use it for this year's October mantle and placed it in my fall tub upstairs.


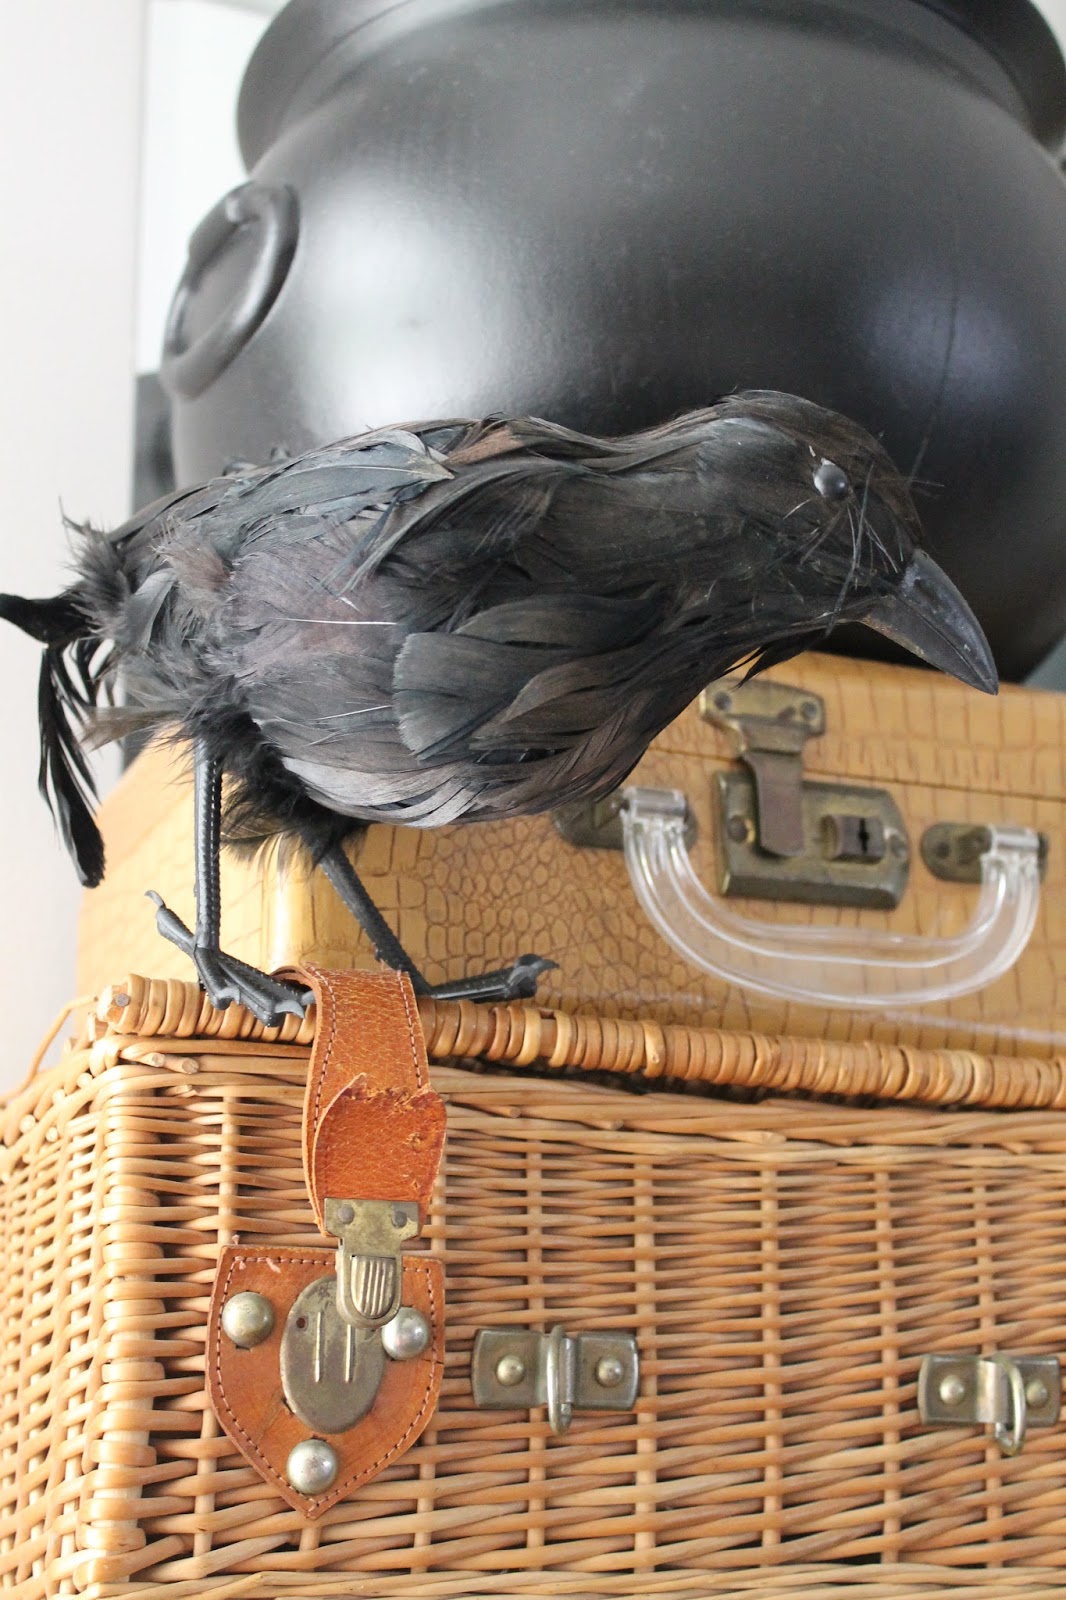
Leaving the suitcases on the mantle, I added a plastic black cauldron that one of my girls won from a party raffle last year.  Initially, I wanted to give it to Goodwill, but decided against it.  I'm so glad, because the black ties in with the spider web and black window frame.  The crow just had to have a place, so he was situated on top of the rattan suitcase.


 I am happy to say that this mantle cost me a matter of pennies, since the webbing was the only item purchased for this year's mantle.


Sunday, October 11, 2015

DUNCAN PHYFE SQUARE TABLE-PART 3

 I finally had put the painting of this table off long enough. 
Instead of painting a coat of shellac on with a brush, I purchased a spray can of Zinser's shellac.  This product would save tons of time, especially with all the nooks and crannies of this table.
First, I pulled out the palm sander and cleaned the varnish off the top of the table.  After wiping it clean with a damp cloth, I realized that I had more work to do before painting.

I found several divets in the base of the table.  There was also a significant one on the side of the apron.  
I wanted to use the quick drying wall spackle to keep this project on track.

So, I filled the holes and let them dry.

Now I was ready to spray paint the shellac.  I gave the table 2 coats of the shellac with an hour of drying time in between coats.


However, the humidity was not my friend today, so I have to wait overnight before I could give it another coat of the shellac.  Patience is a virtue.  So hard for me at times.
I painted 2 coats with Paris Grey Chalk paint.


Then using a thin paint brush, I painted in all the intricate carvings with white chalk paint.

Notice how sloppy I was with the white chalk paint.  I will sand lightly later to get the excess white paint off the gray flat spots.


So after the light sanding, the table is ready to wax.


This is a close up of the harp section of the base.


To prepare for the waxing, I pulled out my compact palm polisher with the terry cloth cover.


Before waxing, I decided to only wax the top of the table because I really liked the matte finish of the base of the table.  This top will get most of the wear and the wax will protect from water damage from drinks.  The next picture shows just a small area of the top with the wax applied before buffing.  The wax definitely darkens the gray paint and brings out the texture of the sanded areas.


After buffing the top, this is the result.


Because fall is here, I wanted to compliment the table with some silver plate and dried pressed autumn leaves.
I bought this lovely lid, though damaged on the top, at an estate sale for $1.00.  A quick polish will revive the piece.  Since I will be flipping it over, the damage will not show.


What magic a little polish will provide.


Thankfully, last fall, I picked up a lot of colorful leaves and pressed them in an old book.  Multiple rubber bands kept the book closed tightly.


One year later and look at the results.  The colors have been preserved and they still look fresh.


Laying them in the silver plated lid was an easy way to display and add autumnal color.


Sitting the lid on top of Grandpa's vintage grey scale added some interest.


Here is another view of the harp base.


Putting the table next to the chaise lounge completed this corner of the Great room.


I can really see myself simplifying my decorating style.  Less is best.  The room appears to be cleaner with less on the flat surfaces.  And to be honest, it is less dusting when you don't have so much to move while cleaning.

I want to thank Whitney's Grandma for this beautiful table.  It truly was an act of love to bring this hobbled table back to being a beauty.

I am showing you a picture of the table during the evening hours.  The colors change so much with the lighting.


Wednesday, October 7, 2015

SILVER LIDDED GLASS PITCHER IN FALL DISPLAY

 
It isn't often that I do a fairly simple up-cycling project, but today is the day.
 
My sister found this item at her Church's garage sale.  As far as function goes, I can see why someone would give this pitcher away.  People do not like to polish silver.  On the other hand, I love  polishing silver for therapy.  Strange as it seems, with a little elbow grease the most tarnished piece comes to new life.
 
I wonder what this pitcher was used for in its first life.
 

Out came my favorite polishing cream, Wrights. Within 5 minutes the silver plated lid was shiny.


Since I was using a lot of natural elements in my fall display this year, a package of wheat did the trick.  Simply dropping in the bunch of wheat transformed this neglected item into  treasure.


While appearing airy sitting on top of the porch post stand, it reflects the calming feel of a quiet autumn.

 
Thank you to my sister for seeing the potential in this splendid pitcher.
 
Simply beautiful.


Friday, October 2, 2015

CLEANING MILDEW AND MOLD OFF OF GUTTERS

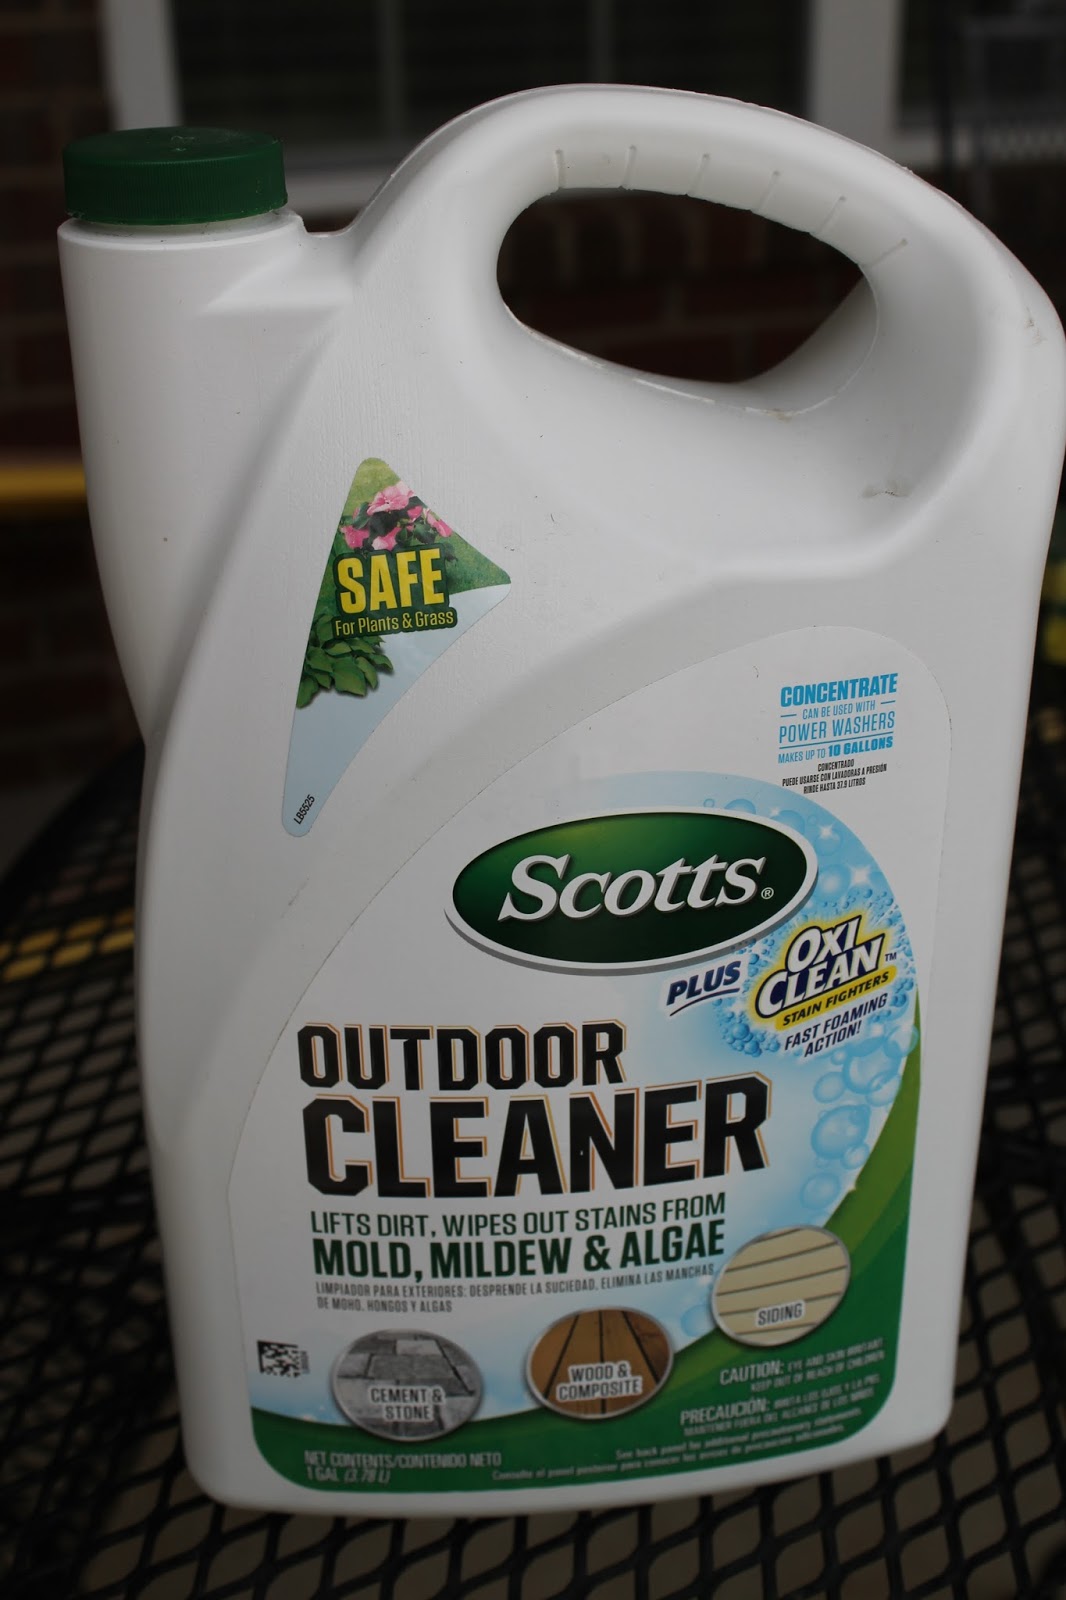
 After living in the house for 5 years, we noticed that the mildew and mold had started to form on the gutters.  Many times, people power spray the residue off them.  Not to be outdone, Mr. Thrifty picked up a cleaner from Home Depot.


Because it is a concentrate, the Mr. diluted the mixture according to the directions.  Then he placed it in the pump sprayer. 


 Notice the grime underneath the gutter itself.


The directions say to spray on the mixture and wait 5 minutes.  We both got on ladders with our green scrubby pads and scrubbed.  It didn't take long to figure out that it needed another dose of spray and another scrubbing to really clean them.

Notice the difference in the left and right sides of the house.

 Another before picture.

The back side is now clean.  We would wait for another day to attack the second side of the house.


 It did take a lot of elbow grease.  Without the scrubbing, neither one of us were satisfied with the results.


The front is waiting to be done.


The next weekend, we cleaned the side of the house.  I think this is going to be a 4 weekend project.

We decided to increase the cleaning solvent and doubled the amount to the next batch of water.  It really did a much better job.  There is just no way around the scrubbing though. 

The front façade was finished on Sunday.  The results were great. 


 Despite all of my complaining about this seemingly endless job, I have to admit that Mr. Thrifty was right.  The house appears to be newly built now that the gutters have that pristine look once again.

 I hope that the next time this job comes around in another 5 years, we can hire someone to do it.

After this physical job, you will not believe what is up Mr. Thrifty's sleeve next?  Transplanting 2, yes, 2 trees that we planted 4 years ago!!!  Granted, he will be doing the digging, but I still have to assist in getting them up the back hill to their new location.  I asked him if this was the absolute last, back breaking job.  I did NOT get a definitive answer.