Tuesday, February 2, 2016

A NEW HOME FOR A GORGEOUS CEILING MEDALLION AND ELEGANT CHANDELIER

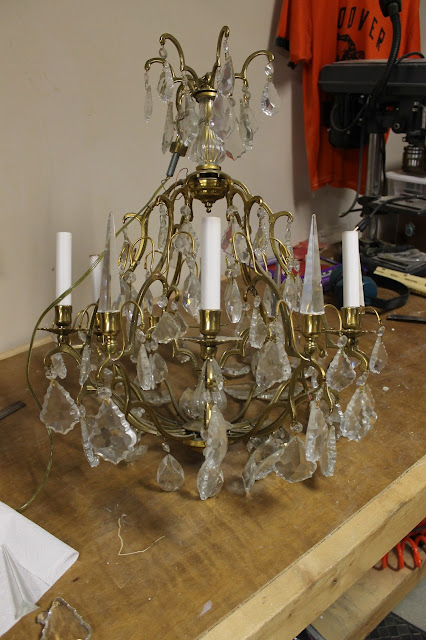
I have been blessed again.  The grandmother of a friend of my youngest daughter called me and asked me if I was interested in a crystal chandelier and a ceiling medallion.  I was so grateful that she called me.  I immediately jumped at the chance to update these two items and make them fit into our home.

My last posting showed my ideas on updating the parlor bathroom. Well, that was before the phone call.  Now, I have to change gears.

I never imagined the grand size of the medallion and the chandelier.  Even though I know brass is in again, I still think I'm going to paint the base of the chandelier in a charcoal metallic color.


A Royal Design Lisbetta Damask wall stencil was purchased at 30% off the $59.95 cost which came to $39.97 without shipping and handling.  This is generally more than I would like to spend, but this stencil is so dramatic, that I decided to take the plunge. 

  Due to the size of the chandelier and medallion, if I was going to hang them, I would need a  large  room.  So my attention was now drawn to the dining room, which has a 12 foot ceiling.  I think  the medallion and chandelier would fit best in there.  Also, I would stencil the large wall in the dining room with this stencil pattern.  I think it is going to make a huge impact.  I can't wait to get started.  Cuing Mr. Thrifty....I will have to work around his schedule since he does the base-coat painting.  I will do the stenciling myself.


Note the size of the stencil.


I had another thought to throw into the ring.  After looking again at the medallion, with such a substantial size, I think it would be awesome to paint the dining room ceiling 3  shades darker with Dovetail.


The medallion would have much more impact and the darker ceiling would give the room a more intimate feel.  I will have to run this one by the Mr. as I don't think he's crazy about painting ceilings, especially 12 foot ones.

This picture from Martha Stewart is gorgeous.

I'll say a prayer about that.  And I will get back to you on our progress.

Wednesday, January 27, 2016

STENCILING IN THE PARLOR BATH

I promised you a wall painting project this year and look at the idea I came up with.

I found this fabulous stencil from Royal Design Stencils.  It is called Lisabetta Damask and it is a much larger stencil than I normally see out there.  The stencil itself covers 21"x29".  It is quite dramatic in person.

Here is the image of the stencil on the package.


And here is the actual stencil.

Last May, Mr. Thrifty painted our Great Room in Repose Grey by Sherwin Williams.  I love the clean look of the new grey in the room.


When thinking of painting the parlor bathroom, I wanted to go one shade darker, so on the color line, I picked Mindful Grey.


With the Mindful Grey in the background, I thought stenciling on the one large wall in the bathroom would be perfect.  Stay tuned to see the results.

Thursday, January 21, 2016

NUTELLA CHOCOLATE CHIP BARS

I received this recipe from a neighbor, but I did tweak it a bit.  The ingredients used were a large log of Pillsbury chocolate chip cookie dough and a small can of Nutella.  A 9x13 inch baking pan is used also.
I begin by lining the baking dish with parchment paper.  Preheat the oven to 350 degrees.

Cut a quarter of the dough and put aside.  Take the remaining three quarters and press the dough onto the parchment paper. 


Heat the Nutella in the microwave for 30 seconds on high.  This makes it easier to pour on top of the first layer of cookie dough.  I use almost the entire jar of Nutella.  Make sure that it completely covers the dough.


Take the remainder of the dough and crumble over the Nutella.

Bake between 20 and 35 minutes until brown 

Cool the bars and cut. 
Besides being simple to make, this dessert will win you over.

Sunday, January 17, 2016

EVERGREEN HEADBOARD


 In order to keep a bit of the winter in the house, I pulled out my evergreen garlands to lay on top of the headboard.


Besides being very realistic looking, I love the added pinecones

 
I placed my 25 cent ornament in the middle of the display.

 
In the daylight, the boughs really bring that winter aspect inside.


At night, the lights casts beautiful shadows on the ceiling.

 
 Two garlands complete this headboard embellishment.  That was a quick 5 minute fix for the bedroom.


Tuesday, January 12, 2016

CLEANING WINDOWS IN THE WINTER

 
Because of our unseasonably cold weather in the South, I have been longing for the warmer days to reappear.  As I was looking out the window this morning, I realized something.  When the sun is not out and it is cold, it reminds me of the overcast days of winter growing up in Illinois.
 
The sun did appear, but at the same time, I realized how filthy the outside of my windows were on the house. 
 
 
Given that it feels like 36 degrees outside, I bounded outside with my glass cleaner and paper towels and hurriedly cleaned the top sashes of my windows looking out into the backyard. 


Now I will share with you that those 5 minutes of freezing cold were well worth the results.  The sun is shining in a bit clearer and the day can begin again.
 
If you are brave enough to conquer the cold just to have the sunlight come inside with you, get your window cleaner and towels now.  Do yourself a favor.  Bring the sunshine back in!
 
The emotional benefit is amazing.......


Friday, January 8, 2016

REPLACING RHINESTONES IN VINTAGE BROOCHES

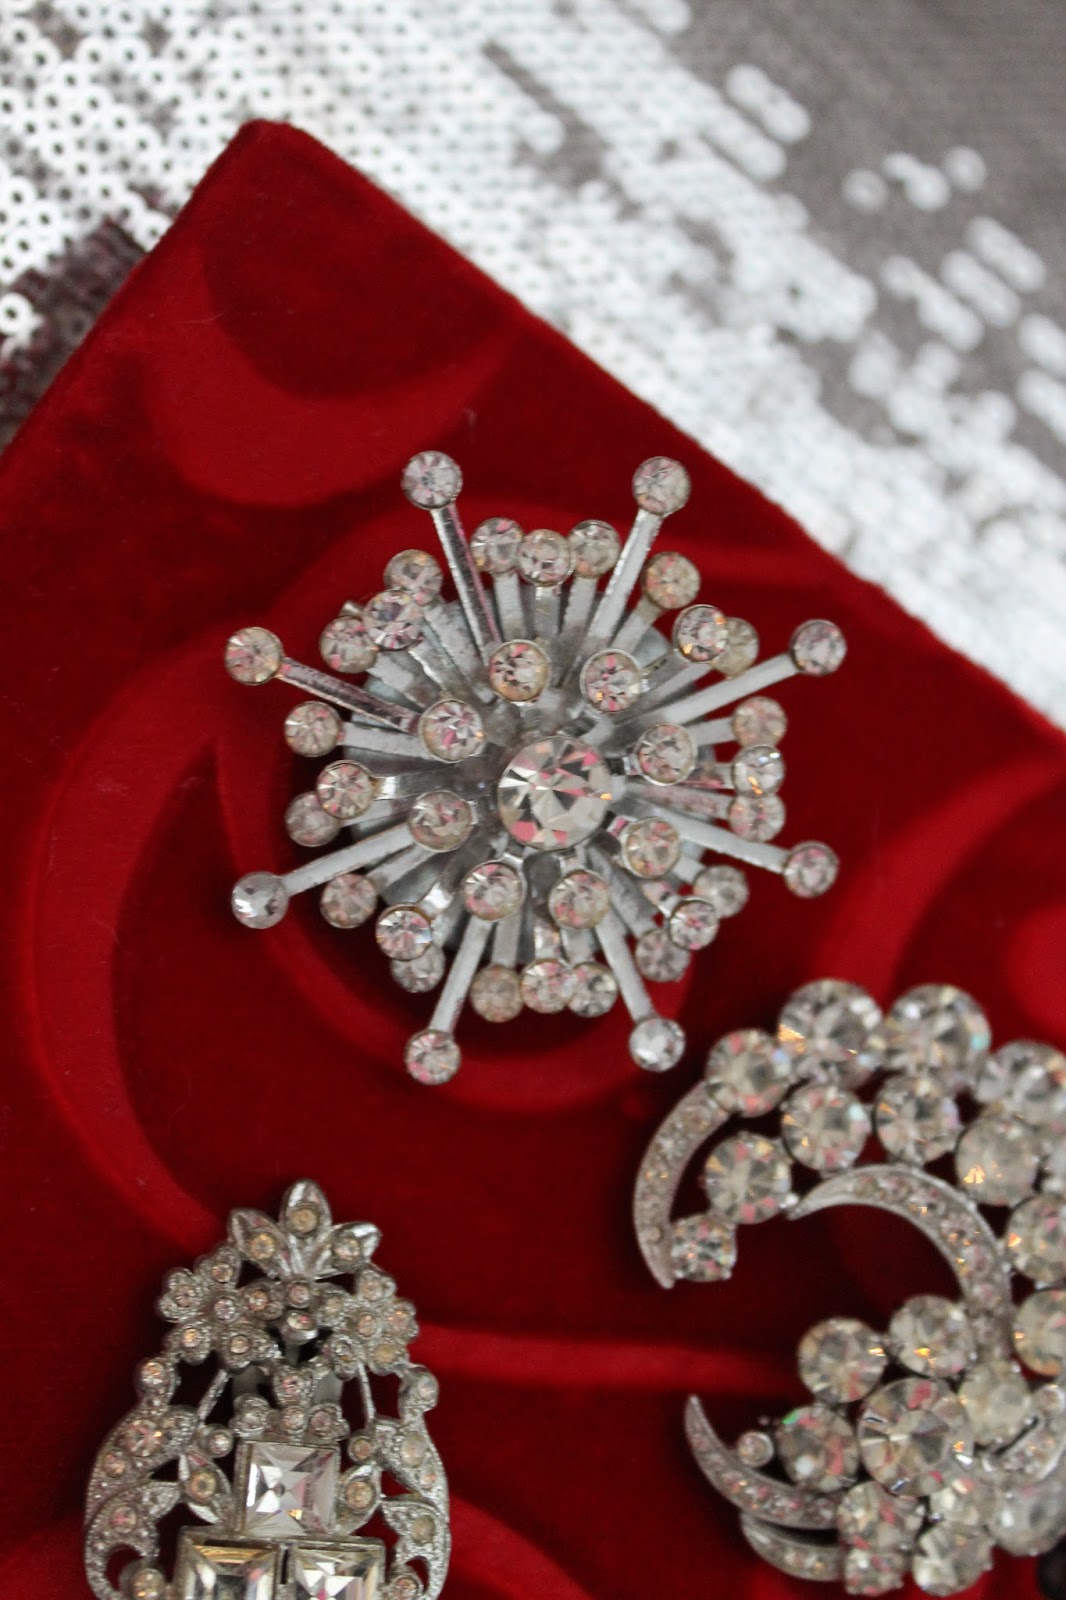
I love to collect vintage broaches found at estate sales and purchased on Ebay.  But what do you do when you lose a stone?  While shopping at Michael's one day, I found these in the jewelry section. I liked these especially because of the Swarovski shine.  This particular box came in 
 various sizes which was perfect.


A bit of Elmer's glue was placed under the rhinestone. Can you tell which rhinestone was replaced? 


 I'm not going to tell you!.


From now on, I will be able to replace stones in other broaches.  This was a great discovery.  Now, you too can fix those broaches of yours.


Monday, January 4, 2016

ADDING LACE TO AN ANN TAYLOR LOFT TOP

I had been looking for a particular top to wear with jeans for quite some time.  I really liked the look of lace peeking out underneath the hem of a casual top, but I haven't come across one that I like
while shopping.

While Christmas shopping for the girls, I came upon this Loft top at TJ Maxx.  I don't usually wear this color, but I loved the way it hung a bit lose at the bottom.


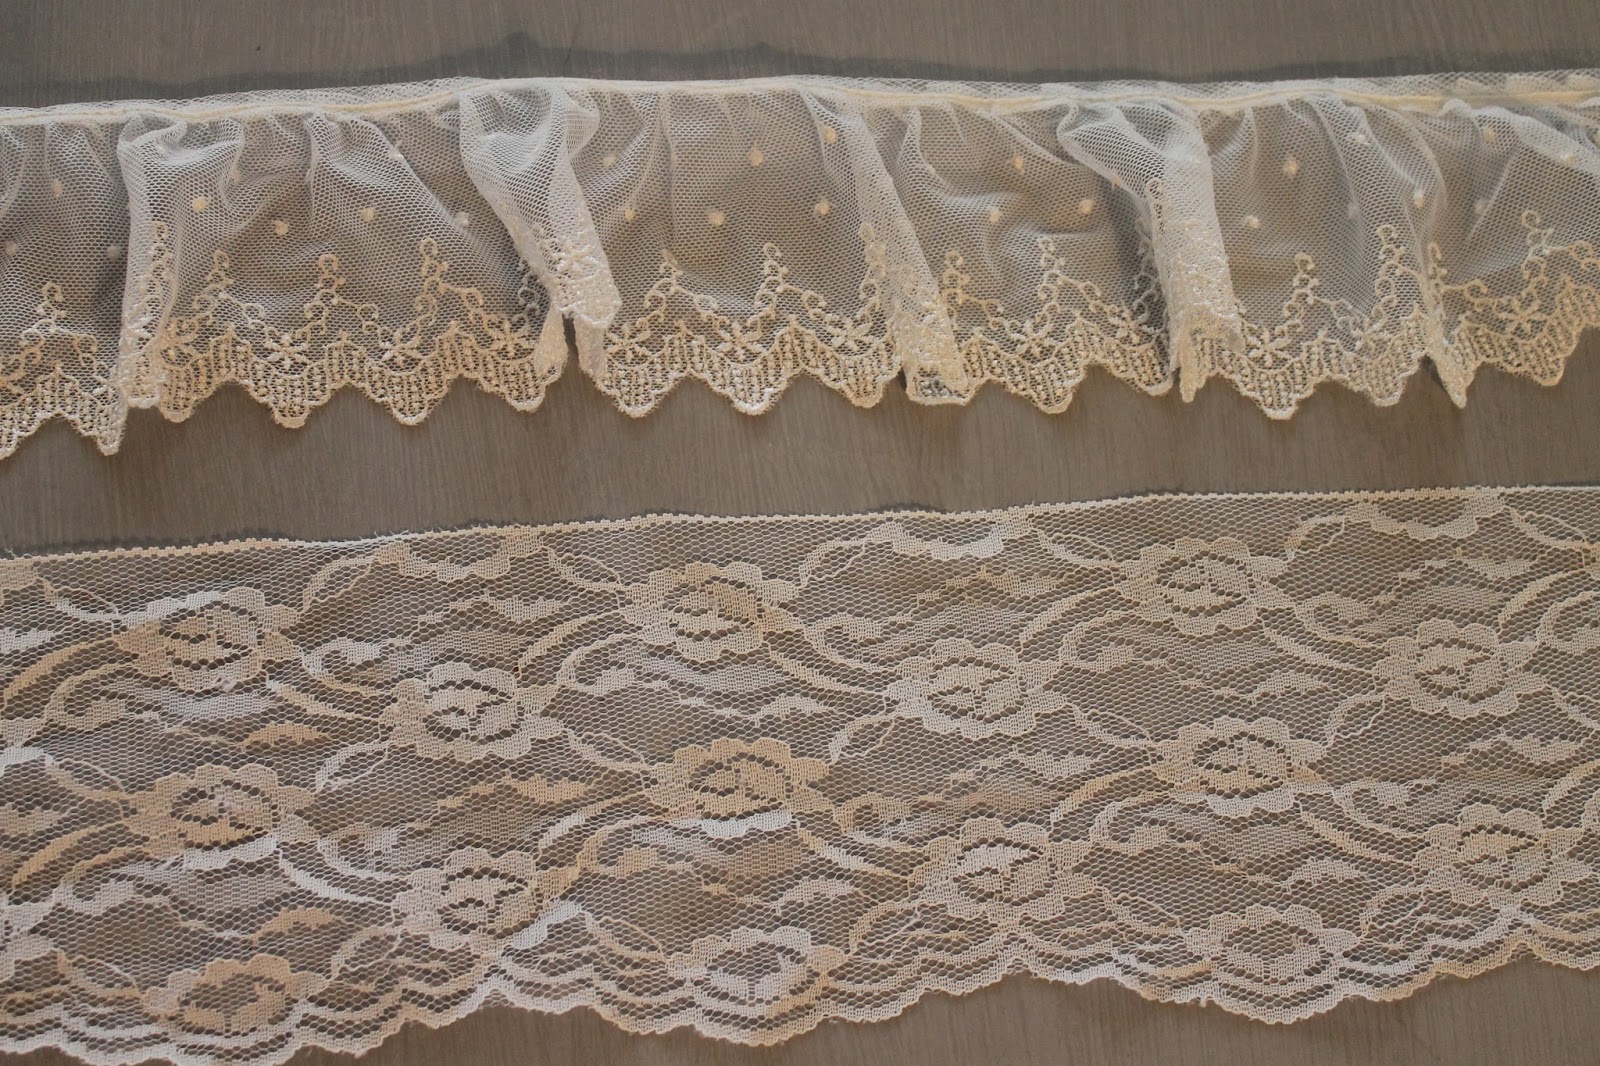
I had some wide lace ribbon in my bin that I was anxious to use.  It is so pretty and very dainty.


I also found this piece of ruffled lace that I liked even better.


Basically all I did was to sew this lace on the underneath hem of the top.  Here is the top before adding the lace.


And here is the top finished in under 20 minutes.


You can do this with any top with a lose bottom. 
Easy peasy is what I call this one.