Tuesday, September 25, 2018

FUN FOOD AT THE BUNCO FUNDRAISER

Our Ladies Auxiliary at church put on a benefit for a Domestic Violence Program in our area.
The one thing that our group does amazingly well, and I hate to brag, is cooking for our community events.  Yearly, we have a fundraiser, an Oktoberfest and we also alternate having a Mardi Gras or St. Patrick's Day meal every year.  The neat thing about our events is that we cook from scratch-yes-scratch.

For our fundraiser, we made baked chicken wings with Emeril's Essence, Swedish meatballs, cheese balls in the shape of wine bottles, salami bites, Black Forest ham and Swiss cheese sliders, a ginormous fruit platter and mini brownies frosted with white frosting to look like dice--it was a Bunco party.

I want to share one recipe that we tried.  It will go in my recipe file, because not only was it easy, it was simple and oh so tasty.

SALAMI BITES

This recipe makes 40 mini muffin appetizers.

First, mix together 8 oz. softened cream cheese, 1 c. grated mozzarella, 1 c. grated fresh Parmesan and 1- 9 oz. box of frozen spinach, thawed and squeezed dry of all water.

The next step was to take a thin slice of Genoa salami and using a 2 3/4 in. biscuit cutter, cut a hole out of each slice.  Then take a snip at opposite ends of the salami.  This will allow the salami to fit in the mini muffin cups.  YOU do NOT need to spray Pam into the muffin pans because the salami has enough fat in them.  I promise you they do not stick after cooking.

Place one circular piece of salami in the bottom of each mini muffin pan and place a dollop of the cream cheese mixture on top.   

Bake for about 20 minutes, or until slightly brown in a 350 degree oven.  Let cool for about 10 minutes before removing them from the pan. These tasty bites can be served at room temperature so it is not a last minute kind of appetizer.  I love this!


Here is the dessert press for our Bunco players to enjoy eating before starting their game.


We served about 90 guests and our organization was able to make a substantial donation to our community Domestic Violence Program.  And that, is a good thing.

Monday, September 17, 2018

WILDFLOWER CENTERPIECES FOR WEDDING RECEPTION


One of my daughter's friends was married recently.  On their 'honeymoon', two of her friends went with them to climb Mount Rainier.  One of them was my daughter.  Though they had a wonderful time trekking up the mountain, it was a challenge.

When the couple returned, they had a reception. I volunteered to help the bride decorate for the reception.  Her theme was hiking and camping.  I pulled out a few of my vintage suitcases to start the juices flowing for our decorations.

When it got around to centerpieces, I mentioned that we could use wildflowers.  Because she was on a budget, I suggested uses soup cans as vases.  I pulled off the labels and glued birch wrapping paper around them.  Adding twine finished off the display.  I suggested wood slices to anchor the centerpieces.  The bride mentioned that an old tree had fallen on their property and her father made the slices for her.  The floral lady from church worked her magic and placed the flowers in the 'tin' cans.

The last touch was to add copies of vintage Mt. .Rainier posters on a flower  pick to the bouquet.

And this is the result....


The bride had 16 round tables, so at the end of the night, she told me I could take the flower arrangements.  One of our parishioners works with the boy scouts and asked me if she could have the tin cans.  Easily, these rustic cans would work for the scouts and I was going to throw them away.  So, I brought them home and filled my mantle and a vintage basket with the cans.


It was wonderful to have a room bursting with blooms for a few extra days.

Just goes to show, what you can do on a budget!


Saturday, September 1, 2018

FAMIILY BRIDAL SHOWER


Another  family wedding is upon us and I realized that I never posted about the bridal shower that the girls in the family gave Megan.


The inspiration came from one of Megan's favorite colors-which morphed into Tiffany blue.  That was all I needed to get onto the planning for this family event.  We set the date in order to have most of the girls attend.  Last Thanksgiving, we came together to celebrate Megan and her upcoming marriage to Andrew.  The day was full of activities.  Thanksgiving morning, we had the shower and that afternoon, we held Thanksgiving dinner at a room at the hotel.


I wanted to have an elegant shower presentation.  First of all, I couldn't have done this shower without my sister Karen, who allowed us to use her beautiful home for the shower. Also, since I was coming from out of town, my sister, Sharon helped too.


My youngest daughter came up with the idea of draping the pearl strands into the chandelier.


Thoughts of Audrey Hepburn brought to mind pearls, Tiffany blue and silver.  All accents incorporated these accents.


The menu was placed in a beautiful pearl and rhinestones encrusted frame.


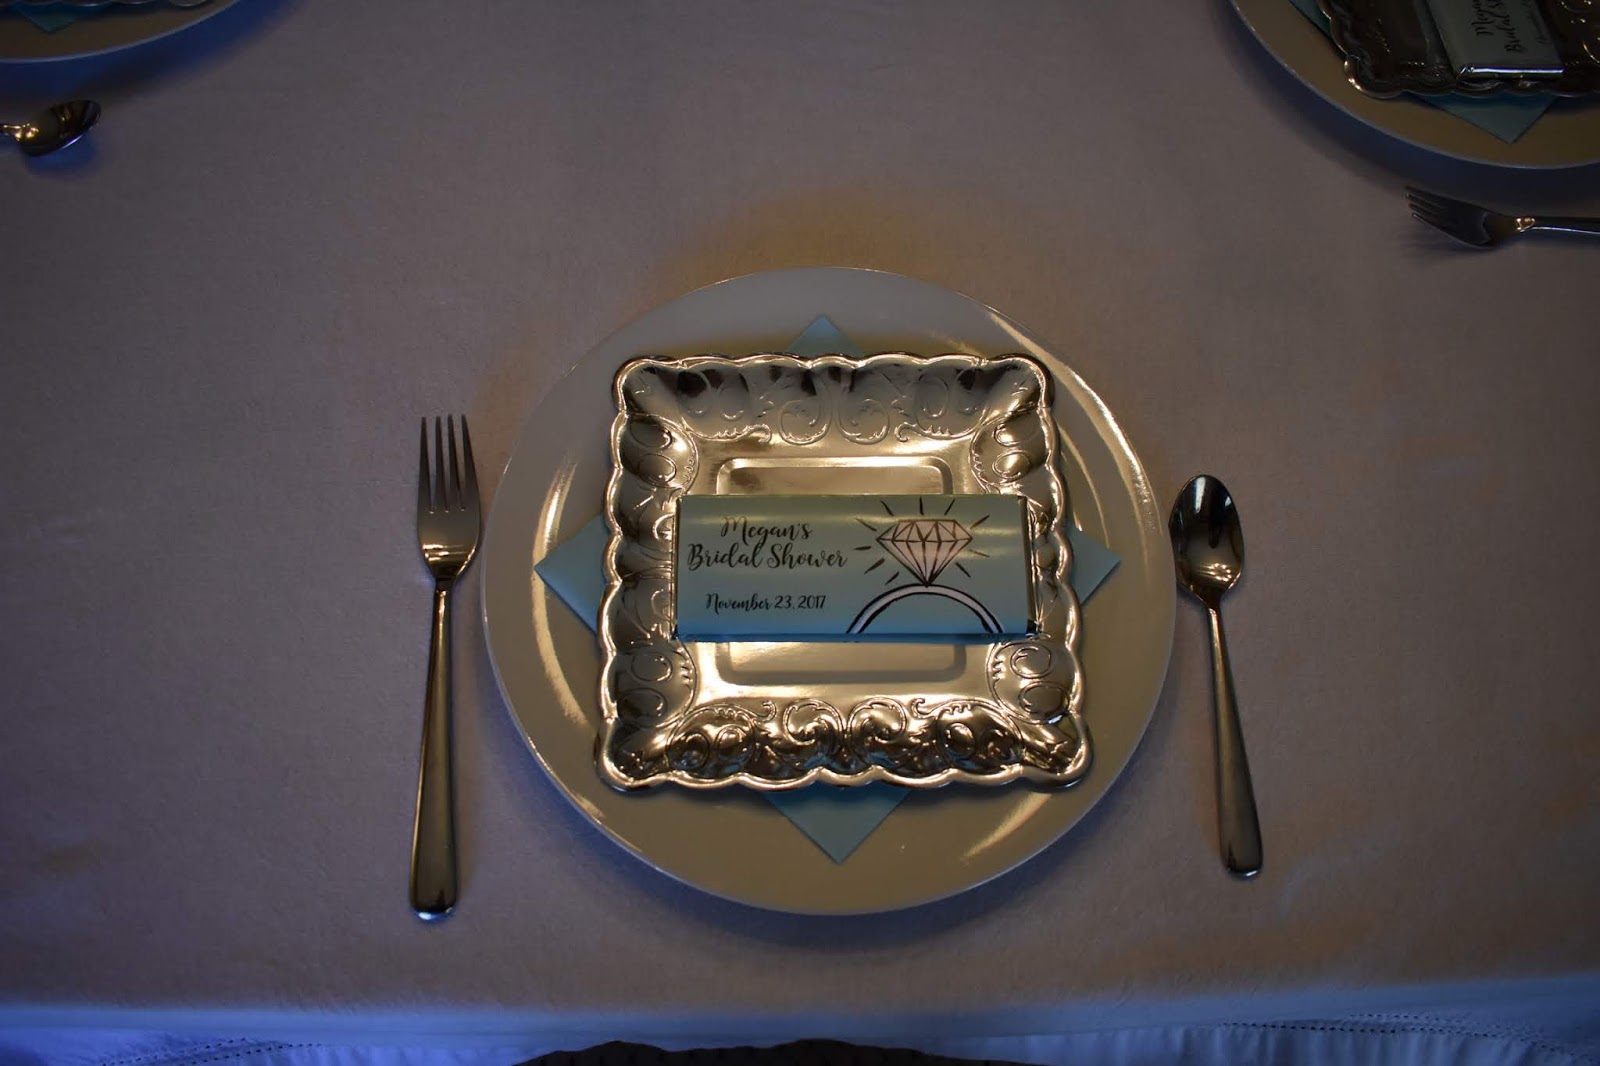
I tried to come up with a favor for the shower.  I found these cute Hershey bar wrappers in the Tiffany color.  On the back, the wedding date was printed.  The silver paper dessert plates added to our Parisian glamour.


For dessert, Megan requested cheesecake, so we had a 3 tiered display of various types of cheesecake.


Another picture of the dessert sideboard.


A plate of mini quiches, fruit kabobs and cinnamon mini rolls was just the right amount of food for a bridal brunch.


I must stop and share with you the amazing talent of my sister-in-law, Debi who created these gorgeous floral centerpieces. Isn't this one beautiful?


And finally, our happy bride to be!


Sunday, August 26, 2018

SHRIMP AND CHEESY GRITS


My idea to try to make shrimp and cheesy grits came about when we went to the Metro Diner and tried their shrimp and cheesy grits.  I was in love!  

After looking on line for a copy cat recipe for this recipe, I researched and found a recipe that I could try out at home.


Here is the recipe that I made for my family.  This recipe will serve 4 people.

Ingredients:
1 lb. of shrimp, peeled and deveined
1 lb. Andouille sausage, sliced
1 T. garlic powder
1 T. onion powder
2 tsp.black pepper
1 tsp. dried thyme
1 tsp. smoked paprika
1/2 stick of butter
2 T. olive oil
2 stalks of celery, chopped
1 bell pepper, diced
3 cloves of garlic, minced

For the grits:
1 c. grits
1 c. water
1 c. whipping cream
1 c. chicken broth
1 stick of butter
1 c. sharp cheddar cheese, grated
1 tsp. black pepper
1 tsp. garlic powder
1 tsp. onion powder

****The ingredients for the shrimp seemed to me to be way too much for me.  I cut all of the dry spices in half and it still turned out very flavorful.  Mr. Thrifty really liked it but it was a bit spicy for me.

Instructions:

In a large pot, bring all liquids except cream (for the grits) to a boil.  Add butter and seasonings.
Slowly, stir in grits while whisking non stop for about 2 minutes.
Reduce heat to low and cook grits, stirring occasionally for about 20 minutes.
Adding extra broth as needed to keep the grits  thin.  I did not add additional broth.  Add cheese and whisk well.  Then, add the whipping cream and remove from heat.

To prepare the shrimp:

I added half of the shrimp spices to the shrimp about 15 minutes ahead of cooking.
In a large skillet, add the butter and olive oil over medium high heat and add all the vegetables, except garlic and saute for 5 minutes.  Add garlic and saute one more minute.

Add Andouille sausage and saute 10-15 minutes, until browned.  Add shrimp and cook about 3-4 minutes.

Serve on top of a heaping scoop of cheesy grits.

LESSONS LEARNED:

1.  I used only 1/2 of the dried seasoning for the shrimp.
2.  Andouille sausage really has a kick. I would cut back to half if I were to make it again.
3.  I froze half of the cheesy grits and will use them as a starch for another dinner.  THESE WERE THE BEST CHEESY GRITS I HAVE EVER HAD!

I didn't take a whole lot of pictures.  This picture shows the veggies and the sausage sauteing.


Cheesy grits cooking.


Completed shrimp, Andouille sausage and veggies.


The finished dish.


The cheesy grits were so amazing that I had just a bowl of them the next day.


I will definitely be making this dish again! 

Friday, August 17, 2018

CHINESE MOSAIC CROSS


A friend of mine stopped me and asked me if I knew anything about mosaics.  I had to laugh, since it is one of my signature projects.  Apparently, over Christmas, her buffet shelves had broken and all of her china service had shattered.  She was wanting to know how to make mosaic crosses to use for future auction projects.  I told her I would ready my supplies and she could come over and I would teach her how to go about making her mosaic treasures.

Since it was right before Easter, I picked up two resin crosses at Walmart for $2.48 and primed both of them.  I had wanted to make another larger Chinese blue mosaic cross since the last one was a present to my Mom, because she loved all things blue.

 I got out my adhesive and created a blue cross out of one of the crosses.


Now, when she is ready to come over to make her mosaics, I have one to show her how to glue the china pieces to the cross.  The second one is the Chinese blue mosaics that she can grout so she has both processes down before she returns home to begin her own.

I'll let you know how the lessons go later.

The lessons went well.

Here is the finished grouted cross.


Wednesday, August 8, 2018

AUTHENTIC REFRIED BEANS AND TOSTADA RECIPE

 
While visiting San Antonio during our last Sisters' Weekend, we ate at not once but twice, Rosario's Mexican Café Y Cantina.  The refried beans were to die for so we had to make a return visit.
Years ago I made homemade refried beans.  The Mexican influence comes from my Mom's cousin, Marts.  When we were growing up, Marts and her Mom, Aunt Stacia, would travel from California and bring my Mom Mexican food products.  This was before we could travel to the south side of Peoria to Ciota's, which was the only place in town to carry them.  I am getting off script..excuse me. 
Actually, refried beans are relatively inexpensive to make.  I usually at least double the recipe so I can freeze half for a later date.  I promise you that you can't stop eating them.
Here is my recipe.

Tonight, I was going to make tostadas.  My ingredients include refried beans, grated cheddar cheese, green chilies and flour tortillas.

The first step is to puree the refried beans that I made yesterday.  The recipe made 2 quarts.


Here are my other ingredients to make the tostadas.


 I used one quart for the tostadas and froze the second quart for another meal.


To assemble, I put oil in the fry pan and heat it up.  I toss one tortilla in and spread a few tablespoons of the beans and a few diced green chilies to cover the tortilla.  Then I sprinkle cheese over the beans.  I top with another tortilla.  I flip the tortilla when golden brown and cook the second side.  Drain on paper towels and then cut in quarters.  I serve this with sour cream, chopped tomatoes and taco sauce.

Yummy.  Get your refried beans fix!