While the coronavirus was beginning to brew, I made a list of ‘unfinished’ projects that needed to be completed.
This project has been 10 years in the making. When I was packing up for our move to Alabama, I found my white Damask napkins had a lot of fraying around the edges. I didn't have the heart to toss them, so I put them aside. While visiting Ikea, I picked up 8 tomato red linen dish towels. This got me thinking that I could make a not so normal patriotic quilt. I just needed blue fabrics. While at Joanne Fabrics, I hunted for a deep cobalt blue and white fabric as well as a vibrant red gingham(I love any gingham patterns!). I fell in love with one and decided to use it as my backing as well as pieces for the front of the quilt. Since my other fabrics were not deemed 'quilting' fabric, I thought that a men's shirting fabric would finish out my materials for the quilt.I showed my idea to Mr. Thrifty and he made a template on the computer. He is so amazing at this type of computer work.

All of the fabrics sat in a bag at the bottom of one of my lidded baskets in the bedroom for almost 10 years.
This showed the dimensions I was planning in making this quilt.

The beautiful deep cobalt blue and white fabric.

Here are my fabrics.


Now, it's 2020 and I was needing a posting for July 4th. So on February 20th, I began the project. In the design, I wanted to have 12 1/2 in by 12 1/2 in blocks and 6 1/2 inch by 61/2 inch blocks. The extra half inches on the patterns would cover my seam allowances.

Using my computer pattern, I began pieces the patches together. Notice the fraying napkins.


In this narrative, I need to step back and tell you about why I decided on making a quilt out of used material. My Grandma Roth was a quilting ninja! She made numerous quilts. She gifted me with one made out of her leftover polyester dress fabrics when I graduated from college in 1977. The backing for this quilt was a regular bedsheet. When I last picked it up, I noticed that it didn't even have batting between the two layers. I have used this quilt off and on for 43 years! Notice Grandma's hand embroidered date.

Once I finished the exact pattern of the front, I realized that it wasn't large enough as a 3 by 4 feet quilt. But, I had run out of the damask napkins. If you can't ever find something, go to the Internet. Someone on eBay was selling 7 damask napkins with the exact same design. Once I ordered the napkins, I was ready to expand my quilt pattern.
To make a long story short, I received the napkins and added an extra row of squares to the top and 2 squares to the bottom of the quilt. But now, would I have enough of the backing fabric?
The blue and white fabric was only 42 inches. I cut the yardage of fabric in half and pieced it together to make it 84 inches wide. Now, I had a piece large enough for the backing.

I'm sorry to get off track again. I really wanted to incorporate a monogram on one of the squares. A friend's sister has this incredible monograming sewing machine. I spent an hour with her and she showed me the process. On her laptop, she uses a monogramming app to design the monogram. I wanted a tomato red L laying below the J. The reason we used the J on top of the L was because if we did it the other way around, you would miss major components of the letter.
After sizing it, she put the design on a flash drive and went to her sewing machine. After she placed the flash drive into the sewing machine, she pulled the two colored threads onto the spools.

Using a frame, she inserted the material and the pushed a button and there was the L.


Then the J was sewn over the top of the L.
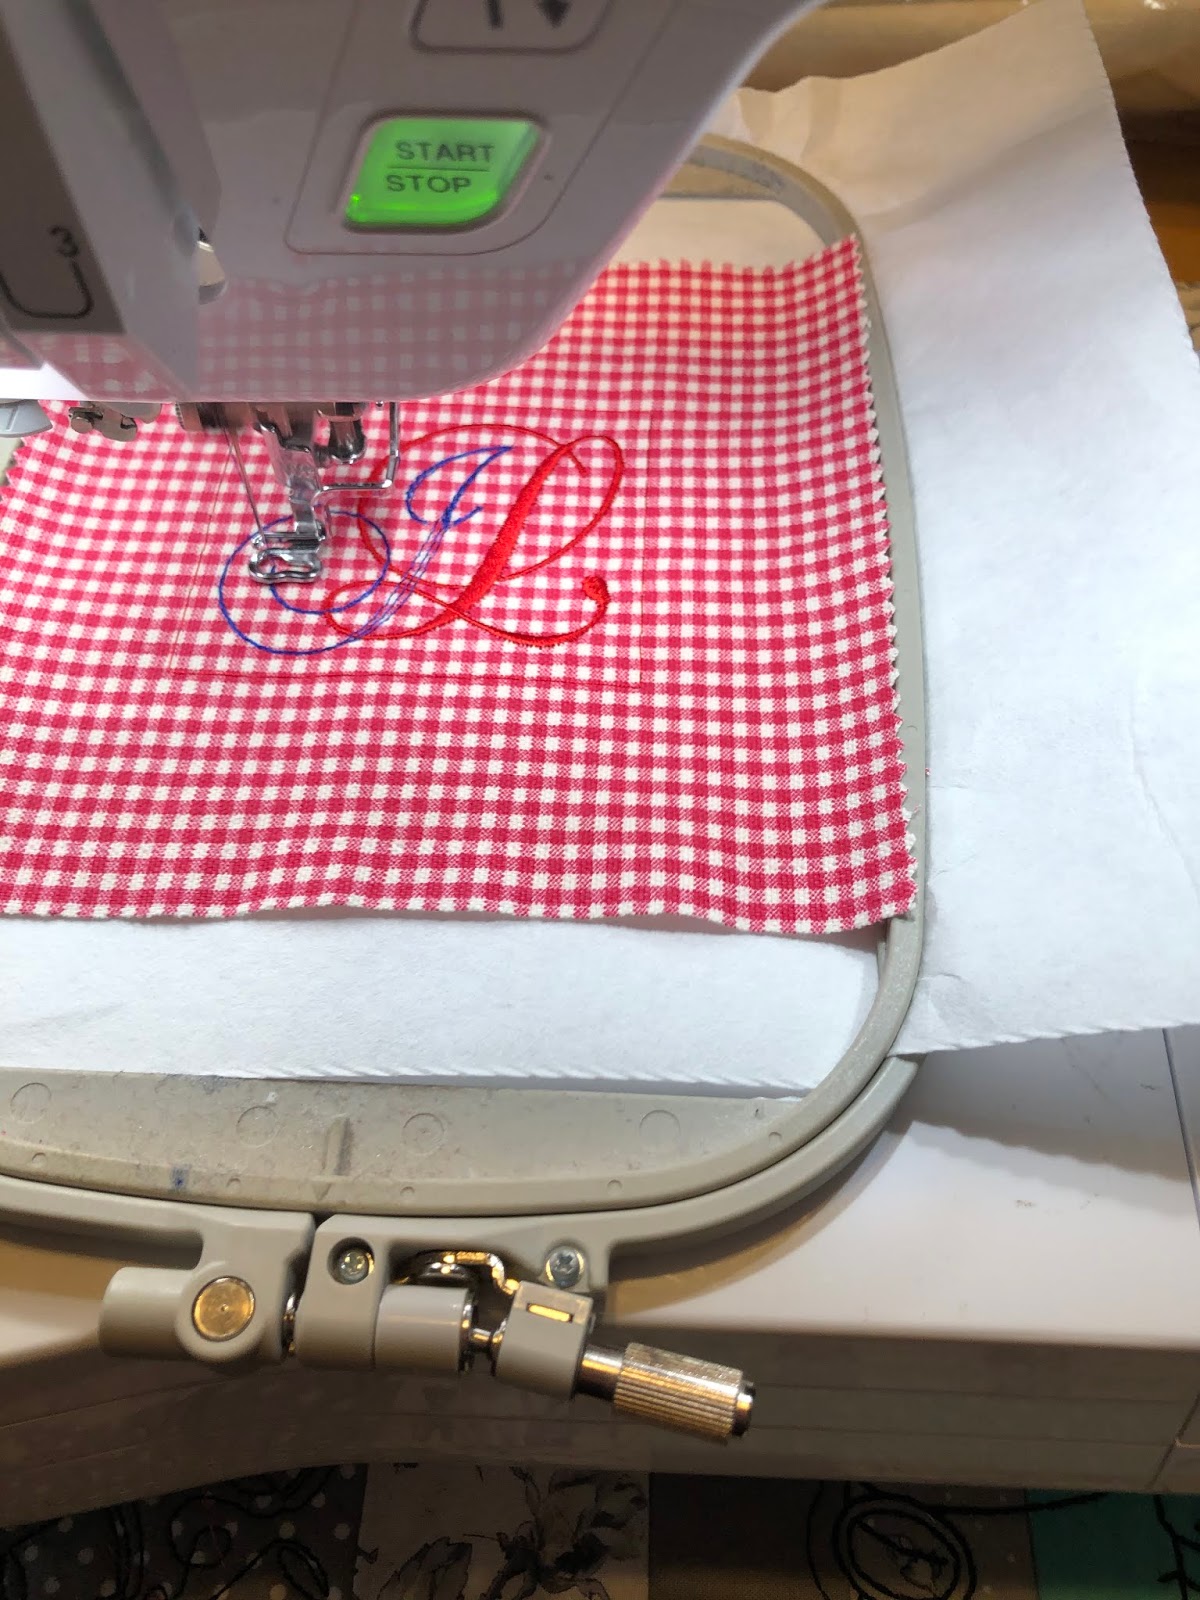
Once all the sewing was done, she pulled the paper fabric that she had attached to the underneath of the fabric off.


I could have sat there all day watching her monogram. I asked her how much her sewing machine cost and she said 14. I said 1,400 and she said NO, 14,000! Yes, but she uses her machine a lot and she does a lot of embroidering images on her quilts, so it is well worth it to her. By the way, Martha is an amazing seamstress! I loved spending time with her observing such a talent. Thank you Martha!!!
So, I returned home and started piecing together my squares.

Now, I have the front of my quilt squares sewn together.

Another trick Martha showed me was how to use spray adhesive to glue the front, batting and back of the quilt together. It really works and really helps in reducing slippage while you are actually quilting on the machine.


I had to wait until my
Amazon order of cobalt blue double binding tape arrived. The pink roll is for my second quilt, but that's a whole new other posting.
Meanwhile, the Corona virus hit so we were quarantined at home. Now, I had no excuse to finish the quilt. I quilted on Tuesday and Wednesday on the machine.


I attached my quilt walking foot to the machine and quilted from the front of the quilt. Here is the back when I finished the quilting.

Before adding my binding, I watched a few online videos. There are so many amazing sites out there and I learned so much. To begin the binding process, I sewed the underneath of my binding to the front of the quilt. It took a bit of practice to make the corners mitered.


Thursday, Friday and Saturday, I sewed the binding to the back of the quilt by hand.
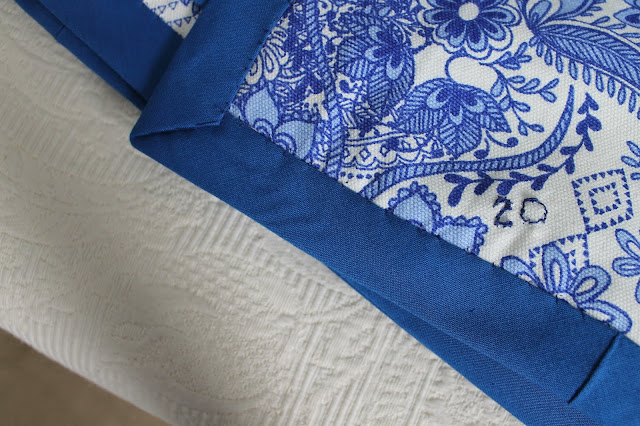
On Sunday, I embroidered 20 on the back of the quilt for the year. Just like Grandma!
Already with the Corona virus, this quilt has created memories.

Already with the Corona virus, this quilt has created memories.
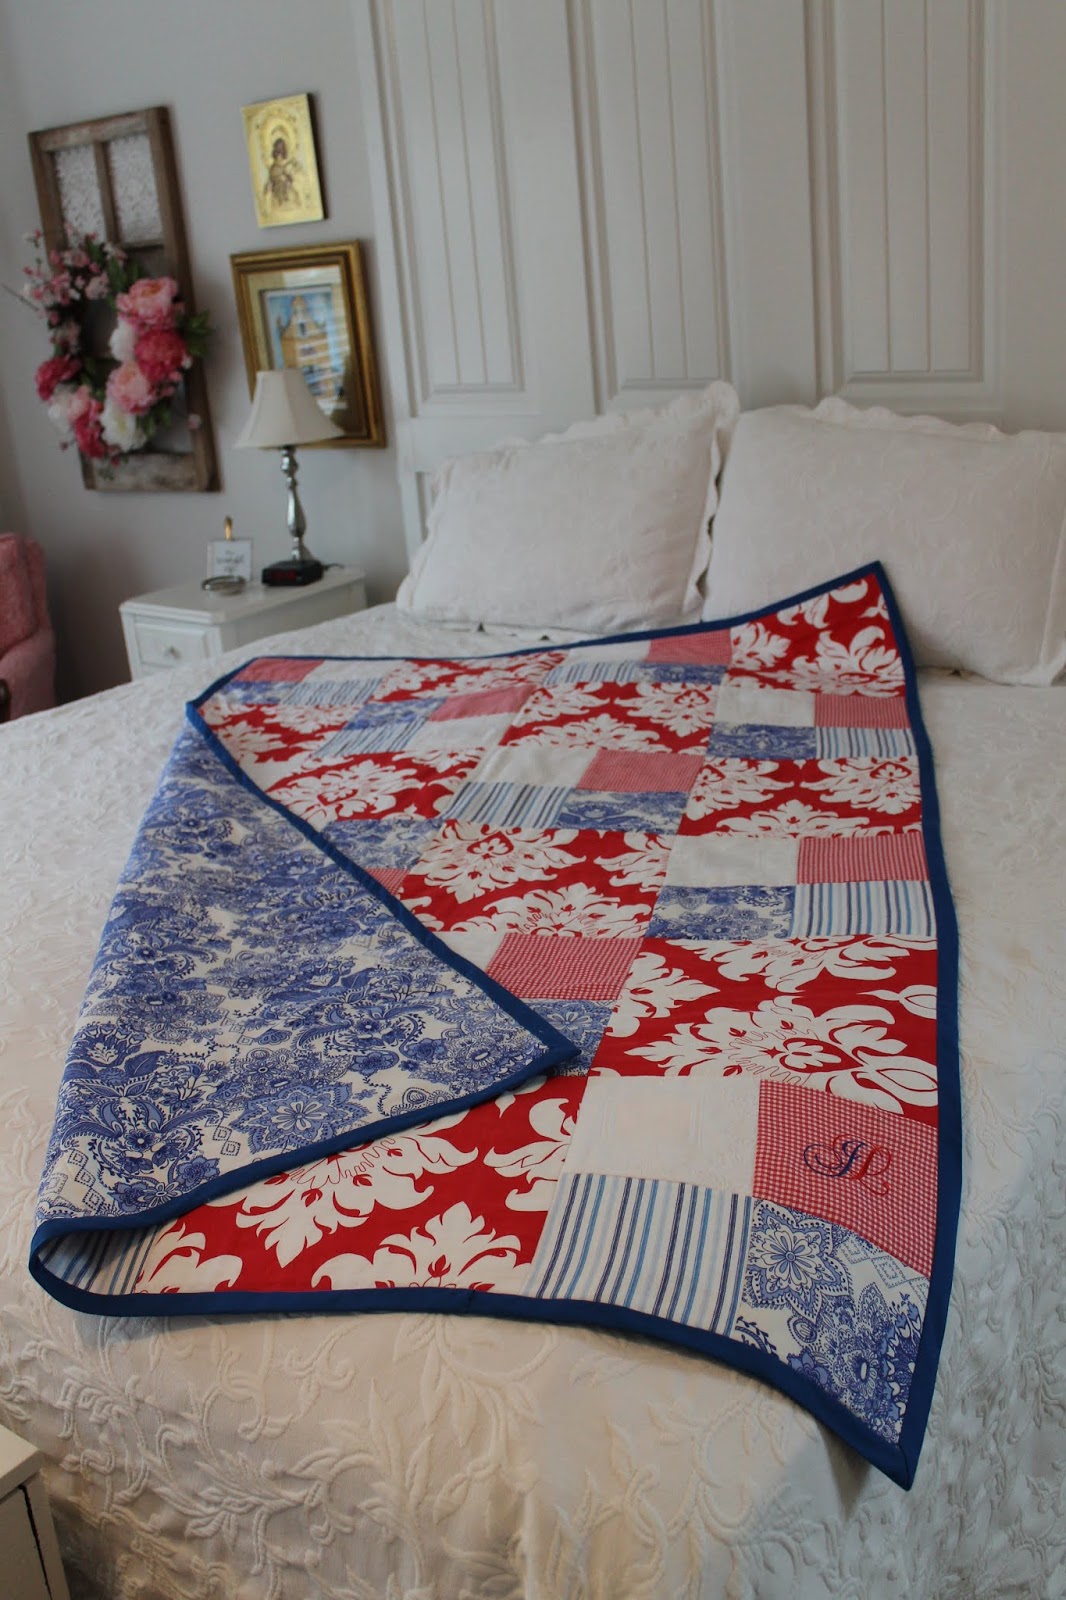
I'm thrilled with the results. It is always fun to tackle new found sewing skills. I learned a lot from this process. Thank goodness I persevered and finished.
HAPPY 4TH OF JULY!!!