Sunday, September 6, 2015

ANTIQUE BIRDCAGE FROM TONGEREN FLEA MARKET IN BELGIUM

 I have always loved bird cages.  I don't know why, but this image of a Victorian bird cage caught my eye on the  Graphics Fairy site.
There is a backstory here.  My dear friend, Brenda lived outside Brussels years back.  As a single teacher, I traveled on my spring break to visit her and had a personal tour of the area.  This was one of my most favorite trips ever.  Going on an European tour is always better when taken by a resident of the area.  Brenda and her husband Bob took me to a vintage castle, a drive through the Bluebell forest, dinner in a quaint restaurant eating mussels off the Grand Place, a trip to the Saturday flower market and shopping at the local grocery store.

One of my favorite sites to see was our visit to the Tongeren Flea Market.  Here are some images that I pulled off the Internet. Pictures sited from the Rococo Roamer blog site.


There were so many antiques that it almost can cause an overload of stimulation.  It is my most favorite flea market that I have ever visited.

I believe that Brenda bought this birdcage at the Tongeren flea market.

Because they were downsizing in their house, Brenda wanted to find a good home for her birdcage. While visiting her this summer, she gifted me with this fabulous birdcage.

The door  works perfectly.


The carved arches are symmetrical.


The water dispenser is made of metal.


 Isn't it a beauty?

 I knew that this birdcage would become a staple in my future displays around the house.

   In my mind, I knew what I wanted to do, but it seemed impossible.  Initially, I wanted to insert my oriental blue and white pottery inside the birdcage.  The problem was that there wasn't a hole large enough to insert them into.  Help--Mr. Thrifty.  Unfortunately, he was at work so I had to figure this out on my own.

Find out on the next posting what I did with this amazing object.


In order to appropriately express my gratitude for such an amazing gift, a homemade card was in order.


Brenda, I will always cherish this special gift.  Thank you for giving me the opportunity to create more vignettes with this unique birdcage.  I love you!

Tuesday, September 1, 2015

BREAKFAST BURRITOS

I have been feeling guilty lately for not making a substantial breakfast for Mr. Thrifty on the weekends.  Since he leaves for work at 5:30 during the week, the weekends are the time for me to whip up a hardier breakfast.  Well, that was before I would make my great green smoothies for myself every day.
 
So on this Sunday, I decided to give him a surprise.  Before I started, I asked him "Can I do a blog while I am cooking your breakfast?"  Being the patient man that he is, he said it was no problem.
 
To begin with this breakfast recipe, I must say that I can't believe it took me so long to use chorizo Mexican sausage in my cooking.
 
Lets begin.
 
The ingredients you will need are:  flour burrito shells, eggs, pepper jack cheese, taco sauce, sour cream and chorizo sausage.
 

Let's back up to the prepping of the ingredients.  You can find the Mexican chorizo sausage in your grocery stores.  I find mine near the cream cheese.


When I bring it home from the store, I take out the links, and cut off the casings.  I usually brown the ground meat inside a skillet.  You will notice that it is quite greasy.  After cooking it, I put it in a frozen zip lock bag so I can take out what I need for a recipe and keep the remainder to put back in the freezer.
 It thaws rather quickly.


To grate the pepper jack cheese block, I always first spray the grater with an oil spray.  You would be surprised how easy the cheese grates without gumming up the grater itself. 
 

Then set the cheese aside for assembling the burrito.


Before I start cooking the scrambled eggs, I assemble my burrito shells to warm them.  I take a regular microwave plate out and lay a somewhat wet paper towel on the plate itself.


Using this method, I can heat up about 4 shells at a time.  Then, I lay the flour shells on top of the wet paper towel.


The last step in this process is to lay another wet paper towel over the shells.  They take 1 minute to warm up in the microwave.  I set the dish in the microwave and wait until the eggs are almost cooked before I turn it on.  This way, the eggs and shells are hot at the same time.


I whip up 5 eggs with about 1 tablespoon of cold water.  Cook the eggs to your liking.


Take the warmed shells out of the microwave.  Lay one shell on the plate.  Notice how I lay the cooked eggs on the shell a bit to the left.  This is for easier rolling.  


Add a few dabs of sour cream next to the eggs.  Because the Mr. likes taco sauce on the burrito, I cut a fresh avocado and fill it with taco sauce to garnish the burrito at the table.
 

 Sometimes once he adds the remaining condiments and rolls the burrito, he likes me to put it back in the microwave for about 15 seconds to heat it all up.


These breakfast treats are delicious.  The flavors of the chorizo and pepper jack cheese detonate your senses.  I promise you--this will be a favorite in your home too.


Thursday, August 27, 2015

THE FRONT YARD IN AUGUST

I woke up Sunday morning and went outside to retrieve the newspaper.  The yard was looking rather lush, so I snapped a few photos.  With the dry, hot summer we have had, I was surprised to see the continued growth on the plantings.
Notice the up cycled French blue chair filled with hot pink vinca. 


 Already, the vinca is rooting beneath the chair.

With a closer look, you can see all the volunteer vinca seedlings take root.
 I'm curious to see if any of these seedlings come back next year.  I will have to wait and see.


 The rusty white iron chair is filled with the mini petunias planted in the spring.


There aren't many blooms, but the foliage is full.


A bit of color by the driveway balances the flowers on the house.


It will be interesting to see how long these annuals will bloom throughout the fall season.


Saturday, August 22, 2015

HOMEMADE BOOK SHELF FOR COLLEGE

We are now in the last days of prepping to take our oldest daughter to college.  When we visited for orientation, they had pre-made bookshelves on sale.  The one we were interested in cost $240.00. 
 
It is a simple shelf to fit onto her desk.
 
 
 I knew Mr. Thrifty could make one for a fraction of the cost.  He bought the supplies to create this bookshelf for under $30.00. 
 
Two days later, I had a built, wood puttied and sanded bookshelf.
 
 
I am always amazed at the Mr.'s precision in building projects.  The corners are absolutely perfect.


At the ready, I had my favorite spray primer, the Rust-oleum 2x ultra cover. After flipping the bookshelf, I gave it one coat of paint. 

 
 In 30 minutes of drying time, it was ready to flip to finish the remainder of the shelf.


My new college student painted the shelf with Paris Grey Chalk Paint.  Two coats did the trick with a bit of sanding in between coats.


Once we got the room all fixed up the shelf really did give her added storage and looked good.  I think this shelf will follow her through her college years and prove to be a very handy piece of furniture.


To improve on this piece in the future would be easy.  Cutting a piece of bead board and nailing it to the back of the shelf would make it more sturdy.
 
 For now, I know she will be happy to use the shelf  while away at school.   The savings itself was an awesome feat.  Great job Mr. Thrifty!


Tuesday, August 18, 2015

A SISTER'S GOING AWAY TO COLLEGE PRESENT

The rite of passage of having a daughter go off to college is upon us. 
 
 
 Yes, I have another daughter at home, but there is no denying that the homestead changes when one leaves the nest.  Now my attention will be completely on her.  I see the look of panic in her eyes when I mention it.  She is afraid of being alone with me.  I'm really not that scary!
 
My little one (she's 15) wanted to send  her sister off to college with a long lasting gift.  She came up with the cutest idea.
 
Let's get started. 
 
'Little one' as she shall now be called went to Michaels and bought a round mirror.  Later that weekend when we were at Home Depot, she caught sight of this black  magnetic board.  I asked Mr. Thrifty if we could attach the mirror to it and he said yes.  He  used Liquid Nails to attach the two pieces.
 
 'Little one'  came up with the idea of buying a round mirror, attaching it to some type of background, attach pictures of my oldest daughter and Mom together and the phrase written on the mirror: 
 

 BE THE WOMAN SHE IS PROUD OF


Something else that the Mr. showed me while we were at Home Depot were these amazing Super Magnets.
 

With the ability to attach the photos to the frame with magnets, I suggested that we use buttons to give them a little extra color.  In order to create cuter magnets, I bought some flower shaped buttons at Hobby Lobby.  I have a huge stash of buttons at home to add to the floral magnets.  These buttons brought out the colors in her comforter,  as seen below.


Here are the cute combinations that I came up with. Notice the strings of hot glue on some of the buttons? Sorry about that.  I did clean them completely off before attaching them to the magnet board. 
 
 Well--the hot glue did not work.  After we took the oldest to college, the magnets fell off all of the buttons.  We brought them home and Mr. Thrifty used Super Glue this time.  


Here are the button magnets from the back.


My 'Little one' asked me to write the words on the mirror with a Sharpie.  A better script would have been better, but she was pleased with this.  Meanwhile, my youngest picked out favorite pictures of Mom (Grandma) with and without the future college student. As a side note, my oldest daughter was so inspired by Mom that one of her essays that she wrote prior to applying for college was about the one person that inspired her--and that was my  Mom.


Here is the finished project.

 
 When 'Little One' gave her sister the present, there were tears. I really think big sister was overwhelmed. 
 
Later in the week, when we were moving the oldest into the dorm, she said that she wanted to hang the mirror picture frame in a spot that she could see it lying down in her bed.  It was to be in a prominent spot in her room.
 
Here it is.  I know not only will this gift be an ongoing inspiration to my oldest daughter to live up to her Grandmother's hopes but also will keep her memories close.

 
A big thank you goes to 'Little one' for the inspiration of this project.


Friday, August 14, 2015

LIME LITE HYDRANGEAS

It is surprising that with the lack of rain here that we can have voluminous blooms.  We went to a church event last week and these gorgeous lime lite hydrangeas filled the vases on the tables.   They were cut from a member of our church groups yard.
 

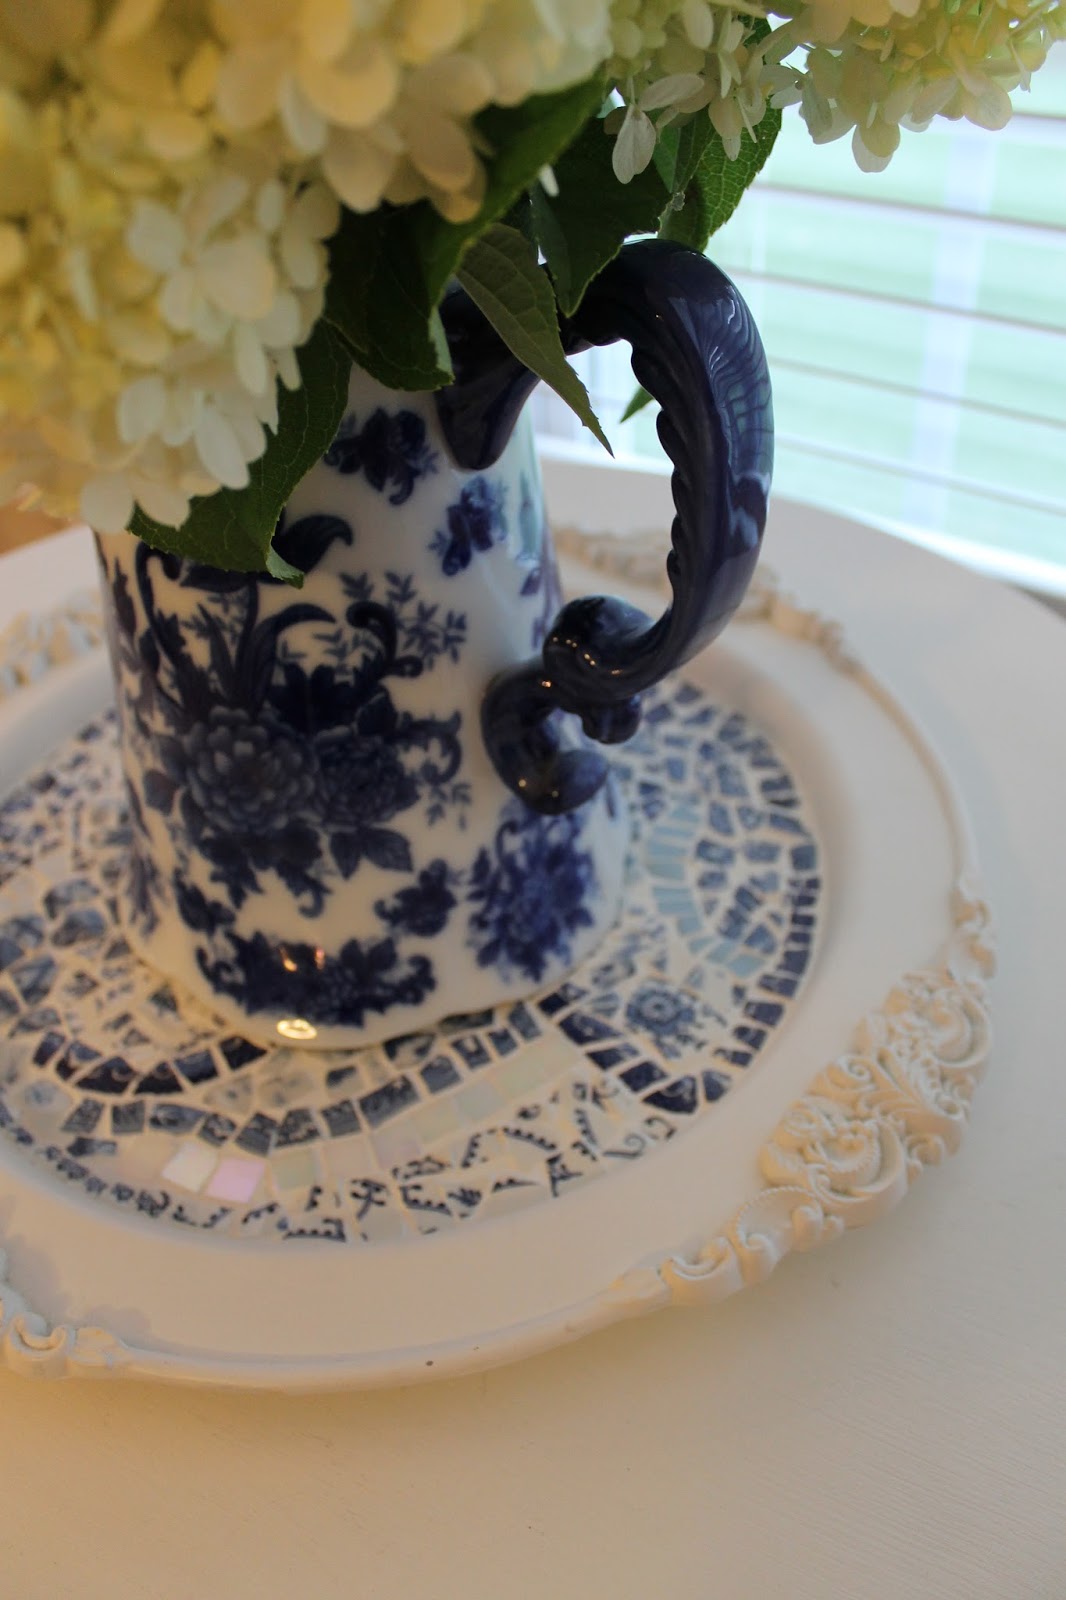
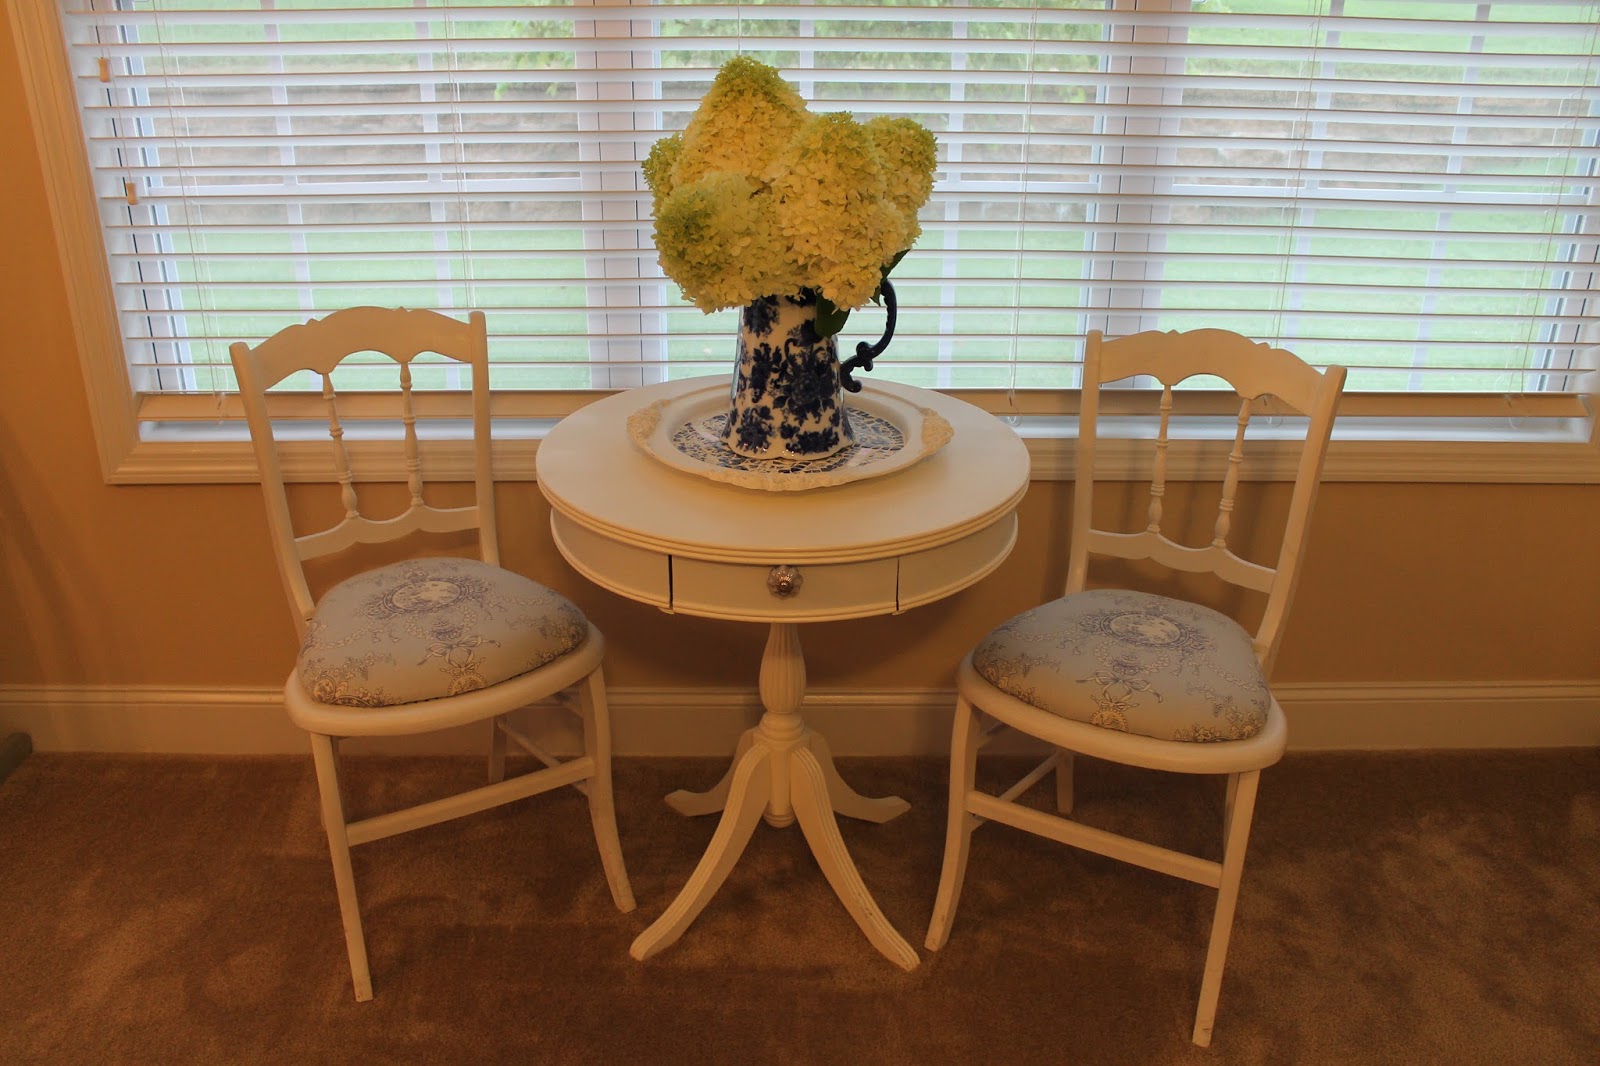
When we were ready to leave, they asked us to take as many blooms as we wanted home with us.  After I returned home, I pulled out a blue and white pitcher and put the flowers inside.

 
What a beautiful site to see on entering the bedroom.  


A bouquet can add such splendor in a room.


Never turn down an offer for free garden flowers.  I will make sure and tell my friend how much I appreciate the beauty of her bounty.