Monday, February 20, 2012

Born Again Frame

 Once upon a time, I was driving home from carpool about 1 block from my house.  I took a curve and immediately put on the brakes.  One of my neighbors had this frame sticking out of their trash.  I couldn't put the car in park fast enough to get out of the car and grab this treasure.  I loved the ornateness of it.  However, how was I going to fix the 3 corners that were so obviously damaged?  Well, I would think about it for another day.  Well, think about it I did for many days, in fact years.


  I just needed the confidence to acquire a new skill.  How terrifying!  It wasn't that I had put a lot of money into this piece already.  I pulled the wall Spackle out from the garage and started putzing around.  I attempted to model pieces to match the one remaining corner.  Below you will find a picture of the frame after I had 'sculpted' and I use that term loosely-- the corners.


  By all means, this project is not perfect, quite frankly, none of my projects are.  Once dried, I sanded the rough edges and spray primed it.  This next part was the really scary part.  I was going to silver leaf the frame.


After reading the instructions on a package of silver leaf papers purchased at Hobby Lobby, I got to work.  I asked my oldest daughter at the time to help.  She was about 10 years old.  We each started on different areas of the frame.  The first step after cleaning is to spray an adhesive that works with the silver leaf paper.  Then, you wait a few minutes, and start laying a piece of the silver leaf onto the wet adhesive and smooth it out with a soft paintbrush.  It couldn't be easier.  I really liked the look that it gave me.  This frame used 2 packages of the silver leaf paper.  It usually runs about $8.99 per package.  I wait for a 40% off coupon from the Sunday newspaper and stock up.  I really like this product.  I didn't want complete coverage because I wanted to retain some of its character.  Notice the patchiness in the below pictures.


The next deal was to find a mirror large enough to fit the frame.  This is about the time I found Habitat for Humanity Restore.  I walked in and picked up a mirror that was larger than I needed for $10.00.  Being a rookie at all this, I asked the store employee if she knew where I could possibly get this cut to fit a frame.  She directed me to a mirror and glass cutting store.  The man there charged me $15.00 to not only cut it, but staple it into my frame.  What a deal!  You couldn't buy a mirror 2" by 3" for $25.00. 
So roughly $11.00 for the silver leaf and $25.00 for the mirror and cutting, the grand total came to about $36.00.  OK, the sweat equity was there too, but it was so worth it!


Another rescue mission accomplished.
 

Friday, February 17, 2012

The Updated Menu Board

After I moved last April into the new house, I pulled a frame that was in my stash out in the garage.  I cut a piece of plywood(with the help of the furnace repair man).  I apparently was making him nervous as I was using the jig saw while having a cast on my right arm.  That's a whole other story.

Later that week, while I was in Home Depot, I was looking in the reject paint bin.(A great place to find cheap paint for smaller items)  I pulled an opened quart can of blackboard paint out.  Usually this paint costs around $20.00.  The sales person said the quart can was free, because it had been used. He wasn't sure if it was good.   Even if it didn't work, it was worth a try.  After bringing it home, I tried to interest my girls into painting the board for me.  They did the first 2 coats, and their patience wore out.  I finished it.  Nothing was done to the frame.    Cost so far:   nothing

Months later, I had asked my dear friend Tara if she would do a Menu script for me.  She has SO many talents, and calligraphy is one of them.  She is also way too humble if I say so myself.

 Weeks went by and she sent me a link from Graphics Fairy with this script.


Last Friday, I decided that I needed to be productive, so I called her for tracing advice.  She is a wonder!  She told me to shade the entire back of the script with the side of a pencil.   I traced only the black Menu letters.  The grey undertones were a bit much for my first time out.

I probably should have pressed harder on the shading part, because my tracing was rather light.


Next, I pulled out just some already opened acrylic white paint and the smallest pointy paintbrush that I could find.  It was slow moving and not perfect by any means.  There is a joke in my household between my husband and me.  If it isn't perfect, then it's 'shabby chic'.    Here are the close up results.  Don't look too carefully.


And the whole wall arrangement. 


The two smaller pictures with the vintage copper are for another blog entry.  I picked up a vintage gold picture hanger at an estate sale a few weeks back for a quarter and I want to incorporate that into the picture arrangement too.  Stay tuned for that one.  Total cost of menu board project?  Free

Tuesday, February 14, 2012

Happy Valentines Day

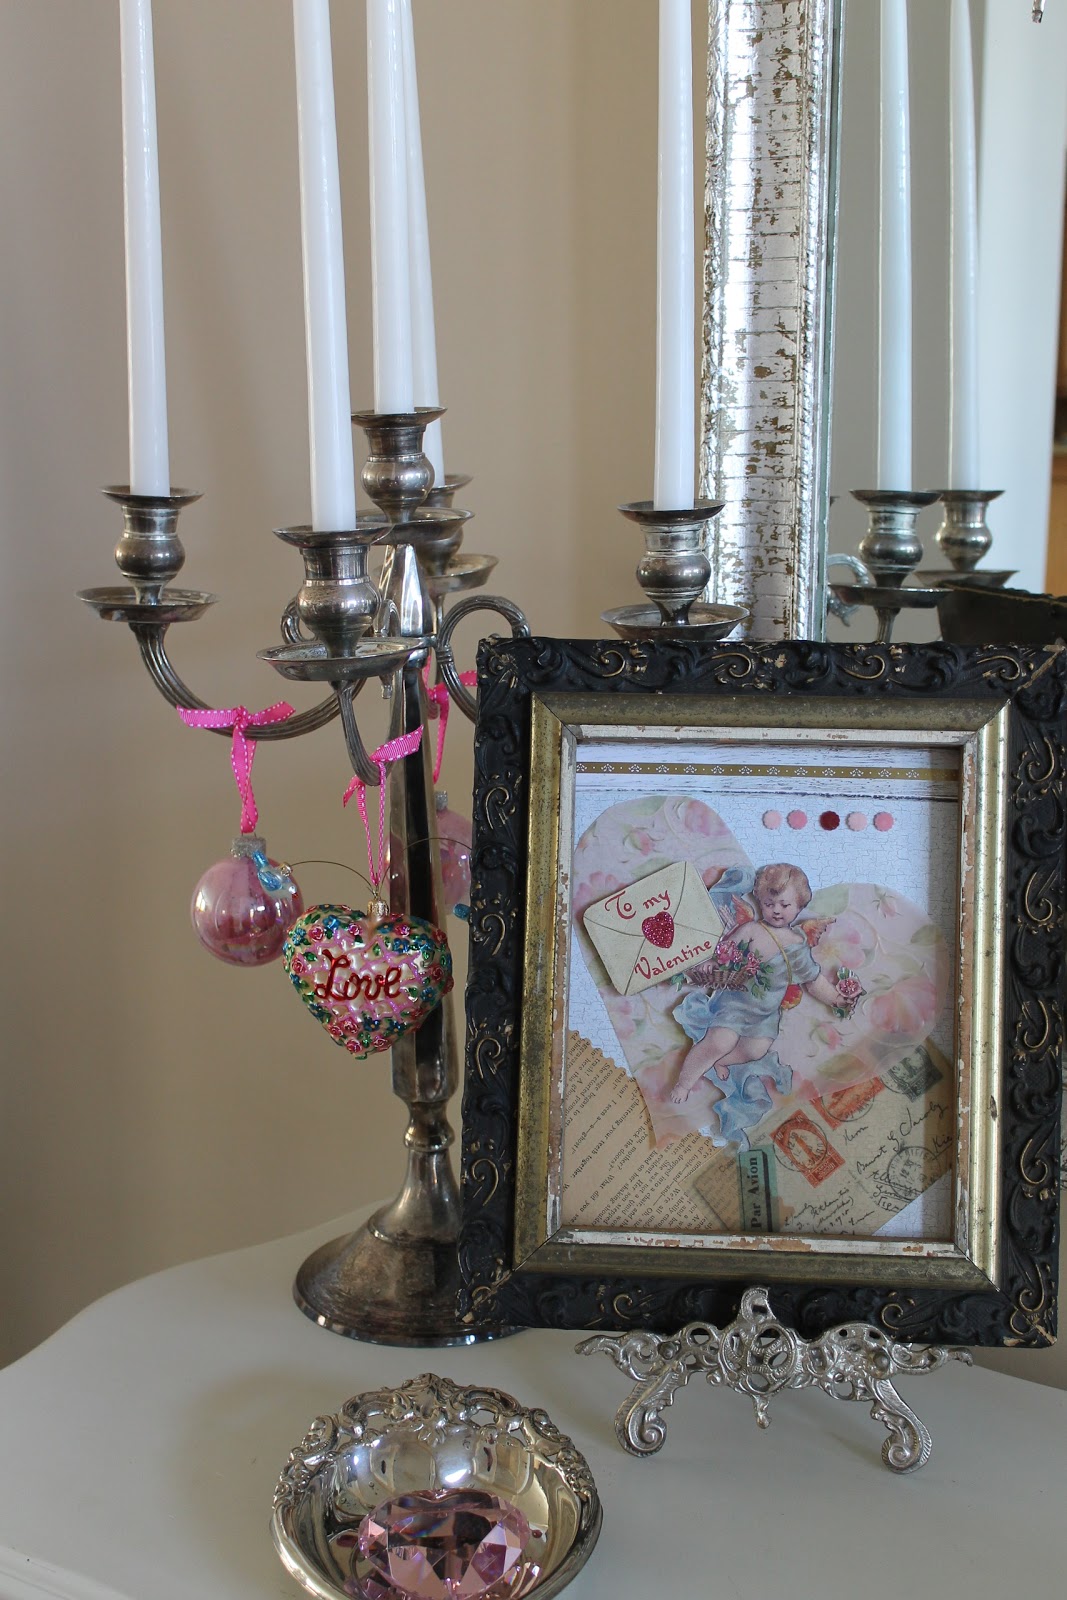
The day is finally  here.  I made a heart felt card for all of you.  Here is wishing all of you a very sweet holiday.  The delightful cherub comes from Graphics Fairy.


Friday, February 10, 2012

Valentine Mantle

There is something to be said about this household. I love to rearrange things so often, rarely does a room look the same as when my kids leave for school that morning and their return in the afternoon.  That said, the valentines are all in a flurry here.  Having the ornaments done started the reworking of the mantle.

 I picked up a silverplate tray at an estate sale two weeks ago for $8.00.  She needed  cleaning up a bit.  Old toothbrushes worked best in the ornate areas.


  After Christmas, I was itchy to clean my silverplate.  Some people like to iron for therapy(I used to be one of them), but I feel most accomplished when polishing my silver.
I still wanted to keep a bit of the vintage look, so I pulled out some porch post gingerbread pieces.  The galvanized box was a garage sale find.  The glittered letters were added for easy removal.


 The tree was moved out in front of the mantle.  There are only hints of vibrant red in the hearts and a small suitcase that all 5 of us older girls played with as children.  I'm not even sure who had claim to it first, but I love the plaid and the fact that it was a well played with in our childhoods.  I wonder if now that the news is out that I have it in my possession, one of them will want it back.The bottom line is that up cycling this worn suitcase is what it is all about.  I think that she proudly stands as part of  the base for the feather tree.


The cute pink button lampshade and base held a Yankee Candle in years past.  Instead of the candle, I positioned a antique jelly server filled with cotton candy pink ribbon between the base and the shade.


One of my most favorite pieces that I use all over the house is the old silver plate coffee pot filled with ivory roses.  Change of seasons needs only to add a ballet pink felted heart in this instance.  These   felted hearts were made as baby gifts from an ROA(Reserve Officers of America) spouse on the birth of my children.  Tags are also a great way to showcase this piece as I did at Christmas.  The crochet doilies are from estate sales and I believe the larger one is one of my grandmother's.

The silvered urns cast the beautiful colors of the painted ornaments.  Funny that this seasonal creation of the tree and mantle was done at minimal cost.  Now you might say, this woman has a lot of junk, but I am able to store these items in an efficient manner to not appear to have a lot of clutter in the house.


       Here is the mantle in its entirety.  A pretty collection of dainty items from the past.

Wednesday, February 8, 2012

Valentines card II

This blog actually combines two holidays, Halloween and Valentine's Day.  The story goes like this.  Many years ago, my talented Mother created a beautiful rose costume for the little grandchildren (girls only) to wear for Halloween.  The costume was based on the old Anne Geddes pictures of dressing little children in flowers.  This costume has been passed down through the families since then. 

I have saved this picture in my Picture file for a long time.  I was always drawn to the sweet cherub face of this rose child.

I knew that someday, I would want to incorporate this idea into a card.  Well, when I was home one summer, I spied this fabulous Halloween picture of my niece on the fridge.  I asked for a copy and the idea began to take shape.


Look at those baby blue eyes!

I knew that I wanted to have chocolate in the card being that it is such a special part of Valentine's Day.  I found this vintage postcard image on Graphics Fairy also.
All I needed was a bit of rose colored tulle, pink scrapbook paper, a stamp and of course, glass glitter to finish the project. 


Here is the finished card with my precious niece.  Isn't she a beauty?


Monday, February 6, 2012

Valentines Day cards 1

I have always enjoyed making personal Valentines cards for friends and family.  Last year I made this one for my husband.  Always looking for that vintage look, I pulled this typewriter picture off of graphicsfairy.com.  It is a website that you can pull images off of for free.  Graphics Fairy has a huge variety of pictures, many vintage.


I went through my scraps of papers looking for some hearts and a black contrast design.  The fun part was putting a message on the typewriter.  This was somewhat tricky.  I opened a Word document and wrote :  Be Mine   Then I positioned it on the paper so when I ran the already printed picture of the typewriter,  it landed on the page inside the typewriter.  This takes a bit of practice in  trying to center the words on the page.  A cute ribbon tied the whole page together.

Friday, February 3, 2012

Valentine's Day framed gifts

I made one of these for my husband a few years ago.  Being in the military, I thought it would be neat to try and find a vintage Military Valentine.  I found one on Ebay.  Next, I was off to Michaels to get a 50% off frame.  I found this beautiful silver frame but it lacked something. The inside mat was dull and boring, but steel blue.   I pulled the back off and took the mat apart.  Next came the Elmers and silver glass glitter. I glittered only the inside mat, let it dry,and assembled it together with the postcard.  It holds a special memory for my Military Valentine.


Not to get off topic, but when I watched the season II opener of Downton Abbey 3 weeks ago, I noticed an item in the background of the captain's  bunker headquarters.  A vintage white granite soap holder similar to the one in the picture above was in the scene.  I have had this picture and soap holder on the wall together since we moved in.  Who would have thought that such a vintage- like item really connected to the warfront in someone's lifetime?

Sorry about that brief commercial.

You can see the silver glitter better in this picture.  I have also used the same postcard in a different kind of matting.  Your options are open.  You just cannot mess it up.  No matter your approach, the project will turn out beautiful.


On this picture, I used a lace rectangular place mat and placed a white ribbon with pink edging through the middle underneath the postcard.  A totally different look.

On another note, I know there are people that find it very hard to get rid of special greeting cards for sentimental reasons.  Making a card and framing it allows the recipent to bring it out every year.  It is the card that keeps on giving.