Sunday, January 8, 2012

The Mosaic Cross

In years past, I have done some mosaic crosses for auctions and gifts.  I find the crosses at Hobby Lobby, Michael's or Marshall's.  I then embellish them with broken china pieces. I collect chipped plates for next to nothing everywhere I junk.  Usually, I pay under $1.00 for a plate.  I now have enough plate pieces to complete about 30 projects like this one.  Every one turns out differently, and they are fairly simple to create.   A hand held tile cutter helps.

 
This year, I found a cross  in Tuesday Morning and with tax, it cost $3.67.  It had some major chip damage on it.  It didn't matter, because I was going to paint it before I did the mosaic work.  That spackling compound works wonders and it is so easy to sand down.  This is the before picture.  It is hard to see the chips.


Then, I spackled and painted a top coat. I use a pre- mixed white tile adhesive to adhere the china pieces to the cross.  It needs to dry 24 hours. It is important to use Unsanded grout with these projects.  The grout needs to dry at least 24 hours.  Do not rush the project! I try to purchase a 'bright white' grout that needs to be mixed with water.  Remember, your grout is a perfect consistency when it looks like peanut butter.  Just follow the directions on the box.

This picture below shows before the grout is applied.


And finally, some pictures of the completed cross.


Let's  hope  the cross will bring in a good price at the auction.

Friday, January 6, 2012

How does your garden grow?

I have made quite a few sets of these gardening tools for gifts and auction items.  I wanted to show you what one pair of basic garden tools can become with some paint,  stickers, modge podge(that really dates me), and sealer.


Then, I started making more,


                                                               and more and more.


This year, I made a pair to put in the auction. I thought that they needed a pair of gardening gloves.   Don't they just want to make you pull out your seed catalogs and get ready for spring?

Monday, January 2, 2012

Christmas Memories

As the embers dim in the fireplace and the candles burn to their last luster, I realize that it is time to pack all of the Christmas decorations away and hold onto the new memories made this past season. 

The feast of the Three Kings is coming, so I need to keep the creche out until then. 


There is something to be said about embracing the entire season.  I will enjoy the scenery for a bit longer.

Friday, December 30, 2011

A finished headboard

When I left off, I had showed you the 4 doors screwed to the wall.  Next, hubby panelled with MDF strips to cover the gaps between the doors.

\
It was time to create the crown molding top.  With the purchase of a very cool saw, the two of us   mitered the corners and I left it to hubby to connect them.  


 Notice the dimension on the crown molding corners.  My husband built a shelf on top.  I haven't decided what I want to put up there. 

 We decided to use the same high gloss paint as the crown molding and baseboards to tie the headboard together in the room.
With a lot of spackling, sanding and painting, this is the finished project.  I think it is beautiful.  Thinking about the cost of raw materials, $15.00 for each door,  and $2.00 for the crown molding, the total cost was $62.00 without tax.

Wednesday, December 28, 2011

The Headboard Part 1

When we moved to our latest home, my husband and I wanted to create a substantial headboard.  I had viewed pictures on other blogs, but just couldn't get the design right.  One Sat., we went down to our local Habitat Restore shop and started to look for some crown moldings.  Habitat Restore is a facility that acquires through donations, used house parts.  Many of them have doors, windows, moldings, cabinets, light fixtures, tile, sometimes furniture and even items like mantles.  We spied an 8 foot piece that looked pretty worn. Just remember, anytime you see wood that is so filthy, use TSP to clean it.  You would be surprised to see how well it cleans any grease or grime on wood.


In our original plan, we wanted to use MDF(medium density fiberboard) and trim molding for the   project.  After taking the crown molding up to the counter, I mentioned that maybe we could look at  the doors and see if we could come up with anything.  Once there, we looked at panelled, primed, but never used doors that were about 18 inches wide.  We started laying them out on the floor and visualizing the crown molding on top.  The idea was born.  We picked up 4 doors at $15.00 a piece, and the crown molding for a whopping $2.00.

Once home, hubby spaced the doors two inches apart.

Once up on the wall  it looked like this.


I'm going to keep you in suspense.  Stay tuned for the finished project.

Sunday, December 25, 2011

Saturday, December 24, 2011

A Child is born

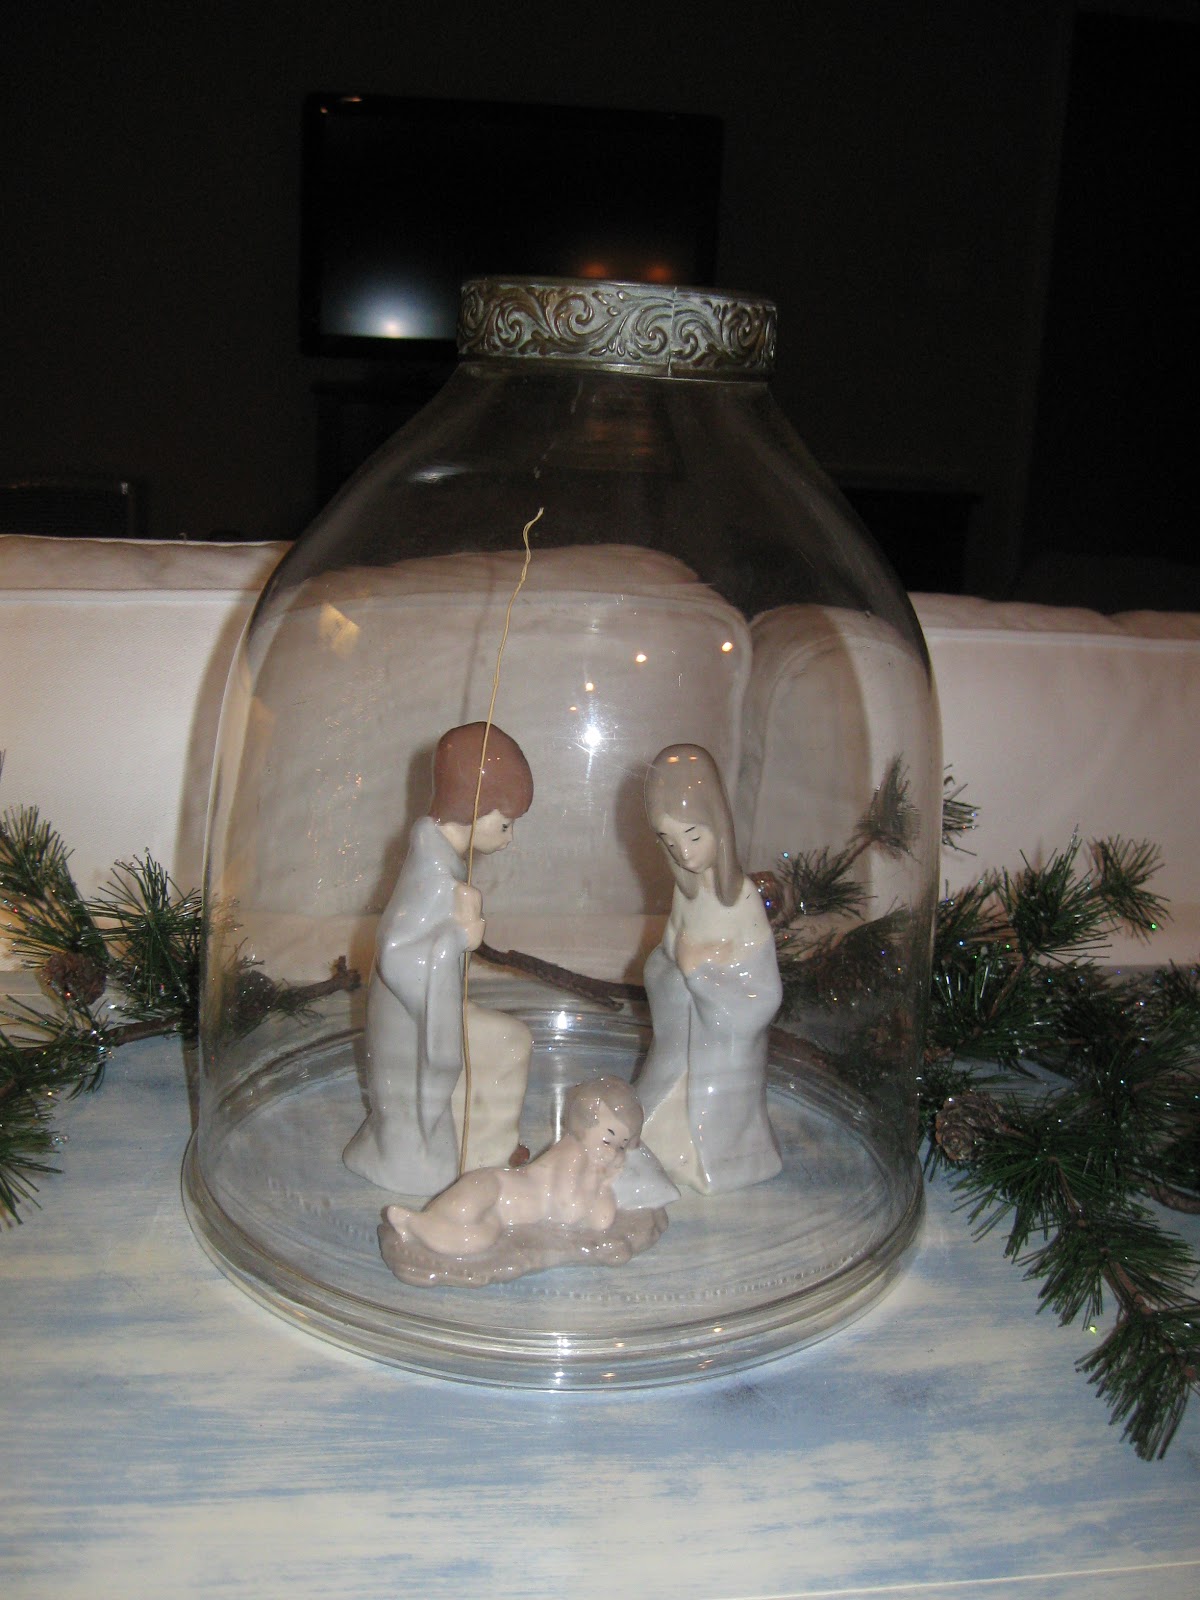
Because this special holiday is about the Birth of Jesus, I wanted to show you the process of redoing the library table where the Nativity scene resides in our home.

A few years back, at a backwards old auction outside Little Rock, I spied this library table.  It had interesting carved lines in the top.  When I bought it for $25.00, I decided to wait to work on it.  I already had one library table, and really didn't need a second one.  However, time waits for all and so on this last move, I finally found a place to use this piece.  I knew that I wanted a french blue paint on it so it could match the beautifully handpainted Nativity scene that I had.

I had been reading in other blogs about Annie Sloan chalk paint.  It's not chalkboard paint but it has the interesting quality of pretty much covering everything.  You don't have to strip a piece before applying this paint.  In the past, I had a dresser that I stripped and sanded.  When I painted it, the stain leaked through and it has a peach cast to it.  Sorry for the digression.  Anyway, with this paint, it covers all.  It is not cheap, however, it can be watered down.  It dries very quickly and can be recoated sooner than most paints.  Because this was a layered painting project, this paint sands off easily to show undercoats.  I used Louis Blue as my undercoat, sanded and top coated with Old White.  After sanding, I applied Fiddes & Sons Light Supreme Wax Polish.  After buffing the wax, you get the smoothest surface imagined.  It has a soft sheen to it.


Notice how bright blue the surface is.  After sanding and recoating with the Old White, it tones it down.


The Holy Family


Keep your heart in the true spirit of Christmas.  To all my friends and family out there, I wish you the Merriest Christmas.