When I got to thinking about creating a St. Pat's foyer this year, I knew that I wanted to incorporate two items from our old homestead.
I believe the first item was very vintage. I am not sure how they wound up at the house, but there was a set of forest green rubber shamrock coasters. Look at this box.


The second item that I wanted to use was this hand cross-stitched tablecloth sewn with vibrant kelly green thread.

Looking at a close up shows the beautiful cross stitched linen. I am not sure of the origin of this tablecloth either.

Once these two items were laid out, I knew what I wanted to do. I would have to gather my other items to create this vignette.
They included heavy twine,

and one of my shabby window frames.

As in past St. Patrick's Day displays, I have used my beautiful collection of Irish Beleek
bells that were originally started as a gift from Mom on an Ireland excursion.

So, with a few tools, I began my work. First, I screwed in 4 eye hole screws to the back of the frame. Once tightened, I measured a piece of twine connecting the pairs of eye holes. Once cut, I set out various bells to string on the twine.

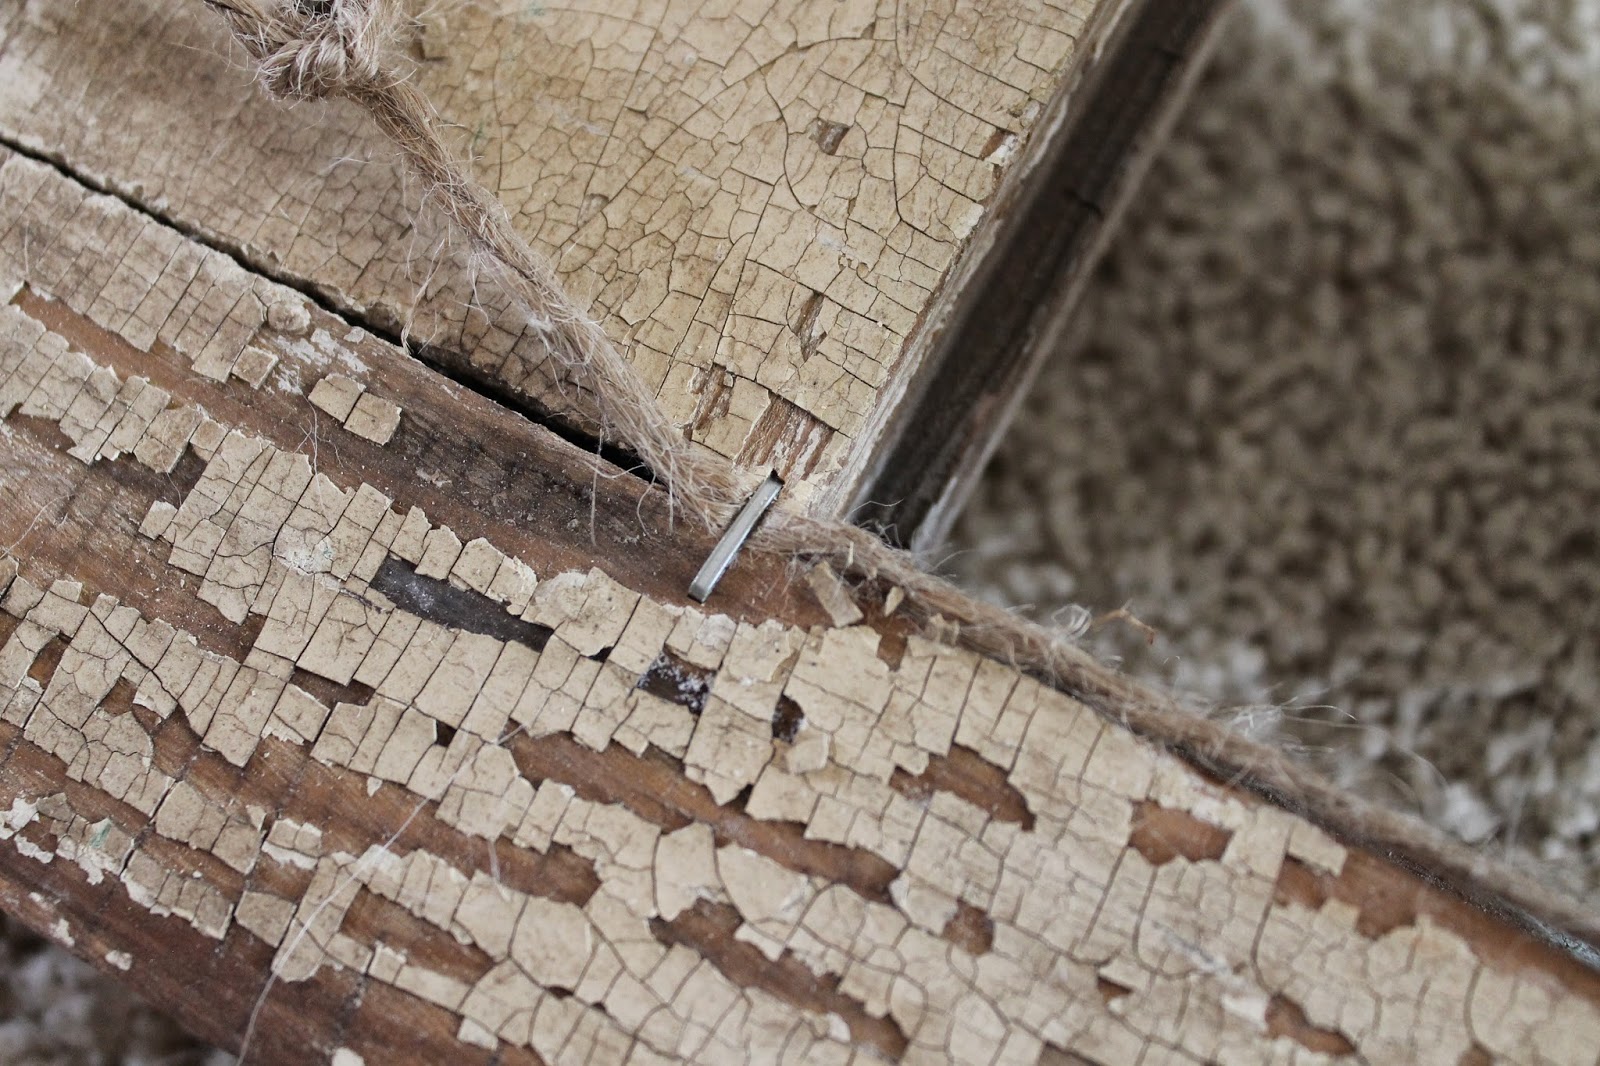
After attaching the bells to the two lines, I secured the twine to the back of the frame with the staple gun.
Meanwhile, I pulled up my up-cycled Victorian chair with polka dotted periwinkle fabric to the foyer.

Taking the burlap ruffle table runner off the dining room table, I slipped it onto the chair covering the two fabric areas showing both of the ruffles.

Taking a wire basket out, I placed it on top of the chair.

Last week, I found this sweet small bowl at Habitat Restore for a quarter. The ivory color complimented the cream color in the bells. The decorative roses attached gave the setting a romantic touch. Once cleaned up using a toothbrush and soap, it was perfect.

I also used a Lenox vase with the same ivory color to place inside the wire basket.

Some white delphiniums were placed inside the vase. I think fresh Lilly of the Valley blooms would look perfect, but the season does not make them available.


The backdrop began as I moved the headboard/bench into the foyer.

The shamrock coasters were laid out on one corner of the bench.

The tablecloth was draped over the back of the headboard bench.

The rustic window frame with the attached Beleek bells was placed in front of the headboard. The delicate green shamrocks on the bells compliment the emerald green flowers on the tablecloth.


A total of twelve bells were hung from the frame.

With the addition of the burlap covered chair the setting is complete.

A very dainty view indeed.


When I got to thinking about creating a St. Pat's foyer this year, I knew that I wanted to incorporate two items from our old homestead.
I believe the first item was very vintage. I am not sure how they wound up at the house, but there was a set of forest green rubber shamrock coasters. Look at this box.
The second item that I wanted to use was this hand cross-stitched tablecloth sewn with vibrant kelly green thread.
Looking at a close up shows the beautiful cross stitched linen. I am not sure of the origin of this tablecloth either.
Once these two items were laid out, I knew what I wanted to do. I would have to gather my other items to create this vignette.
They included heavy twine,
and one of my shabby window frames.
As in past St. Patrick's Day displays, I have used my beautiful collection of Irish Beleek
bells that were originally started as a gift from Mom on an Ireland excursion.
So, with a few tools, I began my work. First, I screwed in 4 eye hole screws to the back of the frame. Once tightened, I measured a piece of twine connecting the pairs of eye holes. Once cut, I set out various bells to string on the twine.
After attaching the bells to the two lines, I secured the twine to the back of the frame with the staple gun.
Meanwhile, I pulled up my up-cycled Victorian chair with polka dotted periwinkle fabric to the foyer.
Taking the burlap ruffle table runner off the dining room table, I slipped it onto the chair covering the two fabric areas showing both of the ruffles.
Taking a wire basket out, I placed it on top of the chair.
Last week, I found this sweet small bowl at Habitat Restore for a quarter. The ivory color complimented the cream color in the bells. The decorative roses attached gave the setting a romantic touch. Once cleaned up using a toothbrush and soap, it was perfect.
I also used a Lenox vase with the same ivory color to place inside the wire basket.
Some white delphiniums were placed inside the vase. I think fresh Lilly of the Valley blooms would look perfect, but the season does not make them available.
The backdrop began as I moved the headboard/bench into the foyer.
The shamrock coasters were laid out on one corner of the bench.
The tablecloth was draped over the back of the headboard bench.
The rustic window frame with the attached Beleek bells was placed in front of the headboard. The delicate green shamrocks on the bells compliment the emerald green flowers on the tablecloth.
A total of twelve bells were hung from the frame.
With the addition of the burlap covered chair the setting is complete.
A very dainty view indeed.
This fresh display will welcome the long awaited spring into the house this season.


