When creating my projects, I always come in contact with people who love to share their trash. When the contractor came by to give me an estimate on the fireplace, he looked at my shell tray and asked me where I got it. I told him I made it with an old cabinet door.

He asked me if he could take a picture of it because he had a friend who loved shells and would probably want to create her own. Of course, I obliged him. As he was leaving, he turned and asked me if I would be interested in cabinet doors hanging around in his shop. He wanted to clean the shop and he was happy to give me the doors. I was in luck. The next day, he brought me 6 cabinet doors.
Within a week, one of his workers rang the doorbell and asked if I wanted more. It felt like Christmas to me. When I saw the stack of doors he had placed by the front door, I asked if I could see what he had in his truck. Two of the doors were too large for what I could use. I went to the truck and picked out 8 doors--and they were all free!
Now, I had 14 possible projects. The first door I picked was a raw wood maple cabinet front. The door had a beautiful grain to it. Initially, I was just going to stain in. A few days later, when talking to my dear friend Tara, she suggested that I use the driftwood stain. Of course!

I sanded the piece.

To the internet I went in search of the perfect legs. I fell in love with these carved chair legs, which cost about $29.00 for the set of 4. They were so unique.

I gave the legs a rough sanding, and cleaned off the residual dust.

I took a very damp rag and went over all the surfaces to collect any sediment that was left. Notice in the next picture the difference in the wood before and after the damp rag was used.

In case any of you are interested in this great set of chair legs, here is the name and code. I purchased them on Amazon.

Enter Mr. Thrifty. I am hesitant to use his power tools, so he joined me on the next stage of the project.
I first traced the attaching end of the leg to the top. I then connected the ends to find the center of the leg.

I then used the vellum paper to match the exact point onto the leg itself so the dowel rod would match up after we drilled the holes in the base of the tray.

We discussed use a screw with the end cut off to connect the two pieces, but I thought it might not line up when I actually screwed one to the top.
The Mr. came up with the idea of using a dowel rod. We had one in the leftover wood pile, so we determined how deep the hole in the tray and leg was to be and cut the dowels accordingly.


Using the drill press, Mr. Thrifty drilled 4 holes into the top of the tray. He taped off the drill bit so we would drill exactly the same amount on each hole.

Then it was time to drill into the legs. Because the legs were not square on each side, he placed the legs into the vice and used the level to make sure it was square. Notice the paper towel wrapped around the leg that made sure we didn't mar the leg itself.

I inserted the dowel in the leg to see if we would get a good fit. This was repeated with the other 3 legs.

Looks pretty awesome already. I wanted to stain the 4 legs and top before gluing them together.


In order to stain the legs property, I placed the dowels into them and after cutting holes in a box, placed them upside down.

I pulled one of the driftwood stain packages out of my stash. This is the same stain that I used on the Cherval mirror.


The stain powder was mixed with a cup of cool water.

I stained the top first and was very happy with the results.


Now, it was time to stain the legs.

I was bothered by the fact that the stain did not take the same on the 4 legs. It was time to change my plan.

I pulled out my grey chalk paint, watered it down and painted each of the legs with a coat of the paint. Now the legs were all a uniformed color.

The following picture is of the dried top. The stain darkens in an hour when drying.

After the legs dried, I roughed them up with sandpaper to give them a distressed look.

I pulled out my Annie Sloan clear wax and brush and waxed all the legs and the top. Then all the pieces were buffed out.

Now the legs were dry fitted on to the top.

The wax and buffing really gives the piece a nice sheen.

We are ready to glue this piece together. After filling the holes with the glue, they were placed in position.
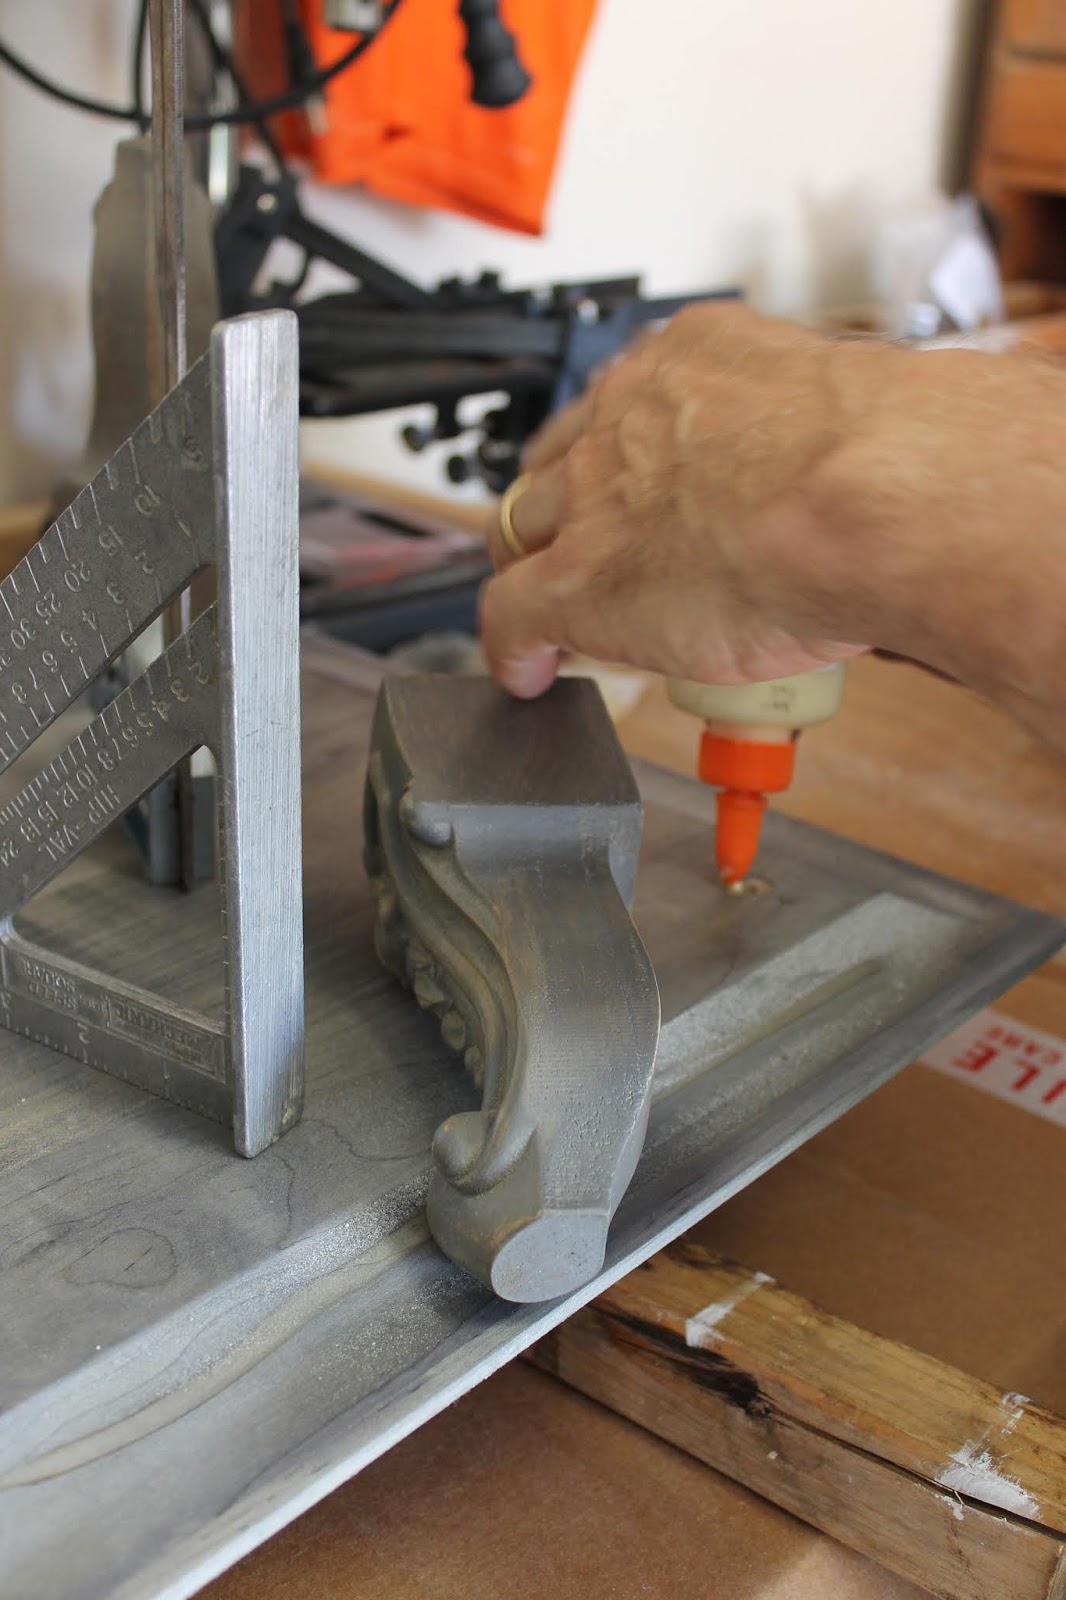
Two squares were used on the leg itself to make sure it was squared up. Clamps were attached to the legs and left to dry overnight.

Another picture of the square.

And finally, the finished project!

I really think the legs add so much to this project. Adding water to the chalk paint allowed some of the grain to show through.


For now, I'm going to leave the tray on the buffet. In the future, I think this tray would look great on a table at an event, maybe even holding desserts.
Once again, where would I be without the generosity of a connection with a contractor who just happened to have some trash that I could make into a treasure?
I am blessed!
No comments:
Post a Comment