Wednesday, April 26, 2017

ANNUAL BIRTHDAY CARD 2017


It is time to make my annual birthday card.  I picked up some scrapbook papers and dimensional stickers at the craft store.

Instead of making them all alike, I decided to switch them up a bit.  It is amazing that the same items can look so different on the cards.


I also used my sister Terri's punch for the Happy Birthday on the inside of the card.


It is so nice to have these cards ready in case I don't have time to create a card when I need it.

Why don't you think about making some cards ahead of time.  Look at the money you will save and they are so personal at the same time.


Friday, April 21, 2017

THE WREATH THAT BECAME A CENTERPIECE...FOR NOW


I was inspired by a blog posting that shared a peonies and cherry blossoms wreath.  It was gorgeous!


I went to Michael's that was just  happening to have a 40% off spring blooms sale and purchased the blooms in order to copy the wreath.

See photo.


But when I returned home and looked at my silver plated champagne bucket, I changed my mind--for now.

It was nice to have some flower foam upstairs, so I cut a piece to fit into the bottom of the bucket.

The hardest part of this whole project was cutting the stems down.  Using a cutting board and my largest serrated knife, I began.  Once I had all the blooms cut, I began by placing the cherry blossoms in the middle.  Since they had much more height than the peonies, I secured the three branches with a rubber band near the bottom.

Alternating the hot pink, light pink and white peonies, I placed them around the cherry blossoms.


This makes a nice Easter foyer display.


An added touch was to pull my decoupage eggs and place them on pink Easter basket filling into the 5 small gilded urns that I had stored in my buffet.


I must admit, the pinks blend so well with the fabulous  grey hallway. 


My small Grecian silvered urns served with decoupage Easter eggs. 


Something was missing....


The raspberry pink sitting chair from the bedroom was brought out to compliment the floral arrangement.


All that was needed was to ready the table for our Easter dinner.  I took the Grecian urns and replaced the decoupage eggs with  malted milk eggs.  What nice table favors for my guests!

The basket weave basket came from my Mom's things.  I think it was a wedding present.  It goes so well with my dishes, and Lenox rabbit candlesticks.


I added a vintage gold mirror to place the candlesticks and glass egg.  I bought that egg from a fine arts sale with my sister Terri.  We both bought one.  I still love the pretty pink and light blue pastels in the finish.


favors...


The house is now ready for our Easter celebration.

After Easter, I am going to pull the centerpiece apart and make the wreath to hang on the door for the summer.


Monday, April 17, 2017

EASTER MANTLE 2017


The mantle was very simple this Easter season. 

Instead of baking a lamb cake with Grandma's lamb mold, I placed it on the mantle,


surrounded by  faux lavender and a resin cross that I painted to look like the cast iron lamb cake mold.


Very simple, simply stated......


A Blessed Easter to all of you.


Tuesday, April 11, 2017

SPRING PLANTS AHEAD OF SCHEDULE.


These pictures were taken on April 5th.  Usually I start seeing some spring growth about now, but I usually expect the peonies to be blooming the first week of May.  Look at these blooms!

lilacs in full bloom...


day lilies are up...


Had to get the peony cages out...


Russian sage in full bloom...


Wooly lamb's ear full out gorgeous...


and ants on the peonies....


It will be interesting what May shall bring this year.


Wednesday, April 5, 2017

BEST AUTHENTIC MEXICAN TAMALES EVER!


Years ago, I had on my bucket list to make homemade tamales.  The Mr. helped me wrap them.

Cut to now and I was talking to a great friend of mine who loves spending time in the kitchen.  When I mentioned the tamales, she suggested that we make them together.


Here are the supplies.
 
The day before assembling, she cooked the pork and I cooked the chicken.  Once cooled, both of us shredded our meat.
 
The night before, my friend soaked the corn husks in water.  We then combined the meats and added the vast amount of seasonings.  I will tell you, it seems like the meat is going to be spicy, but trust me, follow the recipe. The flavor is amazing.


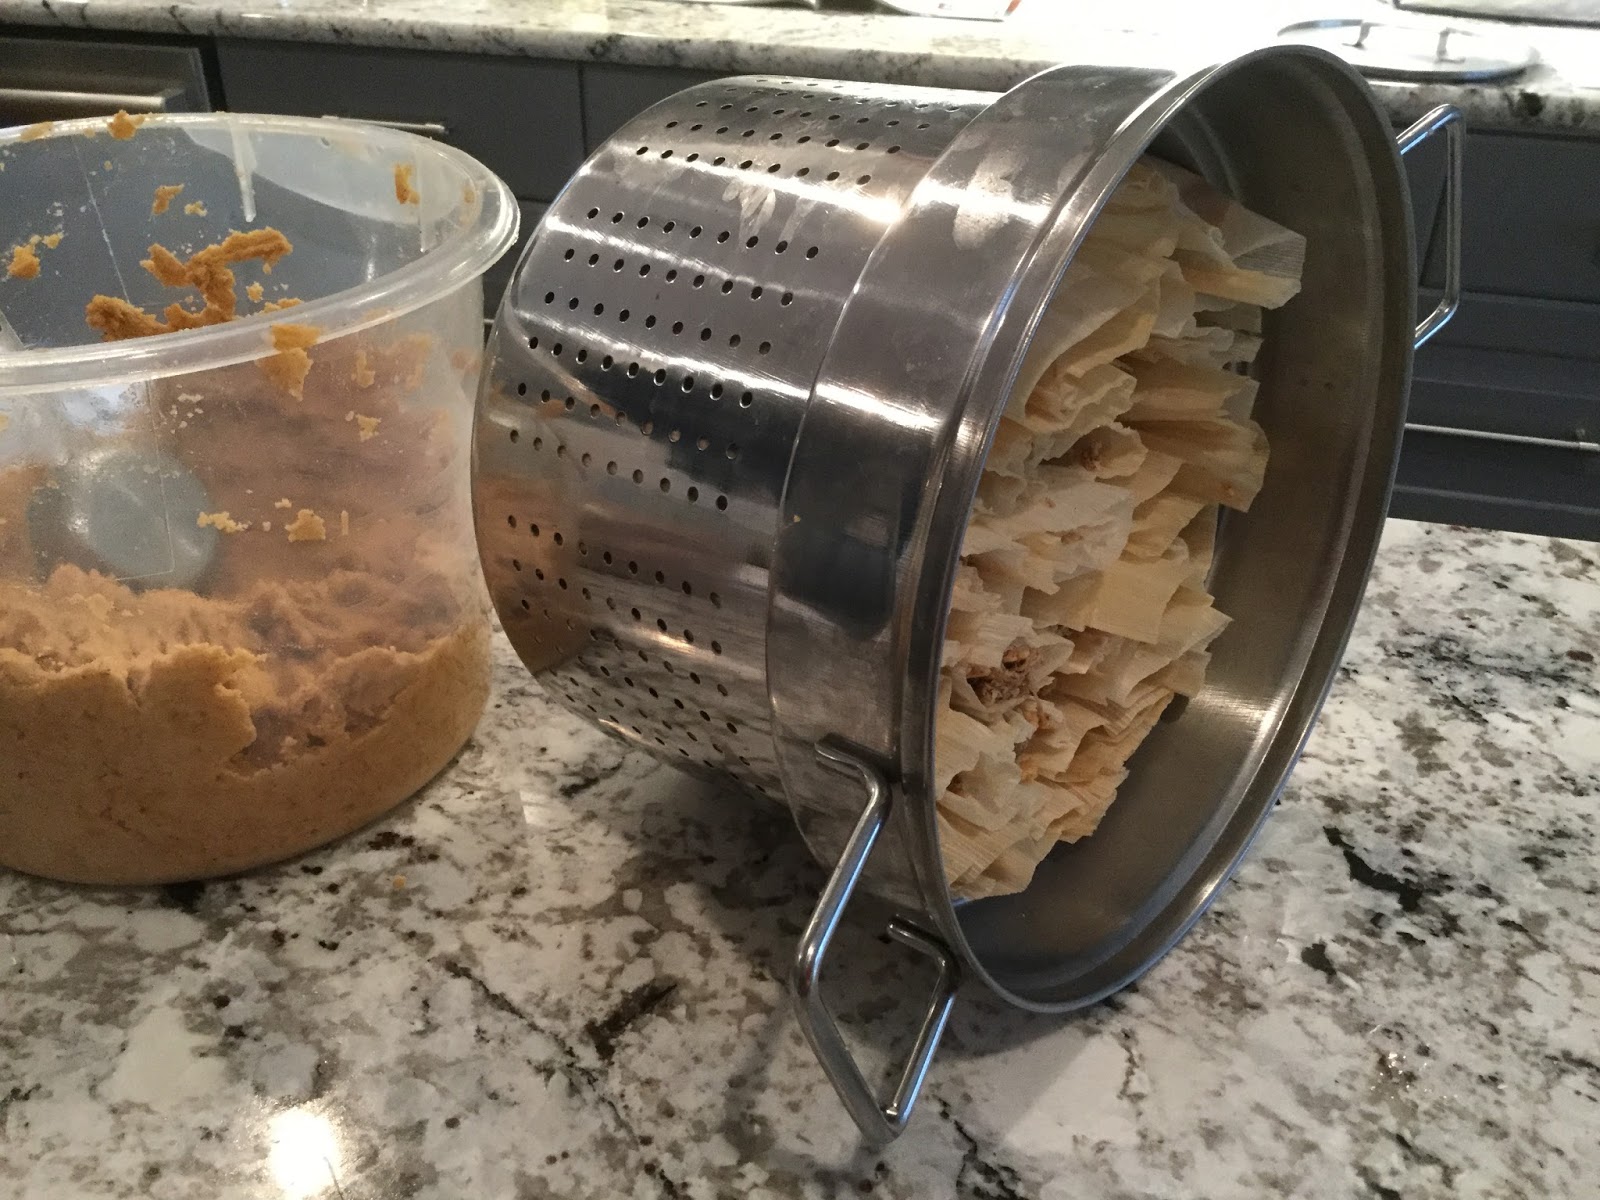
Next, we seasoned the masa mix and blended it with chicken broth until it had the consistency of peanut butter.  The masa mixture also is loaded with spices.  Follow the recipe to the T.

 
My friend laid out a towel.  This made the job so much easier to wrap the tamales.
 
We laid out the corn husk
After placing about a 1/4 cup of the masa mixture at the wider part of the husk, spread it out evenly.

 
Lay your meat mixture down the middle of the masa.


Meet both sides of the husk and roll it together. 


Once they were all wrapped, we laid them on their sides in a pasta steamer.


Placing a small metal bowl into the bottom of the pan and fill with a few inches of water and make sure not to have it come up to the top of the bowl.


Insert the steamer of tamales.


The recipe says to steam for 2 hours.  Before I had steamed my first batch for one hour.  I think these came out too dry, so I would advise you to steam them for one hour, take one out and test it to see if they are done.
 
 
The finished tamale.
 

They were all laid out on racks to cool them.


She froze them on a cookie sheet and when they were frozen, they took them out and used their freezer bag machine to store them for later use.

When I was ready to serve them, I thawed them for a few hours and steamed them just to get them warm.

 
Because this batch seemed dry, the next bunch of tamales were laid in a glass Pyrex casserole dish, covered with chili with no beans and a lot of grated cheese.


I would suggest that this is a 2 woman job.  Besides bonding, we had a great time making this authentic recipe.

 Sorry about the irregular spacing happening again in these posts.  I tried to reduce the blank space but had no success.


Sunday, April 2, 2017

STENCILLING THE DINING ROOM


I purchased this stencil after I had stenciled the parlor bath.  I loved the look of wallpaper and the damask design was calling to me.


Since Mr. Thrifty had painted the dining room, he was ready to finish the job.

Then when I looked at the 11 foot ceiling, I got scared and told him that I thought the job would be too hard.  He told me to go buy my paint.

When I painted the parlor bathroom, I was too cheap to go buy white paint so I used the chalk paint that I had in the garage--big mistake. It dries too fast.

I bought this acrylic paint at Wal-Mart.  It I make a mistake, it can easily be wiped down and re-stenciled.


We both went out to the garage to figure out how to match them one by one.  It was relatively easy.  The big problem was since it is such a large stencil, the foam roller has to be refilled half way through painting the one stencil.  After one or two stencils on the way, I found that if I painted from the middle, I would do to the top of the stencil, put more paint on the roller and complete the bottom.  This was found by trial and error. 

The most important part of stenciling is to roll the brush in the paint tray, and roll most of it off on paper towels.  Even when you think it seems dry, it will reduce seeping under the stencil.

This is our practice stencil.  Notice that the paint is not uniform.  I like the fact that it isn't in places because it looks worn and dated.


Mr. Thrifty set up the scaffolding and we were ready to work.  I have to say I was about timid about climbing on the scaffolding.  The Mr. stayed on the ladder to my right in case I lost my footing.  Also because the stencil was so large, he had to hold it in place while I actually did the stenciling.


Instead of explaining the process, I want you to see the pictures.  We started in the top middle knowing that every strip would have a 1/2 stencil somewhere in the strip.


I bought this paint at Walmart and I used 2 1/2 bottles.  It was around $4.00 a bottle, so not a bad cost for the paint.  It worked well wiping off if a mistake was made  too.


My little girl fits beautifully into the new surroundings.


After seeing the furniture placed back in the room, it was obvious that I need to completely redo the buffet, table and chairs.  I have a great idea, but I'm going to keep you in suspense.


I am so happy that we did this project.  You might notice that the damask painting is centered on the large wall.  I didn't want to go edge to edge with the stencil and not have a clean ending at the end of the wall.  That being said, I think it would be fine to go corner to corner.  That was just my preference.
 I am thrilled with the results. I would make a strong recommendation.  This is a two-person project.