Monday, July 29, 2013

OVAL SILVERPLATED MOSAIC TRAY


Once I began doing mosaic pieces, I became addicted quickly.  What an easy way to recycle a vintage silver plated tray that had been tarnished beyond repair.

Here is a picture of the laying out of the mosaic pieces to get an idea of how the design will look.


Once the pattern was laid out, I took off the pieces and spray painted the piece with my favorite white appliance spray paint.  After it dried, I pulled out my tile adhesive and got to work.  Once the tile pieces were laid in the adhesive, I let it dry for a few days.  Finishing up with un-sanded(this is key) white grout made the piece complete.


I have found that a good coat of grout sealer always helps protect the piece especially if you are going to have drinks on the tray.


                  Now the tray resides in the bedroom always ready for that surprise breakfast in bed.


Tuesday, July 23, 2013

UPCYCLED VINTAGE LINEN RUNNER

At a recent estate sale, I found a vintage linen runner embellished with lace and paid $1.00 for it because of a few holes.  I loved the lace edging.


The lace edging................


Hole.....


I had the perfect project.  My oldest daughter has a window that sits high in her bathroom.  For some reason, she thought that people could look in the window.  Notice the placement of the window.  I really don't think anyone could look into the bathroom.  She solved the problem by putting a hand towel over a tension rod to cover it.  I thought it looked hideous.
 
 
Back to my linen runner.
 
The first step was to cut the runner in half.  Then I trimmed off the turned under edging on each piece.
 
 
I pinned together the two sides together and sewed a seam.


The wrong side of the fabric.  Notice the hole is still there, but not for long.


The right side of the fabric ironed.
 
 
Measuring the window area was the next step.  I cut off about 6 inches from the top removing the hole.
 Making a pocket seam was the next step.  Ready to hang.
 
 
Recall the window.
 
 
Adding the vintage linen valance allowed more light into the room.
 
 
I think she is much happier with this addition to the bathroom.


Friday, July 19, 2013

SUMMER DOOR DECORATION

So sorry, but this posting fell off the blog, so I am reposting.
 
 
I wanted to make my Mom a welcoming door wreath.   Her personality is full of life, so I wanted the wreath to represent that.

I started with a twig door pocket purchased at Michael's.


It was $4.99 but I had a 40% coupon on it.  All of the spring stems were 60% off, so  I found white and coral geranium stems and filler.
 
 
 Ribbon


Some sheet moss and vintage looking lace.....


The lace would make it more feminine.


Now to get started.  I purchased the sheet moss to fill in front of the faux stems.  This gave it a very natural looking touch.


I  pieced the moss right inside the front of the basket.  No gluing was necessary.


I rearranged the flowers and secured them with twister ties.


I glue gunned the flowers into the basket behind the sheet moss.
 
 
Taking the vintage lace, I tucked it right into the top front of the basket.  The glue gun secured the lace.
 
 
Finishing up, I used the ribbon and made a loop through the back and tied it into a knot.  This ribbon will be the hanger for the door.
 
 
What a welcoming bouquet for Mom's new home.
 
 
HOME SWEET HOME
 

Monday, July 15, 2013

WHIMSICAL LAMPSHAPE WITH CHANDELIER CRYSTALS


This was a fun project that I made for my youngest daughter's room.  I had a box of vintage crystals that I wanted to use.  Let's get started.  I began with a basic 'pottery barn' knockoff lamp base.


I found some material at Hobby Lobby that matched perfectly with the colors of the bedspread
 
 
After cutting the pattern a bit larger than the lampshade, I used adhesive spray to attach the fabric to the shade.  Turning under the seam gave the shade a finished look.  Using a fine punch, I poked holes evenly around the base of the shade.
 
 
Inserting the crystals in the holes randomly around the bottom of the shade finished the project off.


What a great addition to the room.
 
 
If I want to change the look of the lamp, buying an inexpensive lampshade and reworking it will give me a different look.


Thursday, July 11, 2013

DAMASK GREY AND WHITE PILLOWS WITH COORDINATING FABRICS

I sort of teased you about the renewal project on our rental in Illinois.  I have not yet written the posts yet, so I will keep working on them. 

In the meantime, check this one out on working greys into the  great room.


Once I completed the Paris Grey thrift shop table, my thoughts about my Chinese blue and white porcelain Great Room had changed.  I was in the mood to change over to hues of gray to compliment the off white slip covered furniture.  That is another factor in choosing the lighter tones for your basic furniture pieces.  Every color that is added works well to give a completely different look.  The grey softens the makeup of the room.

The first layer for this new concept started with an indoor/outdoor rug, a charcoal grey background with an off white scroll pattern.  Laying it on a diagonal over the larger off white  rug set the stage for the summer look.
 
 The coffee table with its carved legs complimented the design in the anthracite rug.
 
 
I found two contrasting grey damask fabrics at Hancock fabrics.  One of them has a linen look to the weave.


The idea was to make them two sided pillows so I could flip them for a slightly different look.
 
 
Using two pillow forms that I already had, I cut two pieces of each fabric 19x19 inches.  That would leave for a 1/2 inch seam allowance on each side.


An estate sale silver plated tea pot adds a bit of shimmer to the grey.  Still not satisfied with the hues of grey, I wanted to introduce some color.  What better way than fresh flowers.
 
 
There was enough material left to drape a piece of fabric over the vintage shutter panel.


I need to find some vintage rose or pink plates to hang instead of the Blue Willow ones on the wall.
 
What goes better  with grey than pink.  Bringing in a vase full of pink hydrangeas gave the scene a pop of color.


All hues of grey make for a soothing setting for the summer.


Monday, July 8, 2013

608 House Renewal

I'm back from my house renewal project.  We had rented the home that I purchased from my Grandmother for 13 years.   In order to get it on the market, the tenant was asked to leave.  We found 13 years of dirt, more like filth.

For the past 2 1/2 weeks, the two girls and I, a painter, a handyman, a good friend and support from many in my hometown,  toiled almost everyday to bring the luster back to this jewel.  I will be writing posts soon about all the work that paid off.


Tuesday, July 2, 2013

LIVING ROOM COUCH PICTURE TURNED INTO CHALKBOARD

While stopping for a garage sale last summer, I spied this picture sitting in the corner.  There was no price on it, so I went up to the gentleman having the sale and asked about it.  He said he would take $3.00 for it.  Not bad.  The picture itself was not very attractive, but I loved the lines of the frame.


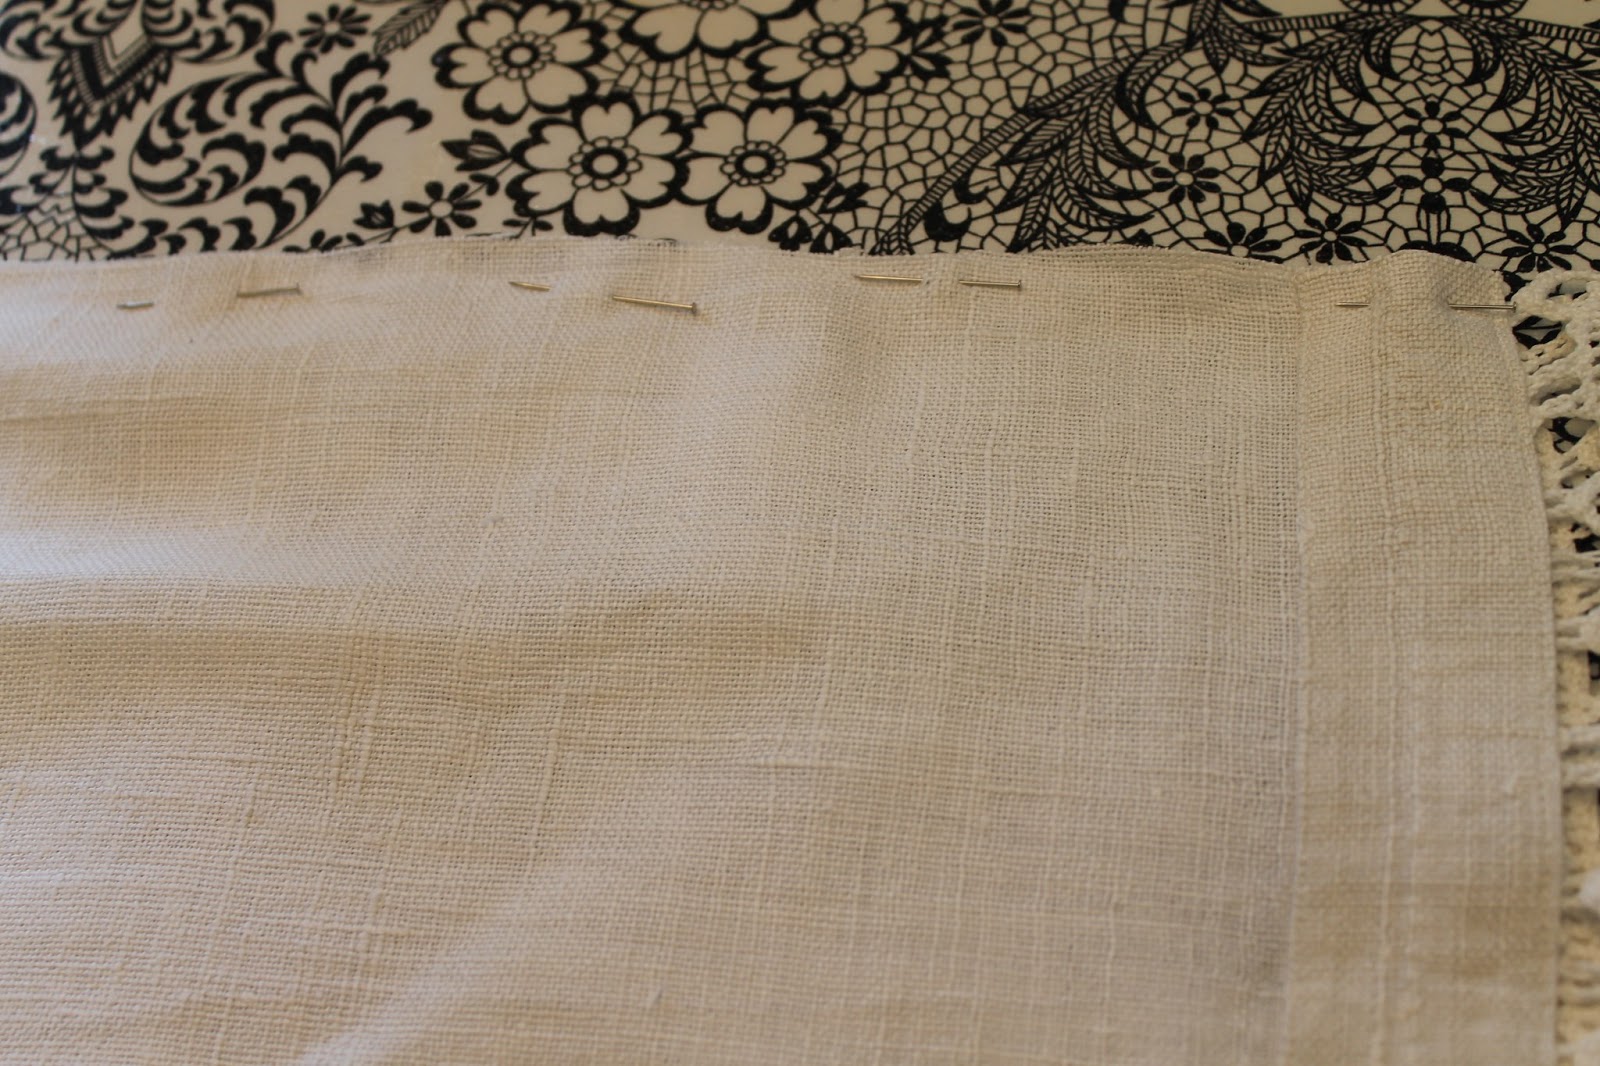
Notice the somewhat blurry linen mat between the frame lines.


I decided to try my hand at spray chalkboard paint.  I wasn't very successful.  The can dripped constantly even though I shook it the appropriate amount of time.  When it dripped, I just wiped it with a rag, sprayed some more until the entire canvas was covered with chalkboard paint.

I might interject here.  Even when it seems that a project it an utter failure, drive on.

Back to the project.  Years ago, my neighbor in Virginia threw a chair out into the garbage.  I confiscated it before I took the girls to school.  I went to Wal-Mart and bought  some Color Place paint, a color called Blue Diamond. The blue matched the French blue color that you see in a lot of Claude Monet paintings.  The year was 2007.  Mr. Thrifty cut a hole in the seat and I planted spring flowers in it.


This picture below hardly looks like the vibrant blue that it had been painted.


So, I went to my paint supply not knowing if the paint was still good.  It appeared somewhat runny, but since I was going to paint a $3.00 picture frame, I thought I would give it a shot.


                               Here is the chalkboard with two coats of the Blue Diamond color paint.


I painted the frame and the linen mat.  Here is a close-up.


How is that for some vibrant color?   Now I wanted to try out a new product that the Annie Sloan line carries.  It is called gilding wax.


I am in LOVE with this wax.  To apply, all you do is use your index finger and go to town.  I wanted to accent just the tips of the frame molding.  The down side is that the wax goes everywhere.  The up side is that once it was all over my hand, I grabbed the lacquer thinner and it wiped right off.  Since it worked so well on my hands, I thought I would try it on the smudges I left unintentionally on the frame.  It cleaned right off without affecting the paint.
 
Isn't this amazing!


 Another look....


Wait until you see how this chalkboard is incorporated into my July 4th mantle this summer.


Hard to believe that an ugly $3.00 picture could turn into such a treasure.