Monday, January 30, 2012

Antique white baby dresses

I have always had a thing for antique white baby dresses.  I don't know why, but I use them around the house for decorating and have even made gifts out of them.  A favorite is to sew a Valentine patch onto a piece of linen. Attach it to the dress and  instead of a card, the dress sends my Valentine message to a dear friend.


To make the envelope, I took three pink sequins and sewed them in the shape of a heart.  I then grabbed a few cross stitch flosses from the box and embellished the envelope with satin basted hearts and flowers.  Once completed, I attached it to a antique white baby dress.  All that was needed was a cute Valentines' tag and a vintage painted out hanger.  BE MINE!


I have used them to hang onto crystal glass dresser knobs in the girls' rooms.  They can be hung on the hinge of stand up mirrors. 


                                         I even have a few hanging in my laundry room.


I could just envision Grandma doing Monday's laundry in this room.  And, she would have a smile on her face.

Friday, January 27, 2012

A Transformed Window

To begin this story, I have to tell you, I have always had a fixation with windows.  Don't ask me why.   I have done many projects throughout the years with old windows.  The first window that I ever worked on was an old storm basement window from my Grandmother's house.  I had purchased the house when I was single.  Once married, both my husband and I discussed how much more efficient new windows would be. When we had replaced all the old windows in the brick home, I was compelled to hold on to some of them.  I still believe that I have some up in the rafters in the garage waiting for me.(I promise you, many blogs will come after this on these very windows.)

Years ago while in DC, I happened upon an old run down florist shop.  The owner had numerous old windows in his backyard.  I approached him and asked him if I could go picking.  I believe he was intrigued, because he walked me back to the piles of windows and was telling me where and when he acquired the different piles.  I picked up this one and a companion for next to nothing.  I had wanted to make a coffee table, so I talked it over with my husband.  If I agreed to strip, sand and repaint it, he would help me on the project.


He first built a box out of MDF(medium density fiberboard).  I was off to the hardware store to have replacement glass made for the door.  I  was on the hunt for 4 legs and some hinges which I found at Lowes.  I replaced the rusted handle, which I used in a later project(another blog), with a vintage looking glass drawer handle.

Once it was painted out and put together, I wanted to display items that I could easily change in and out with the seasons.  I took a scrap of leftover fabric, ironed it out and laid it in the bottom of the drawer.  Here are a few looks when completed.  Notice that I didn't sand out all of the imperfections on the window.  I think this gives it a bit of character.


This has to be one of our all time favorite projects.  I still haven't used the partner window.
I was thinking of creating a wall shelf unit to house snow globes.  Let's leave that for another day.....


Wednesday, January 25, 2012

The Valentine Tree

It was a struggle to pack up all my Christmas trees from the past holiday, but I kept the white feather tree out that resides in my bedroom.  I was wanting to decorate it with all of my Valentine treasures(of which I have many).  I have not even opened my most treasured ornaments, yet.  They will be used somewhere else this season.
It didn't take long to start collecting items to fill the tree.  Next thing you know, I had accumulated various items, mostly vintage to help decorate around the base.  I never can get enough chippy architectural pieces.  This white one used to be attached to one of my two porch posts(Another post).  The galvanized box was picked up at a garage sale.  A little bling was added to tie into the holiday.  The enamelled red rimmed pan was used in Grandma's laundry room.  My most amazing treasure is the vintage German red work that I believe I spent $5.00 on twenty some years ago.  The saying on the Internet translated is:  This house is hospitable.  I had originally wanted to tack the ribbon onto the shelves in my Hoosier cabinet, but I couldn't keep it one continuous piece.  I didn't want to cut it, so I just put it aside and  waited.  It is amazing sometimes that it takes me years, no kidding, to incorporate a vintage piece into my vignettes.  Twenty years later, I think the ribbons look spectacular

Now that I have the tree to complete.  The ornaments are finished.  Here is the tree without them.


And with them.....


Without the lights, on a sunny day, the tree still looks beautiful.


There is so much more decorating to be done...........


Sunday, January 22, 2012

Valentine ornaments

Getting started to decorate for one of MY favorite holidays-Valentines Day.  I started with a box of iridescent ornaments purchased from Hobby Lobby with a 40% coupon.

In the past, I have made these ornaments with a fourth grade class to incorporate into a decorated Christmas tree for the class auction project.  These ornaments are so easy to make and you can not ruin them.  I started with 5 colors of acrylic paint.  Before I use the paint, I swish rubbing alcohol into each globe, drain until dry.  Somehow, this allows the paint to bond better.  Trust me, it makes a difference, so don't skip this step.

The colors and brands that I used for these ornaments were:  Folk Art 659 Pearl White, Folk Art 662 Metallic Silver Sterling, Folk Art 438 Ballet Pink, Delta Creamcoat Fuchsia, and Apple Barrel 20535 Light Pink.  You can use any color combination.  These colors were leftovers in my bin from previous projects.  I would suggest that you always use at least one metallic whether copper, silver or gold.  It makes the blend of colors richer.
Next, I squirt  a stripe of each color down the hole of an ornament.
I then take a sheet of paper towels and fold it in quarters to cover the open hole. Shake, shake,  and shake until the entire inside is covered.

Every one of them comes out uniquely different.  I let them drain for a few days.  You will be surprised how much paint drips out.  Make sure they are dry.  Then to add a bit of bling, I dilute Elmer's glue with water and brush the entire top of the ornament hook.  I then sprinkle German glass glitter over the wet top and shake the excess off.  It doesn't use much glitter.  Make sure to do this over a creased sheet of paper.  When done, I shake the glitter into the crease and dump it back into the glitter container.  I let these dry overnight. 

Once dry, I brush a bit of glue on the inside of the metal top and adhere it to the ornament.  Let dry.  I ran into a problem with the ornament tops.  When I tried to attach them to the globes, the glitter came off.  If you just hold the semicircular wire to affix it to the globe, the glitter will be spared.   Finally, I top with a contrasting ribbon. 

And now, the closeup....


Now, I can start Valentine's Day decorating. 

Friday, January 20, 2012

The dresser that got a new job

When we moved into the new house, I was looking for a cabinet that would hold all of the TV components in the living room.  I didn't want any of the electrical stuff to show, so therefore, no glass windows.  I just wasn't feeling good about settling for a piece that didn't have any character.  At this time, the TV was sitting on top of an old dresser that I picked up before I was married.  The piece was on the primitive side, but I really liked it.  One night I was watching TV and I asked my husband if we could cut the sides off the drawer and rig something up so we could use this as our TV cabinet.  (Sorry about the awful flash.)

Next thing you know, hubby is off to the hardware store.  He returns with some chain,a  piano hinge and magnets.   First he sawed the front off the top drawer.  He used the Dremel to cut holes out of the back of the cabinet so the wires could stick out the back.  He cut the piano hinge into two pieces and attached them to the inside of the door to connect the face of the drawer back to the drawer.  He then attached the chain making it sure it was the correct length and added magnets.


Here is a closeup of the hinges.  They are hardly recognizable.  The bottom two drawers now house the DVD's.


Works like a champ!

Wednesday, January 18, 2012

Eastlake chair gets a new lease on life

While living in Virginia, I attended a live auction.  How fun is that?  This was my first one and I was nervous about how to behave.  You hear stories about how people brush their hair and end up winning an  item.  My advice is to keep your hands in your lap.  Anyway, this fine piece of furniture came up  on the block.  Most of the people there were bidding on items that did not need work so I prevailed and bought it for $25.00.    Something funny happens when I buy items.  I like to let them sit awhile before I figure out how to transform them.  I was a bit intimidated since I had never upholstered before.  What if I ruined it?  


Once I tore it apart, I realized that it had springs and what looked like straw or horse hair stuffing.  I ended up taking everything out and asking my husband for an option.  He ended up building a base for the seat. I laugh to think that in those ol' days, I was still using a hand stapler powered by only me.     However, now that I have one with an air compressor, the job is so much simpler.    I painted the frame white, stuffed and stapled the fabric around the base and finished by using the glue gun to tack on the trim.  


                                                       Now she isn't perfect by any means,
                                                         but I think she is a stunner today.

Sunday, January 15, 2012

A Winter Wonderland Mantle

 I want to begin by saying that I believe this post fell off the blog ages ago.  Lets get those creative juices going for the upcoming Christmas season.
 To get the icy look on the mantle this season, I pulled out Rachel Ashwell snowflake ornaments that I purchased from Target a few years back, antique glass objects and yes, more antique prisms.  The salt and pepper shakers and plate which just add a bit more sparkle were estate sale finds.  The mirrored frame was taken from the Prince William County dump-free!  I have had the oil lamp for at least 25 years.


 The clock used to be a very country looking hand painted piece.  I want to make a point here.  This clock is made out of very cheap pine.  I purchased it at a craft fair.  Even though it doesn't have fine wood grain or architectural lines, it still had great potential for an up scaling project.


  When I grew out of the country stage, I pulled it off the shelf one day. I painted the top and bottom a french blue color, and topped it with crackled paint and then a topcoat of white.   I rustled through my old wallpaper remnants and wallpaper paste out and went to town.  It was so easy.  I have used this textural wallpaper(I bought this at Lowe's) to do a wall in my dining room.  It wasn't very easy to get on the wall, but looked really nice after it was painted. Another blog....sorry.   It was super simple to adhere the wallpaper to the clock base. 

Once the wallpaper dried, I gave it a top coat of antique white acrylic paint.  Then I looked at the face of the clock and it didn't look too appealing.(I don't have a picture of the before clock face.)  I pulled out one of my books on up scaling found objects and found a template for a face clock in the back of the book.  The book gave permission to reproduce.   It is called,  Flea Market Finds-Instant Ideas & Weekend Wonders, A Leisure Arts Publication. I printed it out on my computer and attached it to the face.


When assembled, I think the streamlined look fit my decor so much more.

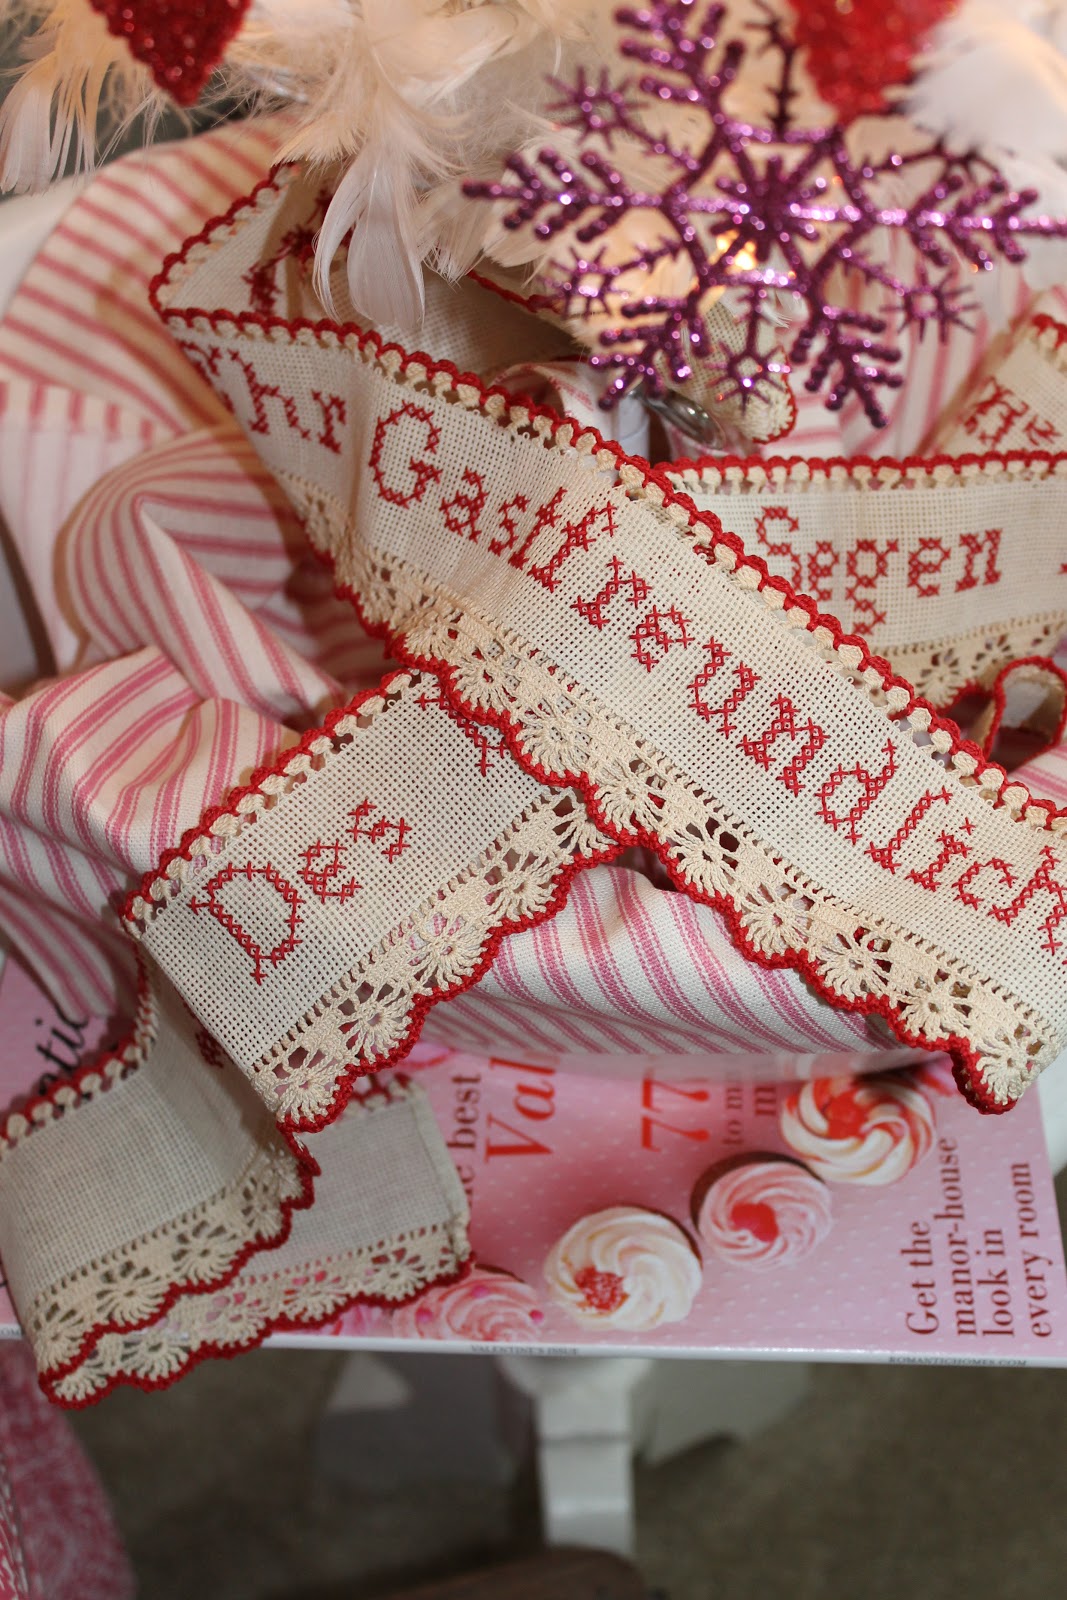
And then more sparkle.....

This beautiful candelabra came from a very dear friend of mine.  It is priceless!  The bust came from Victorian Trading, and sad to say, they do not sell her anymore.


The candles are two brands of beeswax designs.  One is from Gold Rush Candles and both brands come out of California.  The other design is the honeycomb style by Oak Forest candles. Personally, I love the  non "sparkling"  polymer glitter.  They can burn safely by the way.


The champagne bucket was $15.00 at an estate sale.  It usually resides in my powder room as a wastebasket.  The suitcases remained from Christmas.


I still needed more bling with the glittered branches in a terrarium jar purchased at Crate and Barrel some 30 years ago.


All was finished off with battery powered candles(I love these) found in the clearance bin at Kroger's last season.  The set of 3 were $10.00.  You never know where you are going to find vignette items.  Who would have thought of Kroger's?  Besides, they are so much safer if you accidentally leave them on.

The mantle is crisp, fresh and inviting when the candles are lit(ha!).  I hope you have enjoyed Winter Wonderland decorating at the Valentines.   

Friday, January 13, 2012

SNIPPETS OF WINTER


Today it is winter inside and outside in Huntsville.  

 In honor of a legitimately cold day in the South, I will share of few of the  smaller bits of winter glory around the house.  Get a cup of tea or hot chocolate out and enjoy the views.  I made a pot of homemade beef vegetable soup today to prepare for our even colder temperatures coming through Monday.


I am ready for winter's end already.  Hope about you?
 

Thursday, January 12, 2012

A Winter Wonderland Part 2

I had some fun with the foyer this season.  I gathered up items that I had used for Christmas: the ice skates on the front porch, and the tree skirt. 


I had picked up a box of antique prisms at a garage sale years back.  I didn't have a plan for them, but when icicles kept popping back into my mind, I pulled out that box and emptied it on the carpet.  Here is a close up of the prisms in Grandpa's old tool box.  Not to get off the subject, but I love to use my Grandpa's  tool box in my vignettes around the house and on the front porch.  I don't think Grandpa would have crystals dangling from the latches, but I think he would be happy to know that it has a new life many times over.


Instead of tassels hanging from the locks on the dish cabinet, I used more prisms.


How exciting to finally pull something out of storage and have a legitimate use for it.  A word to the wise--keep your stash, just ORGANIZE it.  I have one of those label makers and I have a ball with it.  Every container in my craft room is labeled and I mean EVERY container.  I don't waste time trying to find stuff.  It did take a lot of effort to initially organize, but once you do it, and KEEP it organize, your life will be simpler.


And here is the entire foyer.


                                                   Until the next posting...