Monday, July 28, 2014

LIGHT SUMMER ORIENTAL DINNER

I wanted to use a pound of ground pork that I had in the freezer for my summer dinner.  Initially, I thought of making homemade wontons.  This was a favorite in our home growing up.  We used to have an assembly line to make them up to 200 at a time.
 
My family now loves to eat them on 'hors d'oeurvre nights' which is usually on Sundays.  I make the filling and my oldest daughter assembles them.  The two of us deep fry them until light brown, drain and freeze them when cooled. I freeze them in gallon sized zip lock bags. When ready for dinner, I take out as many as I'm planning on using and put them on a cookie sheet.  They only need about 7 minutes in the oven and they are ready.
 
So, I went to the store to buy the won ton wrappers, fresh ginger, Napa cabbage and green onions.
 
When I returned home, I decided against making the won tons and decided to make lettuce wraps using the filling instead.
 
 
WON TON FILLING

1 lb. ground pork
1 cup Napa Cabbage, sliced thinly
3 scallions
2 T. soy sauce
2 pieces of grated fresh ginger
1 can water chestnuts, chopped
1 tsp. sesame oil
1 tsp. salt

Cook all of the ingredients in a pan.  Cool until ready to reheat for dinner.

These are not your Pei Wei lettuce wraps.  This recipe doesn't have a sweet side to it, but I think with the lettuce leaves, it will have a great crunchy taste(and lower in calories then the fried version).
 
 
Once all the ingredients were cooked completely, I place the mixture in a bowl and refrigerate. 


  All that I need  to do now was to wash the iceberg lettuce and pull apart the leaves.
 
 
To accompany the wraps, I made a recipe of our family favorite Oriental Salad.
 
 
ORIENTAL SALAD

2 heads of Napa cabbage, thinly sliced
4 green onions, diagonally sliced


CRUMBLES

Toast 2 packages of Ramen noodles that have been crumbled in 2 T. butter, 1 pkg. of sliced almonds and 1 bottle of sesame seeds.  Let cool. 


DRESSING

Combine 1/4 c. cider vinegar, 1/2 c. sugar, 1/2 c. canola oil, 1 T. sesame oil, 2 garlic buds-smashed and 2 T. soy sauce.  Heat up all ingredients until the sugar is dissolved. Let cool.


All of the ingredients are ready to be tossed.

 
 Toss greens, heat up the dressing and add the crumbles.
 
 The sweetness of the Oriental Salad combined with the tasty lettuce wraps make a great make-ahead   dinner for your family or friends.
 
What a delightful light summer dinner without heating up the kitchen!  I love that.


Thursday, July 24, 2014

The Paper Quilt Auction Project

It is time to get back to work on the auction projects coming up.  I put them on the back burner during the holidays, and yesterday, I received an email wondering when the projects would be done.  I'm going to fill you in on a fun project I did awhile back.

Back when we lived in the Little Rock area, I would volunteer in the classrooms to help the students create art projects to place in the silent auction.  I always wanted to make sure that the kids had a hand in their creation.  That year, I had the 7th grade class.

I purchased at Hobby Lobby 8 sheets of coordinating scrapbook paper, normally at $.59 apiece for 50% off, rounding the total to about $2.40.  I went to work pre-cutting the paper into 2-inch squares.  I did purchase the frame myself and donated that to the auction effort.

Once all the squares were cut, I made a diagonal cut with each square coming up with two triangles.  I gave each child one triangular piece of each of the 8 patterns to work into the design.  Once I found the exact middle of the cardboard insert, I drew a cross to mark the spot.  One by one, each child came up and made a square using their triangles to create their own design.  There is really no wrong way to do this.


My oldest daughter, at the time wanted lime green, black and fuchsia for her bedroom colors.  This is the one we made for her room.


The kids really enjoyed this project because it looked very nice when they were all done, with a minimum of artistic effort on their part.   When you are finished with the quilt, just pop it back into the glass and frame. You could use any color theme, or even textured paper to create your own work of art.

Sunday, July 20, 2014

GIFT TAGS INSTEAD OF CARDS

 
When I have a bit of time to craft, but don't want to get involved with a big project, I go up to the craft room to make gift tags.  These tags are very easy to make and have at the ready for an occasion such as birthday, think of me, teacher gifts etc.  
 
One of the reasons that I started to make tags was because I had so many leftover scraps of scrapbook paper.  When printing off images from my picture file, I always print off an extra copy in case I mess up on a card.
 
 While trying to organize supplies for my scrapbook paper, I purchased a storage unit and 3 plastic 12x12 inch boxes from Michael's.  The three boxes are full of scraps.  It seems like such a waste to throw away a piece of paper when I cut into it.

The storage unit contains all of my full sheets of scrapbook paper.  On the top shelf I keep my 8x11 sheets of paper.  On the bottom three shelves I keep my 12x12 inch sheets of scrapbook paper.

 
I have three 12x12 inch cases filled to the brim with paper scraps.


Inside the top case, I have a Ziploc bag full of copies of images already printed off.


When I get ready for creating tags, I pull out a plain card stock tag.


Gathering the ribbon boxes comes next.

I also use Jolee's dimensional stickers.

 This is a cute radish that speaks to me of gardening.  Placed onto a piece of red gingham scrapbook paper really makes it pop.


Adding another piece of green paper for the top of the tag and a gingham ribbon finishes this tag off.


A vintage image from Graphics Fairy is used on the next tag.


Placed on a background paper and a satin ribbon finishes this tag.


Using decorative scrapbook scissors makes this tag pop against the faded polka dot paper with a pink accent scrapbook paper.


A cute lime green gingham ribbon completes this tag.


Sometimes I pull a quote from the Internet and glue it to the back of the tag


I also used these decorative scrapbook scissors on the attached ribbon.


Another vintage image brings a Victorian element to the tag.


 And the final tag incorporates two papers with a multi colored ribbon.


I will keep all of these tags ready to use in my 'homemade' card box.


In a short amount of time, I can whip up numerous tags for friends and family.


Thursday, July 17, 2014

VINTAGE FINIAL MIRROR

Again, I want to apologize for posting part two of this post first.  I was out of town and what I thought my tablet was posting was the second of three drafts.
 
I am hoping to tackle a new project this summer.  This posting comes as a tease.
 
I picked this finial mirror up at an estate sale for half off of $37.00.  That came out to $18.50.  I really liked the bones of the frame and I knew that I could hopefully do something whimsical with it.


There was a piece of molding broken off(under the blue tape) which could be easily glued back on.


The mirror has a great finial at the top of the mirror.
 
 
I had mosaics on my mind for this project.  I was thinking shades of white ironstone.  Then, iridescent mosaics came to mind.  I would like to have the mirror in the foyer.
 
Stay tuned and see what I come up with.


Tuesday, July 15, 2014

So sorry

I realized after posting the July 13th blog, that it was the wrong post. I will follow up with the correct posting in  a few days.


Sunday, July 13, 2014

VINTAGE FINIAL MIRROR-PART II

I just couldn't get mosaics off my mind in redoing this finial mirror.
Only the upper 2 wings of the mirror decorations would have the mosaics applied to them.

After looking online for china mosaics, I eyed these interesting tiles 
 at Hobby Lobby.  What intrigued me was the tapestry design in the mirrored tiles.  How cool would mirrored tiles be on a mirror?
These packages of 30 1/2 tiles cost $4.99.  I knew I needed at least 2 packages to fill the areas.  I was disappointed to see that they only had two packages left at the store.  One of the packages had a definite yellowing to the tiles.  I wasn't thrilled about that, but since that was all they had, I bought them and came home to contemplate using them later on.

All the remaining areas of the mirror would be covered with silver leaf.  I have used this product before in a rather large mirror that I found in my neighbor's trash.  See picture.


The distressed silver leaf on the mirror gave it the appearance of being rather aged.  I wanted to do the same for this finial mirror. 
 Here is a close up of the silver leaf on the mirror trim.


We will see how the plan works for this project.


Tuesday, July 8, 2014

RASPBERRY FABRIC SLIPCOVERED COMFY CHAIR

Years ago after a good friend's mother passed away, he asked me if I would like to have a upholstered chair of hers.  When I first saw the piece, it looked tired, but I knew that with a bit of cleaning up of the carved wooden arms, the chair would come back to life.


This chair had fine elements.  The loose back pillow was feather down.  Other than the tired looking fabric, it was in good condition.
 
I had an elderly neighbor down the street upholster the chair in pink pillow ticking.  I loved the quirky look.


Once we moved to Huntsville, I found an amazing slip cover lady.  I called her and told her that I had some unusual fabric to cover this chair.  When she came to pick up the chair, she suggested that I put an unusual skirt on the piece.
 
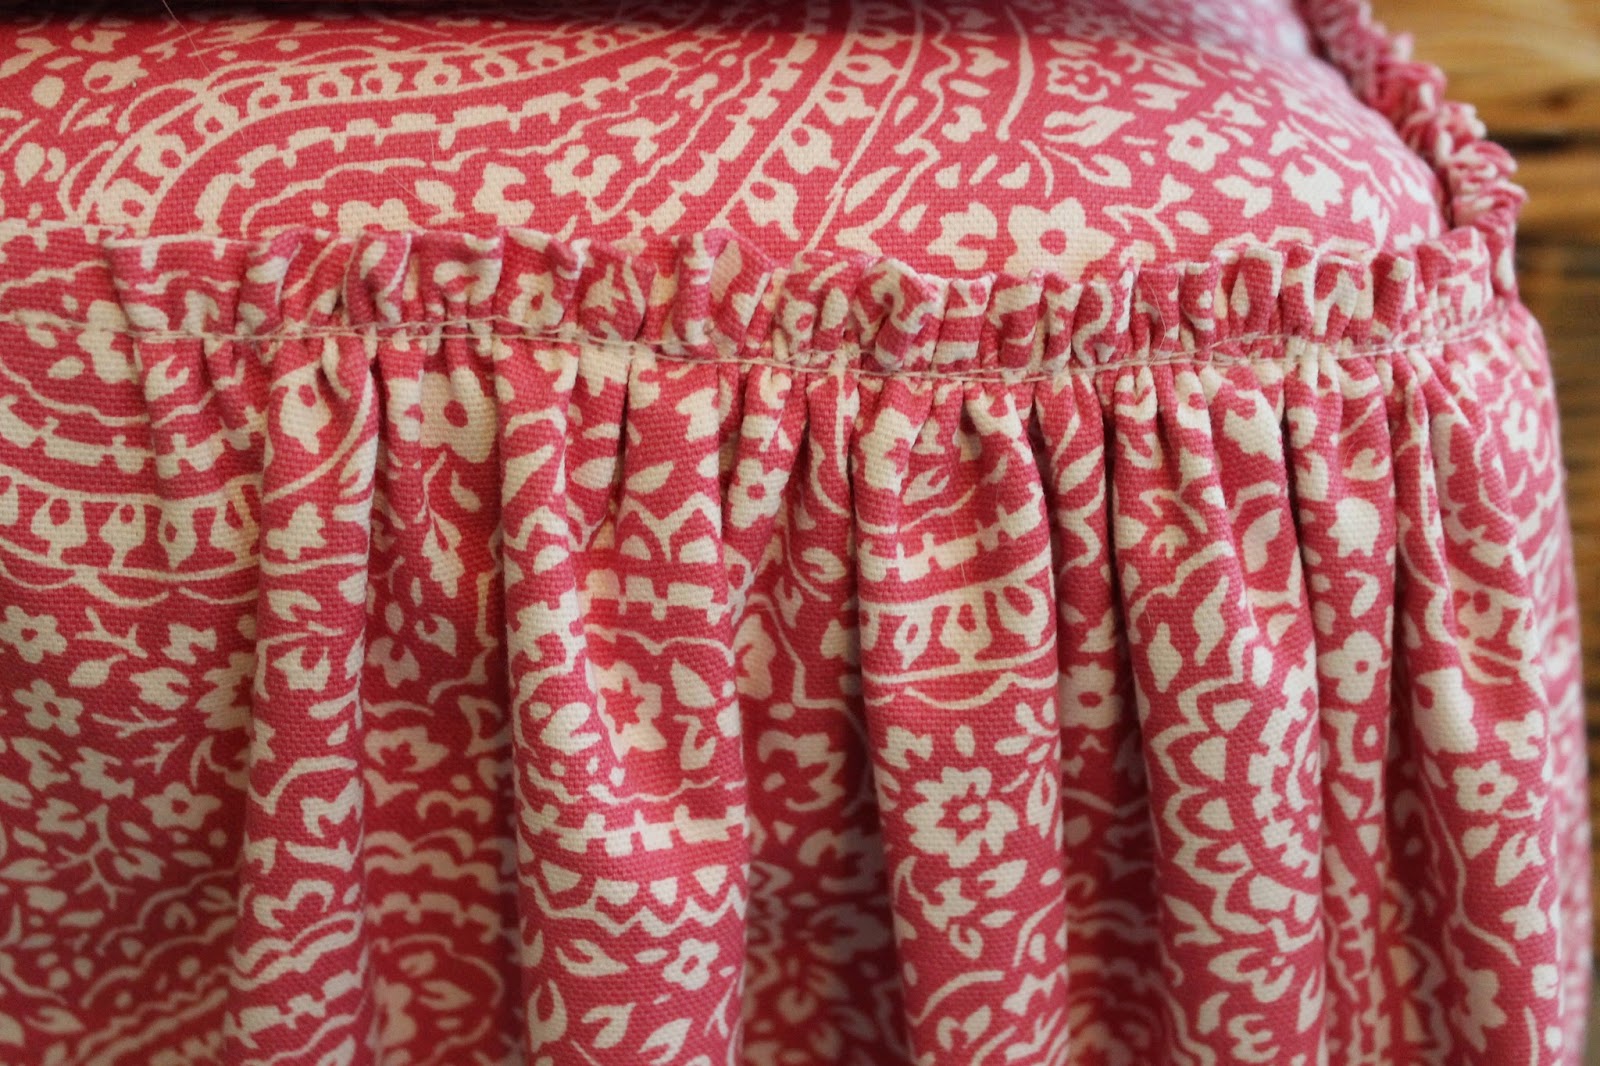
Here is what she came up with.  Notice the front skirt.


The skirt had pronounced ruffles on the outer corners on the front.


I realize most husbands would cringe at a pink chair in the bedroom, but Mr. Thrifty lets me give some of my thrift finds a really whimsical feel.
 
I love this chair.  Just knowing that new life was breathed into it makes me so happy.


Friday, July 4, 2014

HAPPY JULY 4TH 2014

 
I hope that everyone has a safe and happy July 4th celebration with your families.


Tuesday, July 1, 2014

SEED BOX


I found a vintage rustic box at a garage sale for $2.00. It reminded me of the type that my Grandfather had on his garage shelf holding his odd hardware bits and smaller hand tools.  It was a bit rough around the edges, but I knew that I could transform it into something more decorative.


 I had been collecting vintage seed packets for years and finally found an item to marry them with.

 
 I trimmed the packets and glued them to the back of the slots.


In the past I hung it with other garden pictures.

  Attaching a picture holder on the back was an easy fix.


However, in this house, I set it on top of the laundry room cabinets.


So now, every time I walk into the laundry room, there is a memory from my past.

Have you found a reclaimed item and tweaked it to make it your own?