Tuesday, April 30, 2013

WHITE BARSTOOL TRANSFORMATION


The white shorter bar stools were the last to be transformed into black chairs with stained seats to be used around the kitchen table.


When we moved in, we had these shorter bar stools from the Little Rock home.  The counter was higher in our Alabama home, so they were not tall enough for it.

Mr. Thrifty took off the seats and we sanded them.


The wood turned out to be beautiful maple.


Now, it was time to make the two chairs the same height.


Then, he measured them to match the height of the Ikea table chairs and cut them down to size.


After cutting, some of the previous support holes needed to be plugged, wood puttied and sanded.


New holes were drilled for the support bars.


The chair was re-glued with the new holes and support bars.  The bars needed some serious wood puttying(is that a word?) and re-sanded.


Time again to get the spray tent out to prime the chairs.

My favorite spray primer.


This primer gives such a smooth finish.


Here the chairs are still drying from the primer.


The next picture shows one of the chairs with one coat of Lamp Black and the other with two coats.


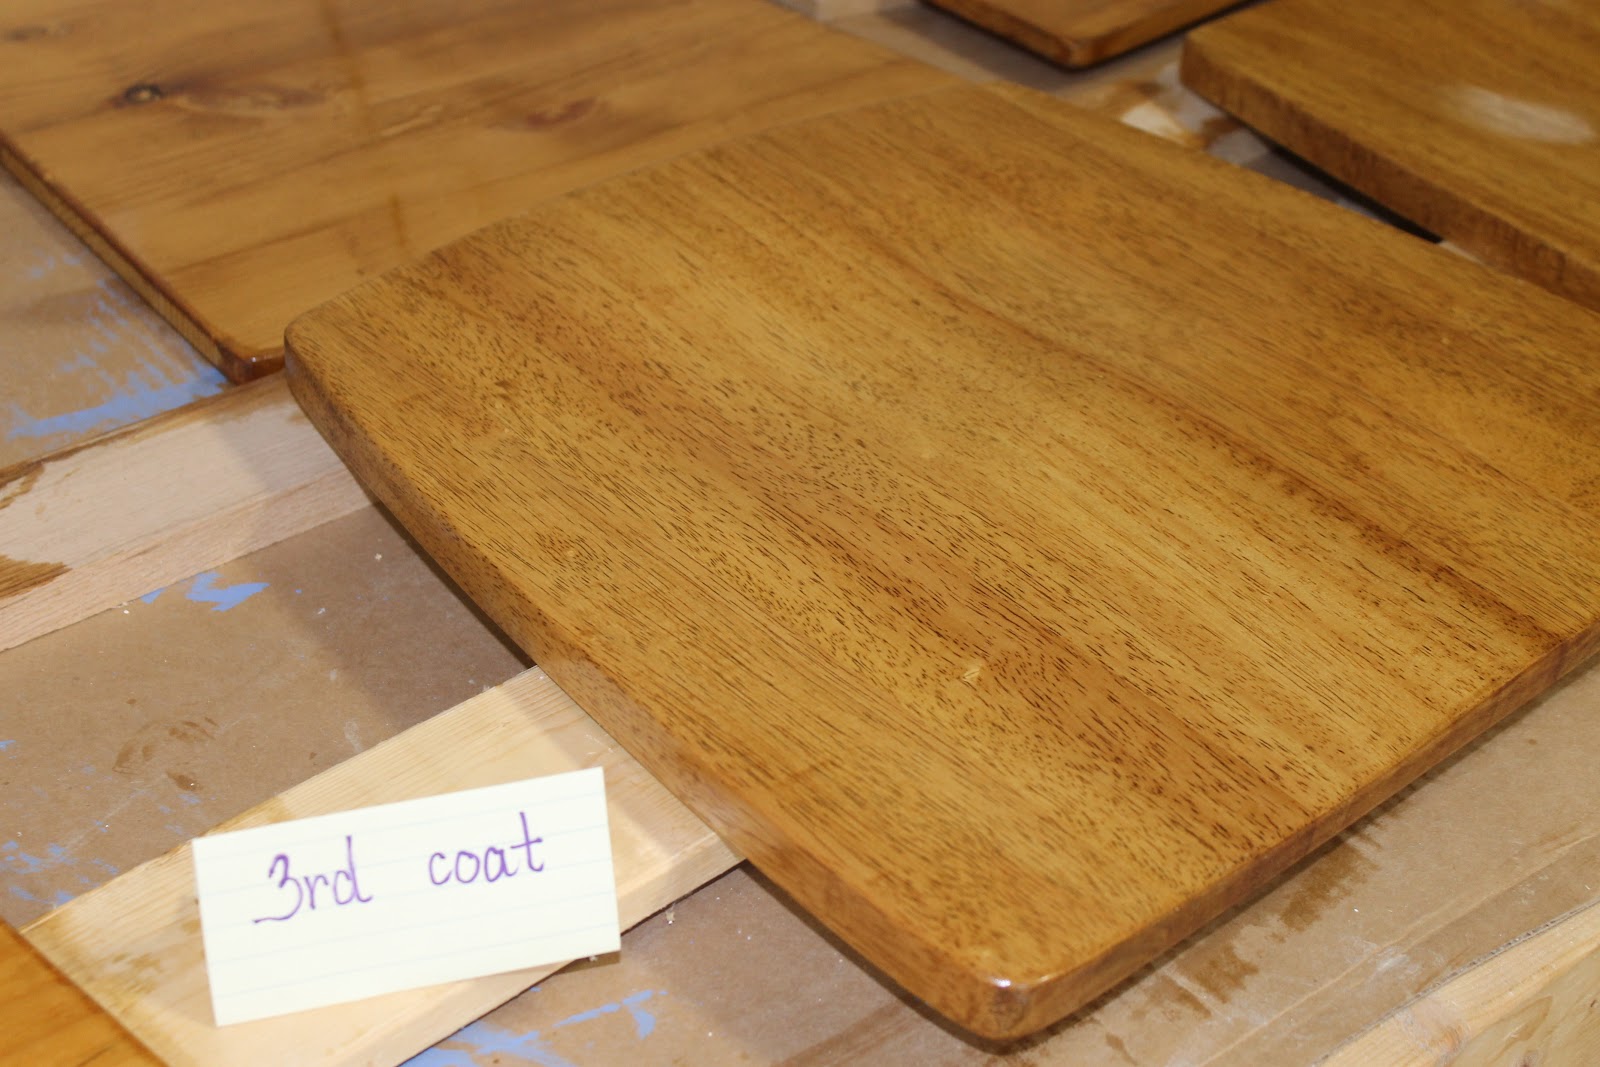
The seats were stained, waxed and buffed exactly like the Ikea kitchen chairs. 
 
 
The transformed former bar stools.
  
 
 Now, the kitchen counter, the table chairs and 2 extra former bar stools all compliment the table.


Saturday, April 27, 2013

IKEA KITCHEN CHAIR TRANSFORMATION

We bought 4 non-stained Stefan chairs from IKEA back in 2005 for the eat in kitchen area.   At the time they were $19.99 apiece.  Now the black stained ones go for $24.99, which still is a great price.  For 8 years, I just used them as is. 


They are a very plain style.  At first I was going to paint them an array of pastels.  That idea didn't last.  Once we bought the used oak round kitchen table, stain needed to be applied to the seat to fit in with the rest of the look.


Now it was time to finish them to match the rest of the kitchen.  Once we moved into the house, we purchased 4  black and stained bar stools. (I realize that only 3 stools are showing.)


Previously at the old house, we bought 2 white bar stools.(This will be a later blog)


It was time to coordinate all the chairs with the same look.  Mr. Thrifty took all the chair seats off and we began the sanding process.


The hand sander worked well.


Once sanded, I stained the seats with 5 coats of Minwax Golden Oak stain.


2nd coat.


Notice that I have 6 chair seats.  Two belong to the white bar stools that came out very well sanded.

3rd coat.


4th coat.


Finally, the 5th coat.


Patience is not one of my virtues, but it was necessary for this project.  The seats needed to come as close to the black and stained bar stools that we had presently in the kitchen.  Therefore, stain, sand, stain, sand, stain, sand....you get the picture.  IMPORTANT NOTE:  Make sure to sand with 220 grit between coats of stain.  Wipe with a soft rag before reapplying the next coat of stain.


We rough sanded the remaining frames with the hand sander.  This was very easy because the chairs all had straight lines.  Curves, had we had them, would have needed hand sanding.  This process went quickly.

Time to prime.  I hardly ever paint when priming anymore. I love this primer.
It is so important to follow the directions.  When it tells you to shake it, do exactly as it says.  Following the directions will give you a smooth coat and no drips.
 
 
The chairs are primed.


The weather has been so unseasonably cold here.  I created a spray tent in the garage.  It doesn't look pretty but it works.  Spray paint will leave a film of paint dust if not enclosed.  Another FYI with spray paint--If you wear glasses, use a cheap pair of cheaters.  I guarantee you that your glasses will be ruined if you wear your prescription pair.
 
 
 The actual painting came next.  I used the great Lamp Black paint that I had previously used on the Updated Mantle Mirror posted March 1, 2013.


Here is the finished chair minus the stained seat.


Mr. Thrifty reattached the seats.  Here is a photo of the chairs with the bar stool. 
I think they match very well.


Now the kitchen eat in area seems more complete.


All that is left is to finish the two white bar stools so all the chairs are compatible.


Wednesday, April 24, 2013

VINTAGE UPDATED PAPERWEIGHT

My sister Karen has just redecorated her master bedroom with the bird nest theme.  I wanted to make her something special to place in the room.

                    I had in my stash a vintage glass paperweight for many years now.  I still remember the estate sale that I purchased it from.  My oldest daughter was 18 months at the time.  She is 15 now.

 
I found a sweet vintage image of a cat bird with an egg in my hard drive.  Now, I just had to print a copy of the picture in the right size to incorporate into the glass.
 
This one came from Graphics Fairy.
 
 
Since one of the main colors in the room was robin's egg blue, this was a perfect choice.
 
 
After printing it, I used a corner punch from Anna Griffin and accented one corner.
A strip of gold adhesive border was added to the top.  The picture was then placed on a sky blue crackled scrapbook paper.
 
 
Once placed in the glass, I added two pieces of cardboard to the back of the picture to hold it into the back of the frame.  A piece of sky blue felt was measured and glued to the back of the frame.
 
 
Another view.......
 
 
And the final view of the paperweight.
 
 
It was fun to create a special gift for her newly finished room.


Sunday, April 21, 2013

GRECIAN URN RAIN BARREL

After the extreme heat and drought of the summer, I asked Mr. Thrifty for a rain barrel for my birthday.    The next blog will show how he installed it in the backyard.  Here are a few pictures of the rain barrel itself.


This barrel has a nice feature.  On the top, it has a reservoir to plant a plant.  There are drip holes for the plant in the back of the barrel.


He started with a base.  First, he dug out the grass in the area and leveled the ground.  Using leftover pea gravel from the retaining wall project, he covered the ground and leveled it again.

                                                   
                     Believe it or not, we still have leftover brick from the building of the house. 


Besides having a sturdy base for the barrel, the brick raised the platform up enough that I could put a reused plastic milk gallon underneath with clearance to refill the container for watering.  Otherwise, I would have had to use a hose connected to the downspout of the barrel.


                                                      This is the finished project. 

 
                Mr. Thrifty laid a brick with the date 1991 directly under the spout.  I had pulled the brick and replaced it with another brick this summer while visiting the old homestead back in Peoria. The brick represents to me the fact that at one time, years ago, with help from a bricklaying friend, I had completed an outdoor patio project with success and basically,  no training.  That patio was laid with old street bricks.  Talk about history!
 
  That experience taught me that a person can do more things than you can imagine.
 
 
The Maywood brick patio.
 
 
The brick 'cornerstone' inlaid into the patio corner.
 
 
The brick transferred to our recent home.
 
 
Here is a view from the side. The barrel fits flush against the brick.


Now, it is time to show you how this system collects the rain water.


                                                 This hooks on directly to the downspout.


                      This hose comes directly from the gutter to the side of the rain barrel.


Here is the last picture.  I really like the way that the terracotta look blends well with the brick.

Better yet, conserving our rain water is saving money.  I really believe that rain water is better for the plants anyway.


                       I forgot to mention that this rain barrel holds 65 gallons of rain water.