Wednesday, January 28, 2015

CREATING HANGING ORNAMENTS FROM HOBBY LOBBY STANDING FRAMES

 
I realize that Christmas is behind us, but I wanted to write about a very easy ornament project.  You have 11 months to go back through your children or grandchildren's pictures and create your own Memory Tree.

Let's get started.......
 
Every year, I take one of the girls' pictures and place them into a mini ornament usually found at Michael's or Hobby Lobby.
 
 
Then, I place them on a 3 feet tree in my bedroom. 
 
 Since the girls were born, I have  updated it every year and made an ornament for each of them.
 
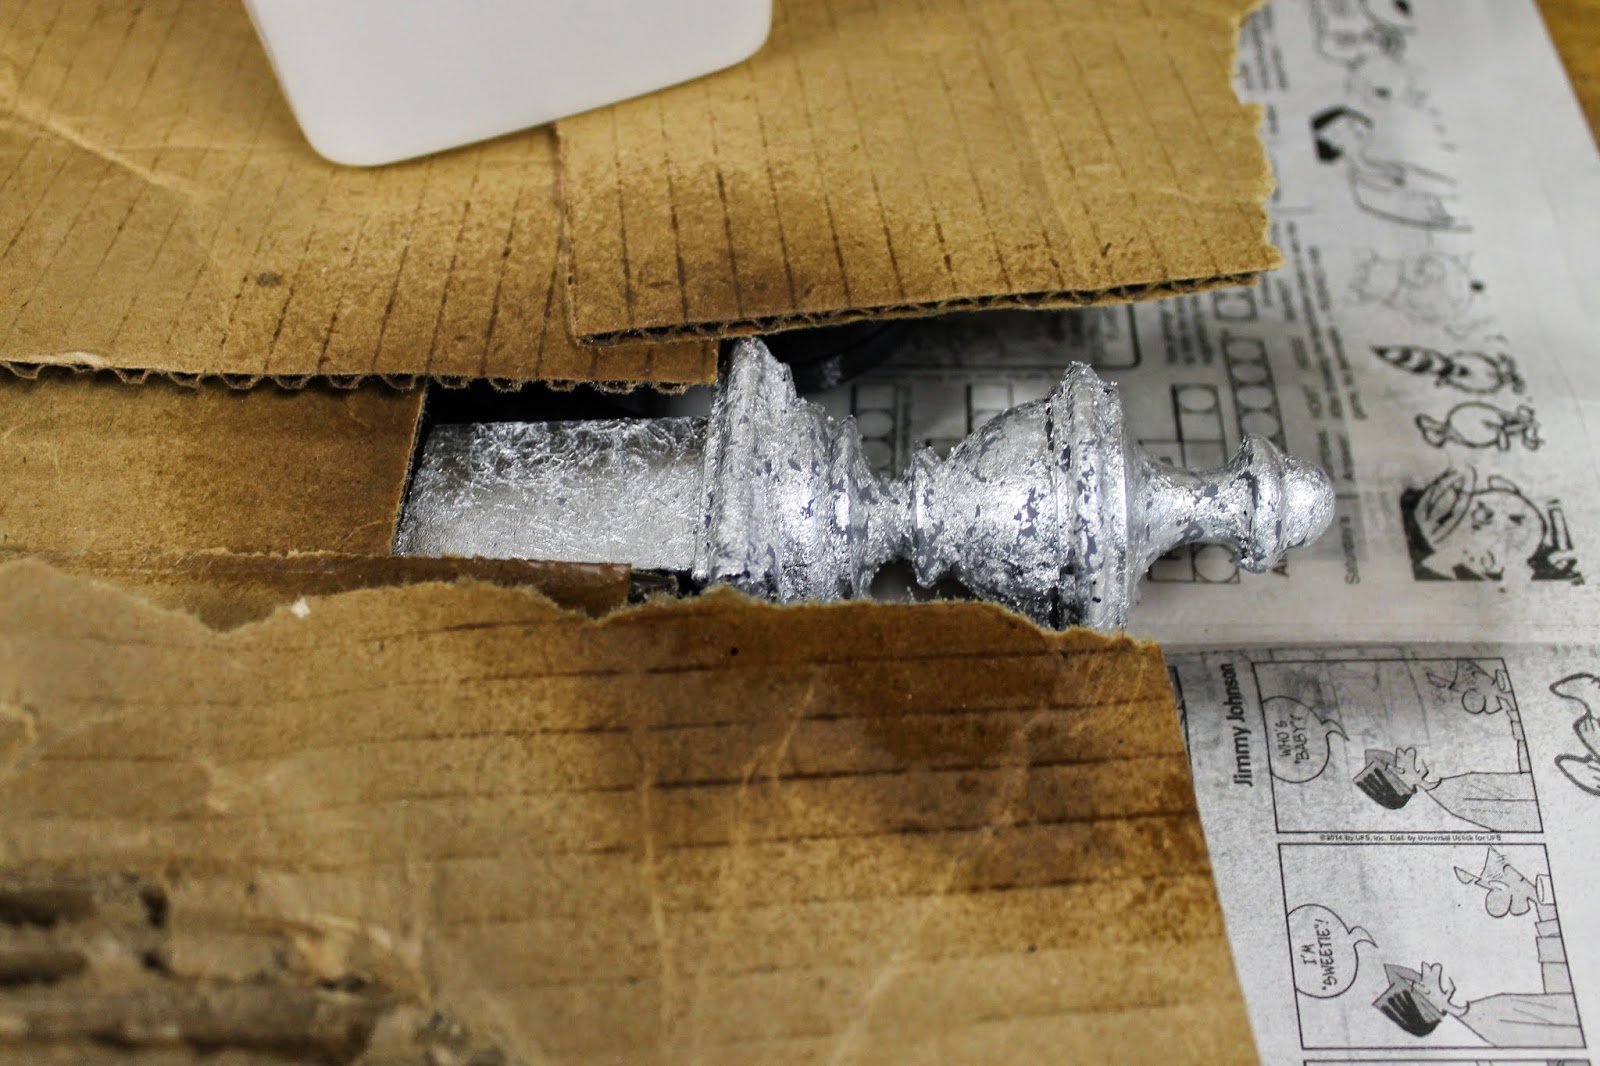
 This year, the only frame I could find for the wallet photo was a standing frame.


A somewhat blurry picture of the back of the frame...

 
 To create an ornament, I printed a picture of each of the girls out.
Once the photo was placed in the frame, I flipped the frame over.

 
  I went to the ribbon box  and cut a 7 inch piece of silver polka dotted ribbon.
 
 
Looping the ribbon to the top of the back of the frame and securing it with the glue gun was easy.

 
The last step was getting my labeler(This is one of my most favorite 'toys')
 
 
out and printed the year, 2015.
 
Using packing tape, I placed the date on the back of the frame. 
 
 
Here is the tree with the latest ornaments hung.


How easy was that???
 
Keep this easy 15 minute project available so you can begin making your tree for next year.
 
 
I think that it would be wise to go back through all my ornaments on the tree and label the dates too.  Oh my, another project........


Saturday, January 24, 2015

UPCYCLED OFFICE CHAIR FOR THE BLACK DESK

Initially when I created the office for Mr. Thrifty, I used this patriotic chair to use with the desk.

Even though the theme went with his office, the chair was just wrong for the space.


The chair arms didn't work with the desk at all.  So, I was in need of another chair to redo for this space.

I found this chair for $5.00 at an estate sale.


 Notice the 'padded seat'.  There is not one bit of foam or batting under the material.  It doesn't look too comfortable.


The back of the chair has a simple design. 


At a closer look, you will notice that 3 of the screw holes have lost their buttons.


Lucky for me, fifteen years ago, Mr. Thrifty had to rebuild my oak armoire that had many problems after the multiple moves.  I purchased this bag of oak buttons to cover such screws.  The most amazing thing was getting my hands on them.  They were still stored in the armoire just in case one of those buttons fell off.  


 The nice thing about these buttons is that they are made from oak so if you wanted to re-stain a piece of furniture with these button covers, it would match.

Looking at the side, the buttons fit perfectly into the holes.  All you need is some wood glue to attach them.


With leftover material from the slipcovered wing back chair.....


I was going to make a chair to compliment the room.  With a bit of sanding, painting it Lamp Black and changing out the deplorable chair seat, this new feature in the office will come back to life.

So, I better get busy to bring this sad chair back to life.


Tuesday, January 20, 2015

FINIAL MIRROR-PART 5


In case you don't remember, here is the before.....

 
Remember that my original idea was to fill in both scrolled areas, top and bottom with the glass mosaics.  Once I completed the top, I felt that this was enough.
 
 The big reveal today--drum roll--here is the mirror frame without the mirror.


I think this will be a great statement piece to place in the foyer as you walk in the door.


Now I realized that the off white foyer table just doesn't match the mirror.  I was going to paint a bedside table black to place underneath the mirror.  I need something taller.  I still have one vintage  rod iron sewing base in the garage.  If it was painted a high gloss black, I could get a thick piece of glass cut to place on top of the base.  I believe the glass would mimic the mirror glass tiles in the mirror.


This was not a project for the weak or weary..  I think I spent about 23 hours on it to complete it. 

Anyway, I am thrilled with the results.
 

Friday, January 16, 2015

VINTAGE TRUMEAU MIRROR WITH CUPID (VALENTINE) EMBELLISHMENT

 
Running out to get a can of chalk paint brought me to a cute antique mall with some awesome booths.  As I was walking to the paint booth, I spied a precious mirror.  Upon looking closer, I realized that the embellishment was actually a cupid.   How appropriate for our Valentine family name.


It actually is a reproduction Trumeau mirror.
 
A trumeau mirror is a wall mirror originally manufactured in France in the 18th century. It takes its name from the French word trumeau, which designates the space between windows. In England it is normally known as a 'pier glass'.
Trumeau mirrors were originally intended to hang on a wall between windows, providing a decorative element and bringing more light to the room. Most antique trumeau mirrors are highly ornate and often gilded.
The mirror is almost always rectangular and sometimes includes a decorative portion at the top, with the mirror below it. Those designed to be placed above a mantelpiece, rather than between windows, could have candles placed in front of the mirror to increase ambient light.(Wikiedia)

Isn't this next picture a beautiful relief on the mirror frame?

 
Very rarely do I buy an item that is full price, but this had a great price($45.00).  All it needed was some chalk paint, maybe some distressing and possible gilding paste wax.  But this year, I think I will just embellish the frame for Valentine's Day.
  
  
This will be a perfect for my upcoming Valentine's Day décor.

Monday, January 12, 2015

ANOTHER ADVANTAGE TO THE GREEN SMOOTHIE

 
I realized that this posting has nothing to do with decorating or baking.  I just returned from my doctor. 
 
I had a blood work up last week.  My cholesterol has gone from 213 to 187.  The only change of my lifestyle has been drinking the green smoothie  almost every day and walking.  In order to become healthier, I didn't think about any other effects other than feeling better and losing some weight.


If you want the recipe, look at the posting on Dec. 30, 2014-Happy New Year 2015 New Years Resolution Smoothie.
 
I tried to place the link here, but my poor computer skills were a deterrent.)


Thursday, January 8, 2015

VINTAGE, CHIPPY DOOR BACKGROUND

Please note the beautiful Happy New Year's card from Graphics Fairy.


When searching blogging backgrounds, I came across this chippy door.  What a great way to begin the NEW YEAR.  Opening a door that is aged and worn that comes with all the wisdom of those years was the perfect metaphor for 2015.  Reaching my 6th decade this year brought  forward even more intentions than a normal new year. 
 
The green smoothie experiment was at the top of the list.  With that under control and the daily exercise to a manageable state, it is time to add more avenues of improvement.
 
 My spiritual journey also needs my attention.   Age really does make one reflect on this area in our lives.
  
I have pondered many ways, whether physical, spiritual or productive to increase my potential.  I have found that connection to my loved ones, whether they be family or friends  brings me happiness.  To better those connections is next on the list.  So many minutes are wasted by my vice, playing Spider Solitaire, that I should just pick up the phone and reach out.
 
With my girls soon to be moving on to college and their own lives, I need to address how I can fill that void.  I am so excited that they will both have those great experiences in becoming independent for the first time, but I also have to manage my sadness in missing them.

And finally, I hope to continue to challenge myself in producing more projects to fill the blog with this year.
 
These are my hopes for improvement this NEW YEAR.

Sunday, January 4, 2015

FINAL MIRROR-PART 4

Starting back to project mode has been a real challenge.  It becomes so easy to get caught up in learning the tricks of newly acquired electronic equipment.  I am determined to get out of this slump and become more productive.
 
So back to the mirror...... 
 
Finishing the mirror has been a bit of a challenge.  My original plan was not successful. No time to waste fretting about what never happened.
 
 See how you can change your plan and still have a nice project. 
 
Once the pieces are dry fitted, the mirror is removed from the frame. 
 
Then the entire frame is sanded.  Notice what the frame looks like in the portion not sanded at the bottom of the picture.

 
While sanding, I noticed that two parts of the back of the frame were loose, so I had to stop, re-glue the parts and attach the clamps and wait overnight until they dried.
 

Then, the entire frame is sprayed with gray primer.


 To finish the edges not covered by the mosaics, I was going to silver leaf the rest of the frame first.  I am doing this step prior to gluing the mosaics.  I think adding the silver leaf will be too messy after the mosaics, so I hope there is success doing it in this matter. 
 
I have used this product previously in redoing my vintage frame that I found in the neighbor's trash.


After silvering the finial, I decided to stop.  The silvering of the finial itself was a mess.  I'm not sure if it was because the areas of the frame were rounded or what.
 
 Instead of using the spray adhesive, I was going to use watered down Elmers glue.  The reason for this is because I can brush on specifics areas instead of having the messy overspray that tends to happen with that adhesive.
 
 
Instead of silvering the entire frame, I decided to paint the remainder of the frame in Lamp black.


When the silver leaf has dried for a few days, I will spray a high gloss sealer.  Waiting for one more day will guarantee that I can begin applying the mosaics.
 
 
Using the adhesive, the mosaics are trimmed to fit better into the curved areas of the frame.  
After beginning to fit the mosaic squares, I realized that I would need to curve some of the ends.  After using my tile cutter, I couldn't get them rounded, so I pulled out the Ryobi hand held sander.
It was a bit tedious, but it got the job done.
 
 
Here is a close up of the sanding bit attached to the Ryobi.


 IMPORTANT--ALWAYS REMEMBER TO USE SAFETY GLASSES.  THE SMALL SHARDS OF MIRROR TILE FLEW EVERYWHERE!
 
Basically marking each piece on the rounded edges first helped in sanding the individual tiles.
 

Holding the tile at this angle steered the shards from flying upward.


After 4 hours, this is how much was completed.  I figure another 12 hours and this project will be completed.  I was originally going to grout after applying the tiles however, I like the look of the black background showing through-sort of like stained glass.

 
I am hoping to complete this project in the next two weeks.