I have been wanting to make a permanent Marian shrine for our home. I have prayed to the Blessed Virgin on many occasions throughout my life. Many blessings have come from saying the rosary.
It was necessary to create a special place for the Virgin Mary. I have been looking for a vintage clock case that I could use as the base of the shrine. How shocked was I when I came upon this vintage case right after Christmas at an antique mall down the street. It was perfect--old-but I knew that I could revive this piece. The price on the piece was $80.00 and normally I wouldn't spend that much, but I noticed that the glass had a crack in the upper left corner. On a whim, I asked if the seller would come down in price. After a short phone call, she came back and asked if $60.00 was ok. Ok!!!! I couldn't pay the bill fast enough.
However, it has been so cold in the garage that I haven't been able to work on it.
Some of the trim is damaged. I went out looking for some trim molding and the closest thing I could find was doll house molding. It was a bit too small. I then found a piece of molding at Home Depot and Mr. Thrifty told me that he could router the wood to match the original trim.
How happy was I to hear that!!!
I found this broken off piece for the front inside the case. That will be an easy fix to glue it back on.
I purchased 2 Annie Sloan Chalk paints--Burgundy and Greek Blue.
I'm hoping to mix these two paints to make a lavender to paint the shrine itself.
The above painted secretary has the exact color that I want. I am hoping that my shrine will have gold accents also. I can't wait to start painting!
Enter Mr. Thrifty. The so called easy fixing on the moldings weren't going to be as easy as I thought.
The Mr. didn't have a router bit to make the exact cuts in the wood strips that I found. However, when the Mr. cut the doll house molding in half and butted one half up against the other, it was resembling the old molding.
The one old trim piece fit back on. He took off the side molding strip and gave it a 45 degree angle cut to fit into this corner. Looks pretty good!
Now, Mr. Thrifty cut the dollhouse molding in half and butted one back to the other.
I glued the two raw pieces of molding together and attached clamps.
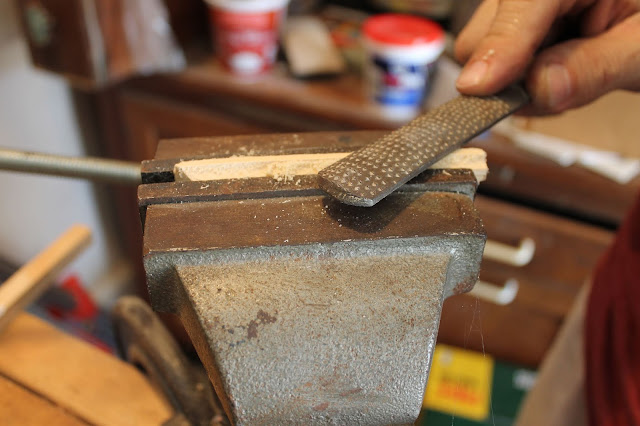
The next day, the Mr. used his file and starting shaving off the sides to match the original molding.'
Finally, it was time to match the two pieces together. A 45 degree angle was cut on the right end and a 90 degree angle on the left end.
Isn't he amazing?
The piece was glued in place.
Tomorrow, the magic will begin.


No comments:
Post a Comment