I believe that this is one of my more exciting projects. I purchased this frame back in May. Since I didn't have a specific place to use it, I just kept it in the garage. One day, I pulled out my measuring tape and went to my parlor bath. This was the room that I first stenciled. It seemed that the frame would fit perfectly but I waited until Mr. Thrifty came home. He measured and it fit! Now, I put it in high gear to finish it. Once painted, I will buy a beveled mirror to place in the frame.
Here is the builder's mirror.


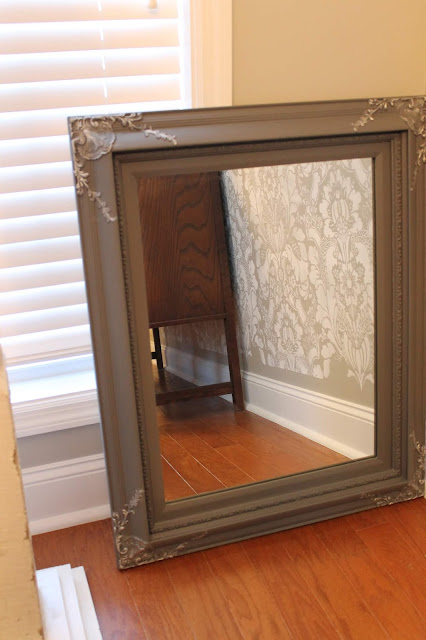
Finally, the mirrored frame is in place. I really like how it changed the look of the parlor bath.

Here is the builder's mirror.

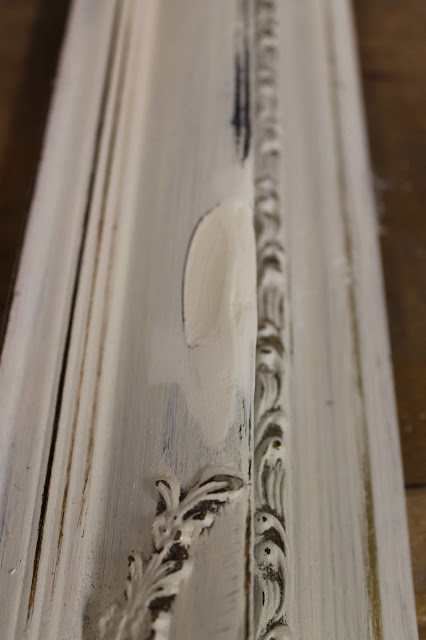
This is the frame that I think I got a great deal on. However, there was a substantial divot. A little spackling paste would do the trick. It's always easier to do small layers at a time so I spackled and sanded three times before I was happy with it.


Once I was happy with the spackling, I sprayed a coat of primer over the damaged area. It is very important to prime because once I started painting the entire frame, the paint might not take without the primer.


I paid for $25.00 for the frame. It wasn't until I turned the frame over that I saw the original price which was $71.99. That made me feel even better about my purchase.

At this point, I was anxious to start using the chalk paint when once again I was stopped in my tracks. The past owner has used a glue gun to secure their painting into the frame. There was no way the new beveled mirror would lay flat with this surface. I got a small chisel from the garage and removed all of it. One extra hour of work would save me frustration later.

Normally glue gun residue is fairly easy to remove. This--not so much.

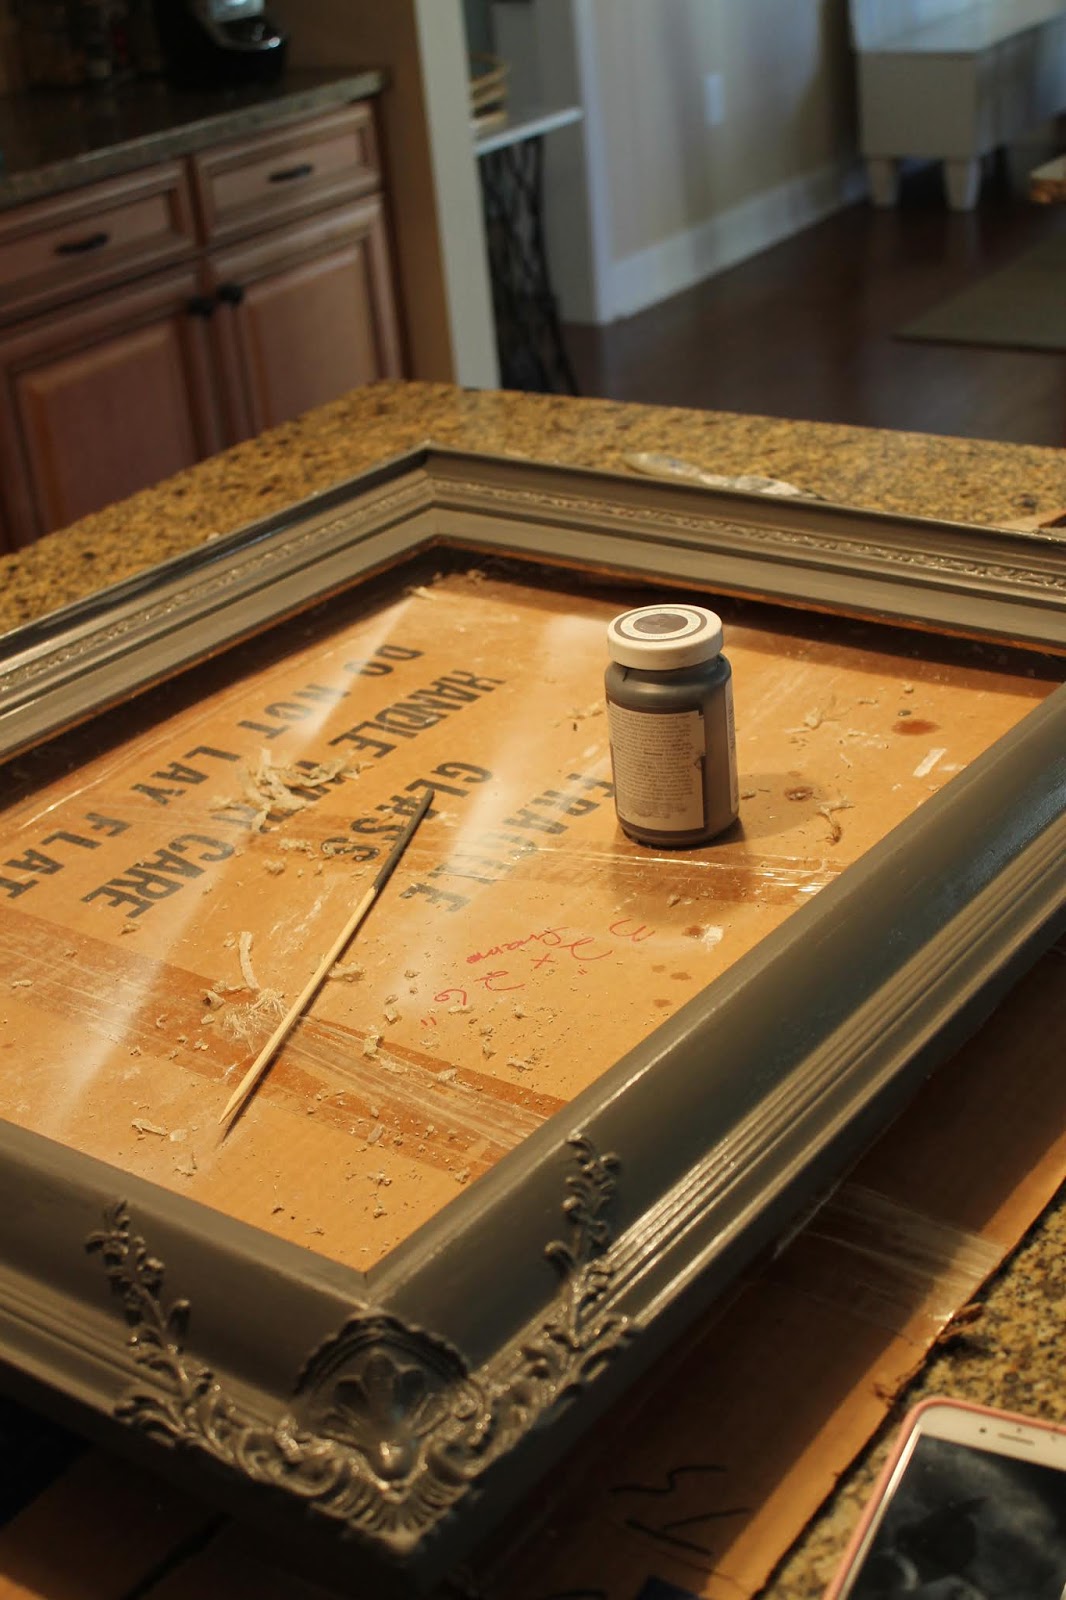
These paint products will be used to finish the frame. The base will be an elephant color chalk paste. The raised areas will be accented with the silver gilding paste.(I love this stuff!) The dead flat finishing paste will leave the paint protected without adding a sheen.
I should make a note here and tell you that I thought that this grey paint color was used in the stencil on this bathroom wall. It wasn't until I painted two coats that I realized that it was NOT the same grey. However, it is so close that I decided to move forward and continue using the elephant color. I can live with this. It compliments the stencil well.

I ended up using 4 coats of the grey paint. It is such a rich color.


When I started applying the gilding paste, I used it very lightly at first. As I continued, I applied it a bit heavier.

Here is the frame before the gilding wax was applied.

And after....


No comments:
Post a Comment