I apologize for my lack of postings the last few days. A lot is going on at home with the girls, and I know that we all know what's thats like at the end of the school year.
This upcycle started with a chair that I found in my neighbor's garbage in Virginia many years again. The seat was rotted out, so Mr. Thrifty cut the chair seat out, some chicken wire was stapled onto the seat and plants were set in it.

After a few seasons, I stripped out the chicken wire and repainted the chair.

This upcycle was rather simple. I used the chair as a support for the growing peony bush in the back yard.

After a season, the chair began to fall apart from the outside elements. I just couldn't throw it away. Instead, plans were being made to make it a shelf for the bathroom. Now looking at the next photo, you would say, how could one possibly resurrect this chair?

I asked Mr. Thrifty once again to cut off all the rotten parts of the chair and this is what I had left.

I found a piece of wood at Habitat REStore and decided to cut a shelf to insert into the chair frame.

This piece of wood set me back $2.50. Not bad....

I stopped by Home Depot and purchase two baseboard decorative corners and spoon hooks from Hobby Lobby.

After I returned home, I found these two vintage iron hooks that I liked even better than the spoon hooks.

Mr. Thrifty cut two channels to insert the shelf.

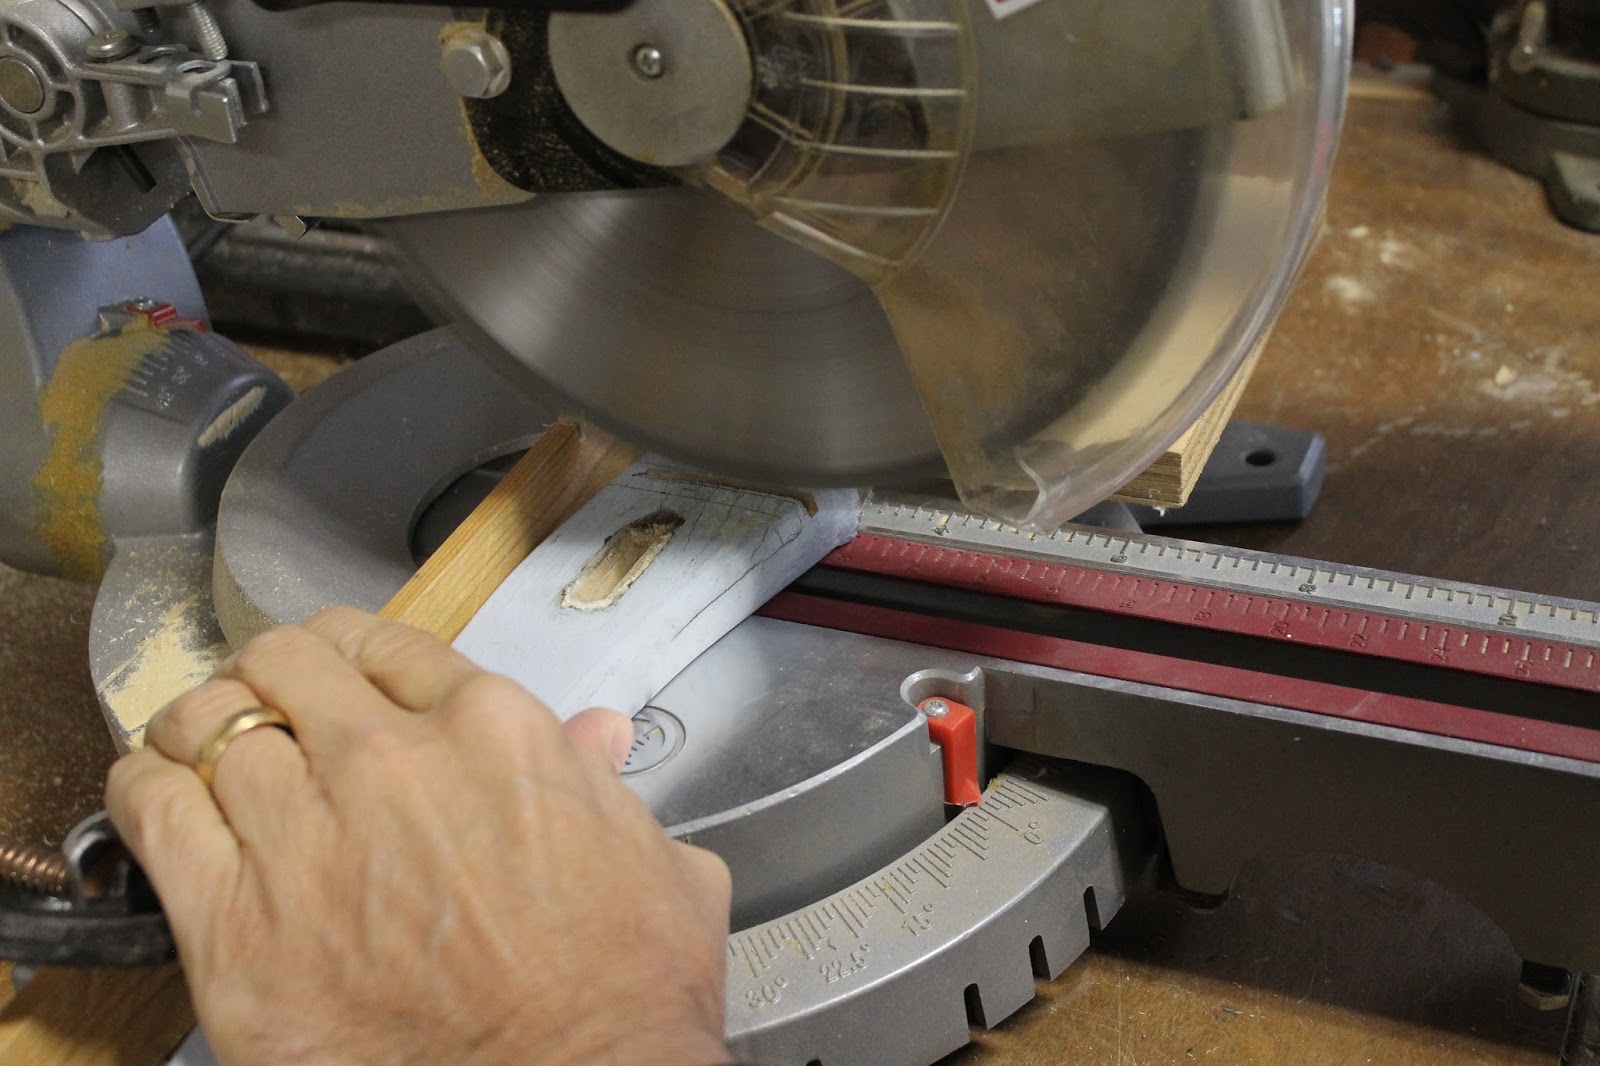
The shelf fit beautifully into the channels.

Because the wood was so brittle, a chunk broke off. This slowed down my progress, so I used wood glue to put the two pieces back together again.

Finding a dowel rod in the wood bucket, I cut two pieces to use as a towel hanger and a shelf support.

The hooks were screwed onto the sides of the chair and I was ready to paint.


The entire piece was painted with a French blue paint.


Once top coated with Screen Door Blackberry House paint, I heavily distressed all the parts of the chair.


The last step was to apply a final coat of Annie Sloan clear soft wax and buff well.


Then, all the parts were put together and glued.

After attaching two screws to the back and adding framing wire between the two screws, the shelf was ready to hang.
It wasn't too difficult to look around the house for a few accent pieces.
A small lidded glass decanter will hold cotton balls.

A vintage perfume bottle and an embroidered towels now hang from the upcycled shelf.

I think this shelf will last a long time. Hard to believe that it all started with a single chair.

A practical piece can now be used as a work of art in the bathroom.
No comments:
Post a Comment