Sunday, October 19, 2014

HALLOWEEN WINDOW DECORATION

On the spur of the moment, I decided to create a Halloween window display out of things I already had around the house.
 
The base of this vignette centered around a vintage chippy black window pane that I had used against my brick porch in Arkansas.

Unfortunately, I couldn't find that old photo, so I am showing you another window frame hung against the brick.
 

Here is the actual window frame that I will be using.


The next step was to pull out my old books from the stash and rip some of the pages from a few of the books.


Using one of my painting cardboard boxes, I cut a piece to back the frame.  I then glued pages in no particular order onto the board.


It looks pretty bad right now but just wait.


It didn't take long to glue the pages with a glue stick.


Using my staple gun, I attached the cardboard to the back of the frame.


Digging into my Halloween tub, I found these plastic spider rings.  Using a scissors, I cut off the two ring prongs and glue gunned them onto the board.


I had an old bottle with ribbon and trinkets tied to the top and glue gunned this right onto the frame.


Adding the candelabra into the mix gave the scene a more haunted look.


I pulled out my jar of plastic skeletons out too.

 
The old champagne bucket would hold the branches.  Scrunched up newspaper would hold them in place.


My wooden witch(used from an old wreath)was attached to another part of the inside frame.


An ivory vintage damask tablecloth found at an estate sale for $2.00 was laid over the top of the black kitchen table.


The space is getting spookier.....

 
What would the space look like without a crow?


The mirror above the rectangular mirror gives the vignette the needed height.


Some branches from the backyard stashed into the champagne bucket hides the crow.


I really wanted to use only black, cream and silver in this area.


A different angle.....


The battery candle comes in handy as the sun sets.


The Halloween spirit is now upon us.

 
This foyer scene was created from odds and ends around the house.  I love the no cost look!
 

Wednesday, October 15, 2014

ESTATE SALE DESK-PART 5 COMPLETION

 This posting will complete the office desk-finally!

It is always interesting to find a new product that really is top notch.  I can say without any reimbursement from the company, that I will be using this product for years to come.  I love it.  I would assume since the lamp black paint I so similar to chalk paint, that I could use this polyacrylic  on my Annie Sloan projects.
 
After 3 coats of Lamp black paint, and a gentle sanding between the coats, 2 coats of Polyacrylic water based semi-glossed topcoat were applied.  Between the coats of the polyacrylic, I sanded the surfaces with 400 grit sandpaper. Always remember to wipe off the surfaces after sanding. This is a very fine grit and knocks off minimal finish, but also helps to grab the next coat of sealer.
 
 
I used a high quality synthetic brush to apply the sealer.  I would like to make a point to tell you that the sealer looks milky when initially applied to the surfaces.(See the streaks?)
 

Within 20 minutes, the finish turns clear.  Adding another coat is suggested between 2-4 hours after initial application.

 
I will apply another coat of the sealer in a day.  Once the desk was dried for a few more days,
 the hardware was reattached. 
 
 
 The gold handles remind me of the gold buttons on Mr. Thrifty's West Point Cadet jacket.
 What do you think?
 
 
Mr. Thrifty and I agreed that I should order glass for the top of the desk. This would insure  that the desk would have an excellent writing surface.  I was lucky.  In Huntsville, there is a company that when the glass was ordered on Monday, it was picked up on Wednesday.
 
 
Unfortunately, the Patriotic chair will remain at the desk until I can
                   refinish this next project.   I must admit that the eagle goes well with the red chair. 
 
 
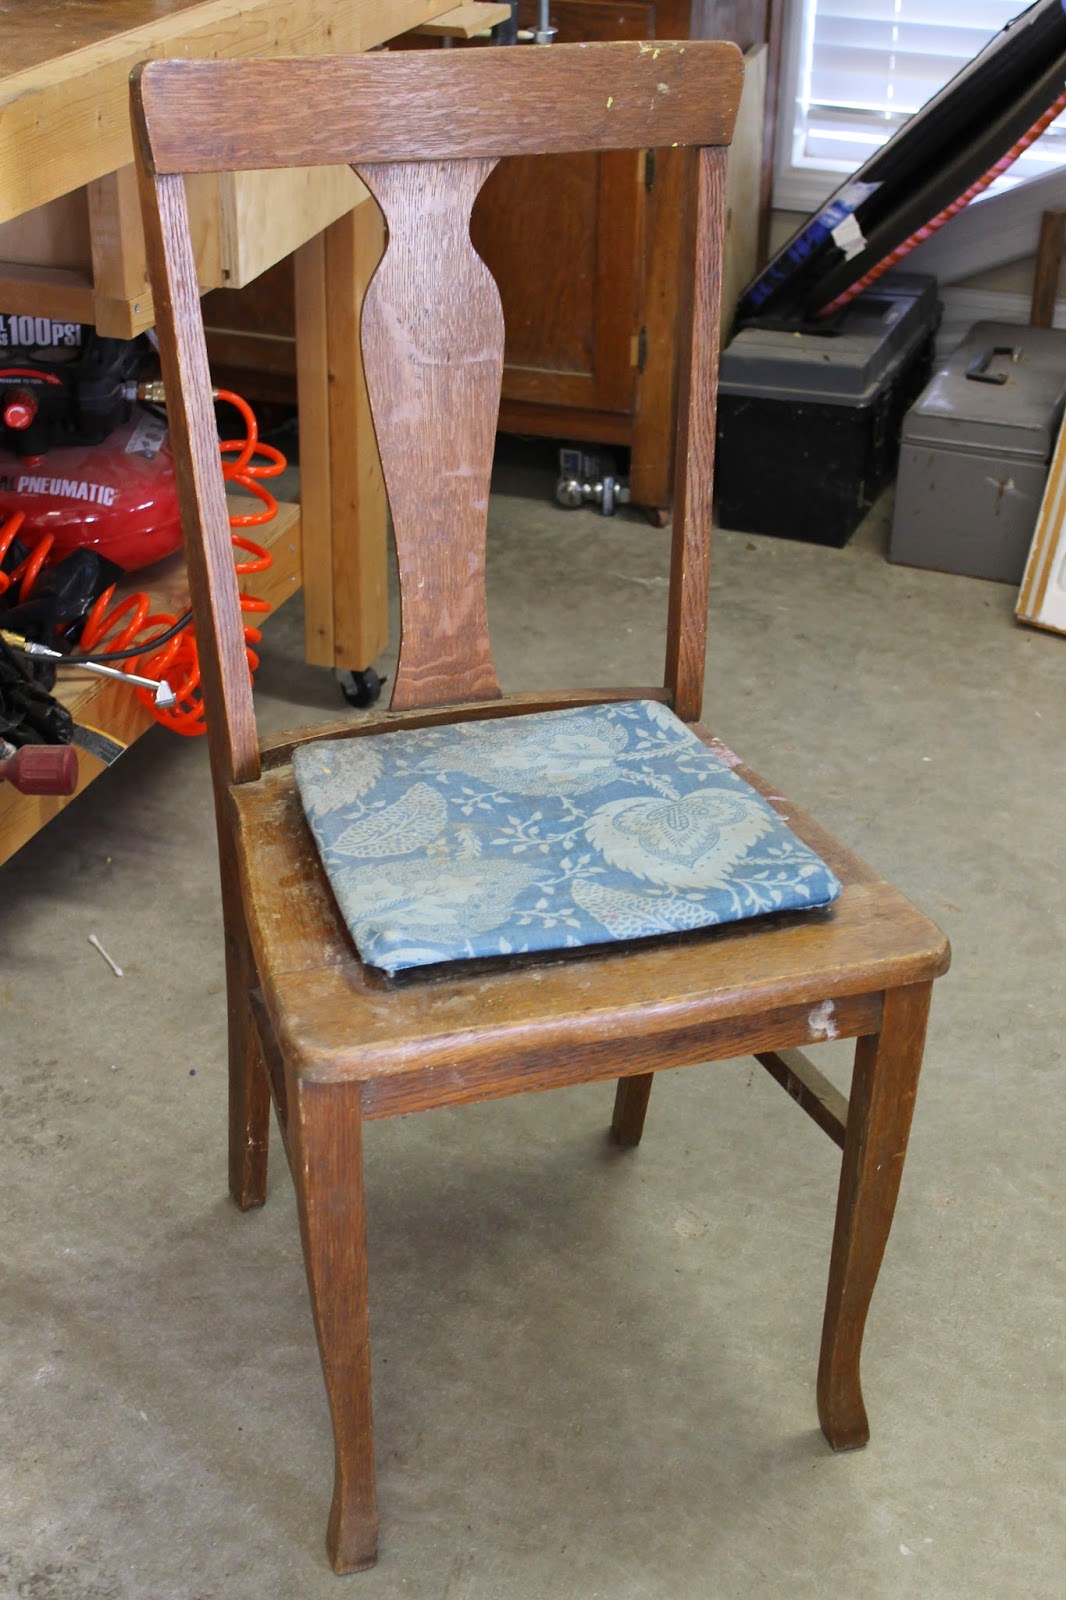
Projects NEVER end!  I found this decrepit oak chair in the garage heap.  You are probably thinking that the garage is getting pretty empty.
 
 
 I think I will paint the chair black and use the same fabric from the slipcovered chair to reupholster the seat with added foam.(See picture.)


But until that day, I will just enjoy a few moments of gazing in the office and knowing that the desk has finally been completed.

Once again, before.......


and after.


 Now, Mr. Thrifty finally has his own spot in the house to work quietly.
I think he is well pleased.


Friday, October 10, 2014

ESTATE SALE DESK PART 4 HARDWARE

Now that the desk is finished, it is time to redo the hardware for the drawers.

 
Once I removed the hardware, I cleaned one of the handles and attempted to use some Brasso to bring back the original surface. The finish wasn't a good color of brass, so I hit the blogs to find an answer.


In one of the blogs, it mentions using the gilding paste on metal hardware.  However, this gold paste does not stick to metal, so this blogger painted the metal handle first with chalk paint, let it dry and then applied the paste.

This picture shows the handle with a light coat of Lamp black paint.  It dries very quickly.


For this next step, please use rubber gloves.  This gilding paste gets on everything.  Using a folded up paper towel, I wiped the surfaces gently with the gilding paste leaving some of the black base coat.  I think the gold will make the black wood of the desk really pop using the gilding paste.


Notice that I didn't  cover the entire handle with the gold. I liked the black contrast in the crevices of the hardware.  It appears splotchy, but I think it will work in my favor on this piece of furniture.


Because the gilding paste has a bit of oily touch to it, I will let the handles dry and then apply a spray coat of matte sealer to make sure the gold does not wear off.


This desk really shows the feel of the West Point colors: black and gold.

Wait until you see it!


Sunday, October 5, 2014

ESTATE SALE DESK-PART 3- PAINT

Now that the pieces were sanded, it was time to wood putty the holes.  After drying overnight, the pieces were sanded again.


The next step was to tape off all the edges so the paint had straight lines on the edges.  Though a tedious step, it is absolutely necessary.


Even the desk itself is taped off.


I used Zinser primer to cover all areas of the desk, drawers and pull out tables.


The first coat of Lamp black is applied.


The second coat of paint really shows the richness of the black color.


The top of the desk is nice and smooth.

 
I decided to paint a third coat on the desk.

Stay tuned for the up-cycling of the hardware.

Wednesday, October 1, 2014

AUTUMN LANTERN

This post is such an easy one to replicate.  Speaking of easy, my oldest daughter who loves Pinterest tells me that the reason that my projects are not popular on that site is because they are too labor intensive.  She told me that most sites on Pinterest are popular because a person can complete them in 5 minutes. 
 Well, here is one of those projects.
 
I didn't have anything on the porch post since the summer.  I pulled my lantern out, went upstairs to the plastic tubs of fall things and literally pulled out some gourds, bittersweet and placed them inside the door of it.  Ta da!!!
 
 
Adding a shaft of wheat tied to the handle added some fluff.
 
 
However, there didn't seem to be any light inside the light to show off the beautiful colors.
 
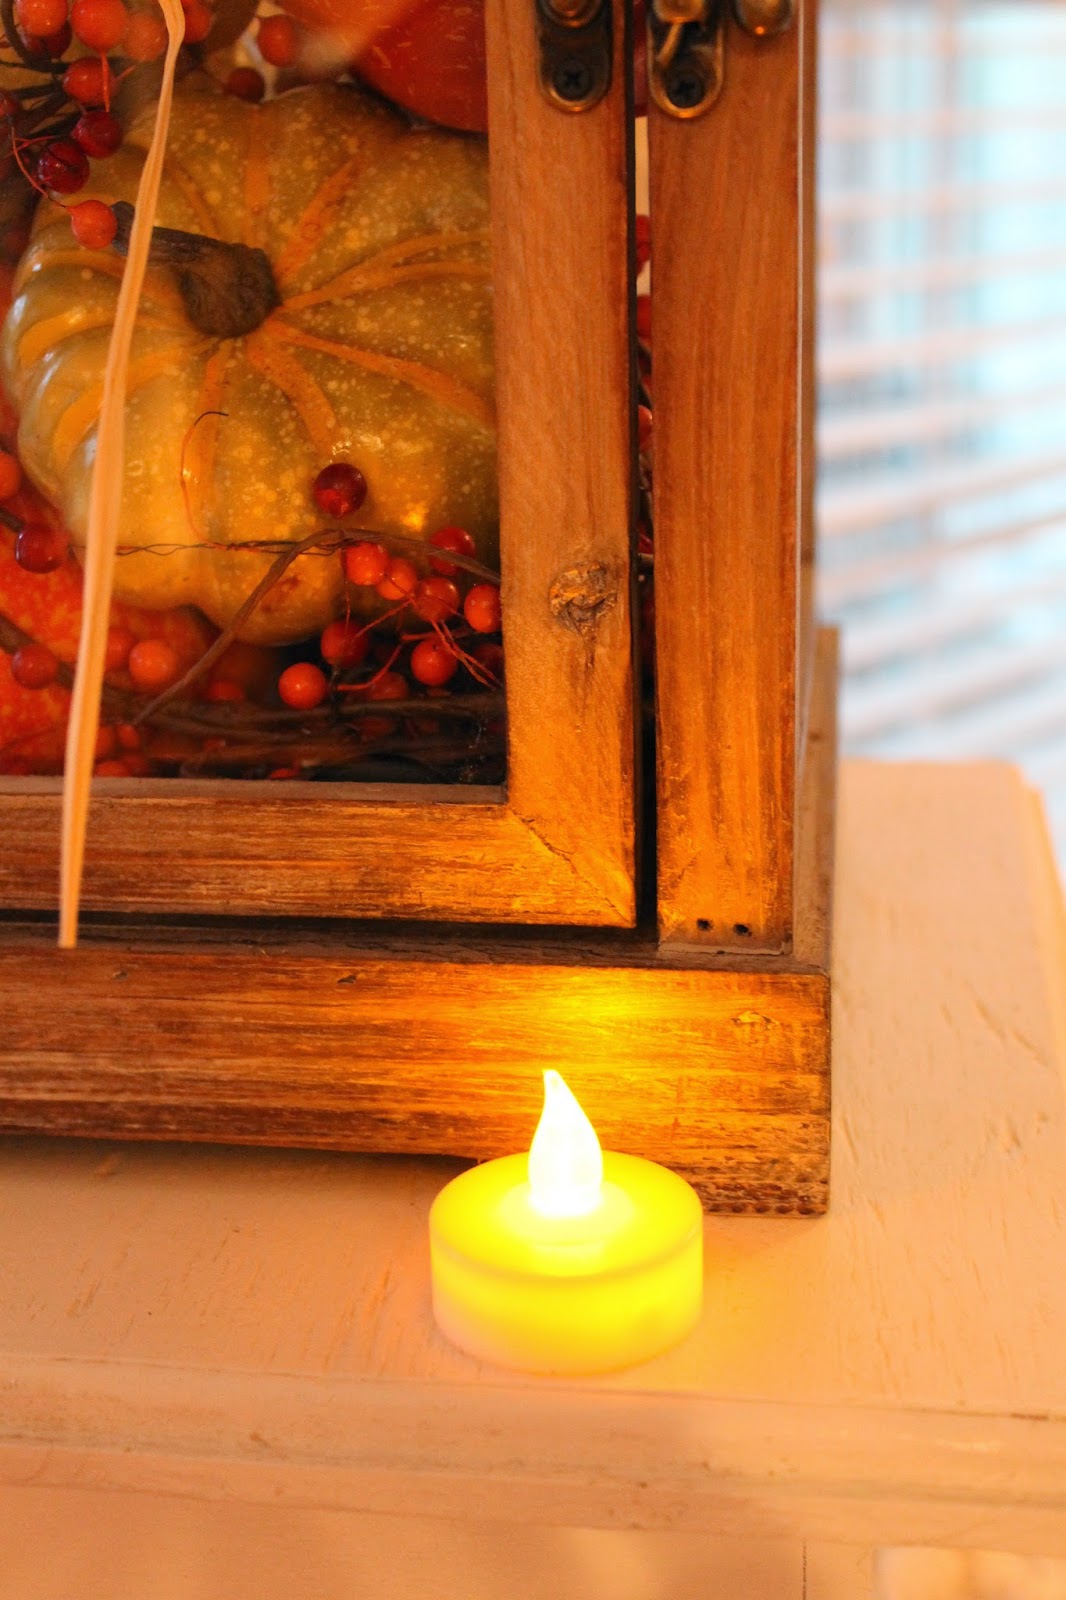
I pulled a battery powered tea light out.
 
 
 I placed it in the bottom of the lantern, turned it on and it was perfect!
 
=
 
 
During the day, the simplistic display adds some autumn warmth to the room.