I am so thrilled to share this homemade Christmas gift with you.
I wanted to create a lasting Christmas gift for my girls this season. They are getting in the kitchen more now and this would be the perfect opportunity to make each of them their very own cookbook.
Since it is was the holiday season, I decided to make a cookie cookbook.
Making Christmas cookies with my Grandmother was a childhood memory that most all of us cousins treasure. Grandma was SO patient with all of us. We would take turns going over to her house, one by one, on Saturdays leading up to Christmas Day. She routinely made about 20 different types of cookies every year.
So this year, I took some of Grandma's favorite recipes and added ones that we have made here at home to design a Christmas Cookie Cookbook.
I made a class cookie book for an auction project for the 2nd graders back in Little Rock. Each student in the class brought in a copy of their most favorite cookie recipe and they were placed in the cookbook.
Here is a picture of that cookbook. The picture is a bit blurry, but you get the idea.
.JPG)
So onto this creative venture....
I started collecting my supplies last February. I thought it was crucial to get photocopies of the original recipes.
I knew that I wanted to use a book with heavy cardboard covers. The book I purchased came with 20 plastic sleeves which was great. When the girls actually make the recipes, they will be protected from spills.
I compiled stickers, borders, papers, wrapping paper and 3 dimensional elements to embellish the recipes themselves and the front covers.

My secret weapon in creating this book was using age old Mod Podge.

I found these 2 wonderful holiday wrapping paper rolls at Hobby Lobby for a dollar apiece.

The key was to use the Mod Podge to glue the wrapping paper onto the covers of the cardboard scrapbook.

After the red wrapping paper was glued on to the cover, the inside had a very uneven look.

I took two pages from the Christmas pad

and glued them over the uneven seams. I think it looks better.

Here is the front cover before the embellishments were added.

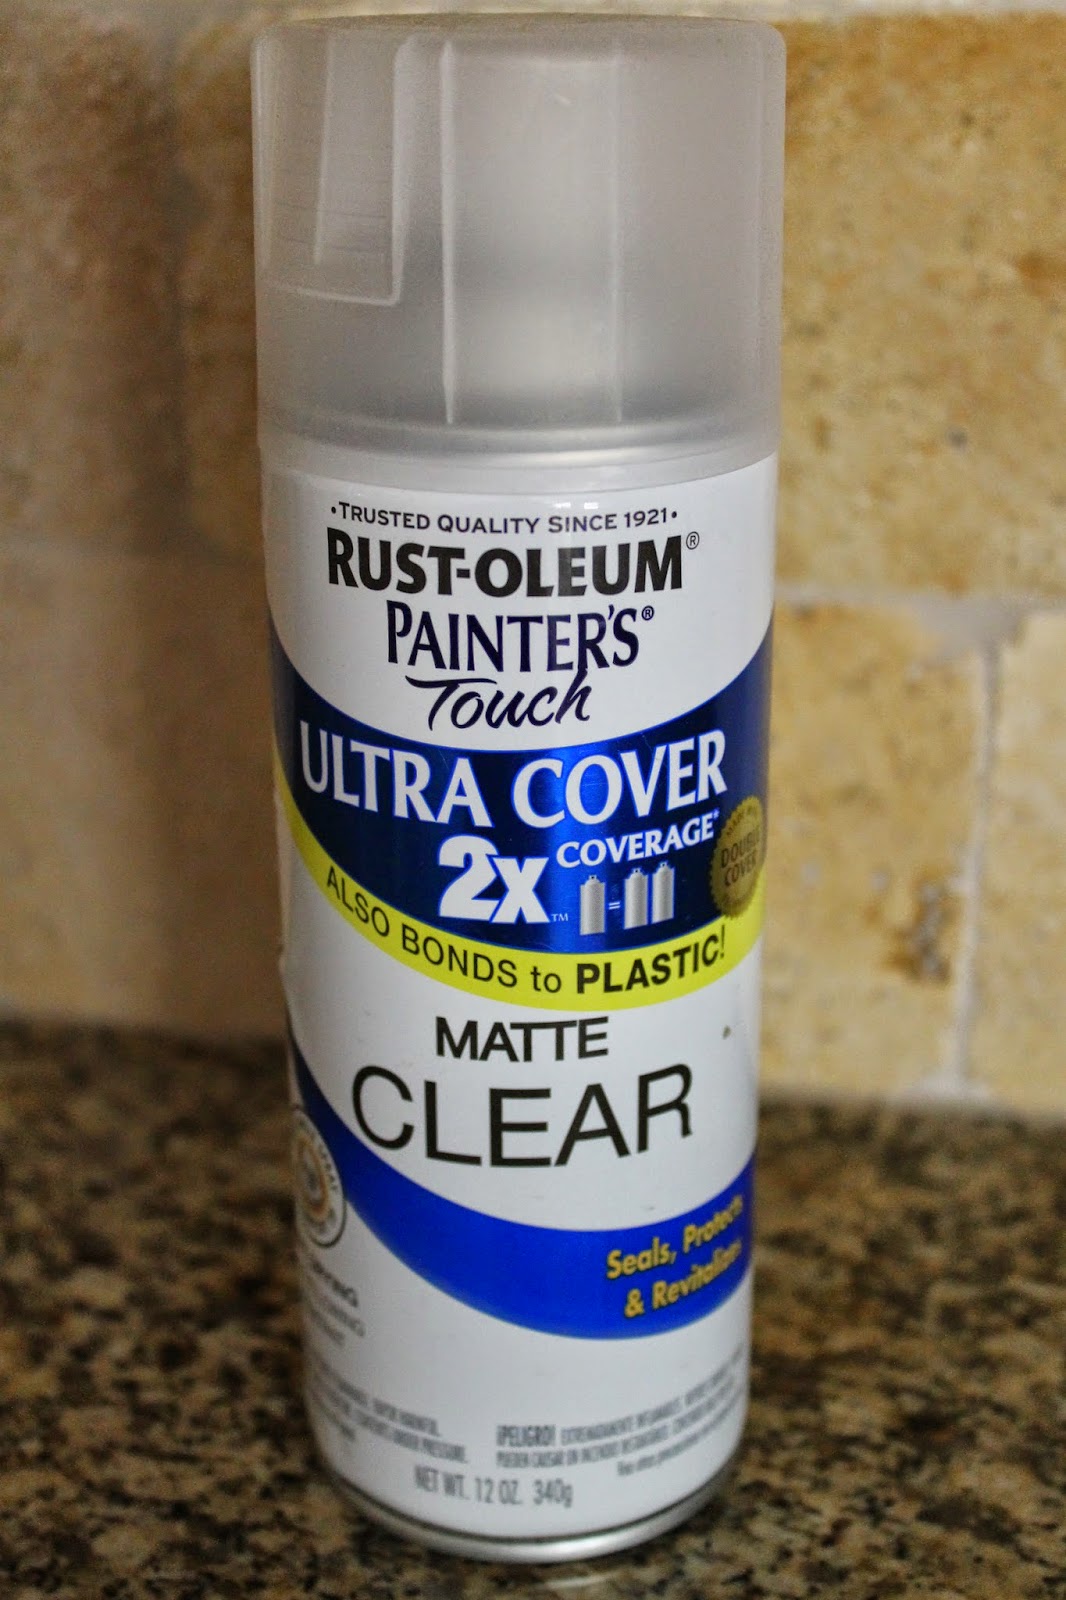
After the covers were dried, I lightly sprayed two coats of the matte sealer to protect the paper.
To decorate the cover, I found a copy of Grandma's Christmas cookie list from 1980. She didn't waste anything, and I find it interesting that she used an envelope sent to her from my uncle's home at the Benedictine Abbey.(I love the red drips--probably icing.)

Because the stamp was gone, I glued a plastic Christmas stamp in it's place. A vintage picture of a little girl making cookies was printed off. A few felt ginger men along with a 3 dimensional cookie sheet of modeled cookies were the last embellishments added.

Now with the cover completed, it was time to insert the recipes.

Stay tuned for the finished project.
No comments:
Post a Comment