I can't tell you how excited I am to have finished the parlor bath. In a recent posting, Mr. Thrifty did a beautiful job painting the bath for me. Now it was time to do the stencil. This project was put off when the weather started getting warmer, because we had to transplant 2 birch trees. But that is another posting.
I purchased this stencil online. I was very impressed with all aspects from buying to shipping from this company.

Instead of doing the white and cream paint with the stencil, I decided to kick it up and use a driftwood color paint along with the white.
So here is the finished job painting the walls. It is a gorgeous shade of grey. I like the way the grey compliments the high gloss white crown molding and baseboards.


The first step was to do a mock work up of the stencil itself. It is sort of rough, but you get the idea. I think it really pops that stencil.

Here is the close up.

This is the paint card for the driftwood color.


I used Waverly chalk paint from Walmart. I should have watered down the paint prior to painting because it was too thick. Had I to do over again, the paint dried too quickly without thinning it out.

The stencil maker recommends using the small foam roller. This was a great tool.

In order to place the stencil on the walls in a repeated pattern, Mr. Thrifty suggested that we string corner to corner diagonally to find the center point.

So as to get good pictures, I used the camera while he marked on tape the 4 triangles of the center point.


Then we put the overlay of stencil A and marked it. This was so crucial to getting the stencils to fit on the wall.

Once the stencil was in place, we used the laser level to make sure that it was perfect.
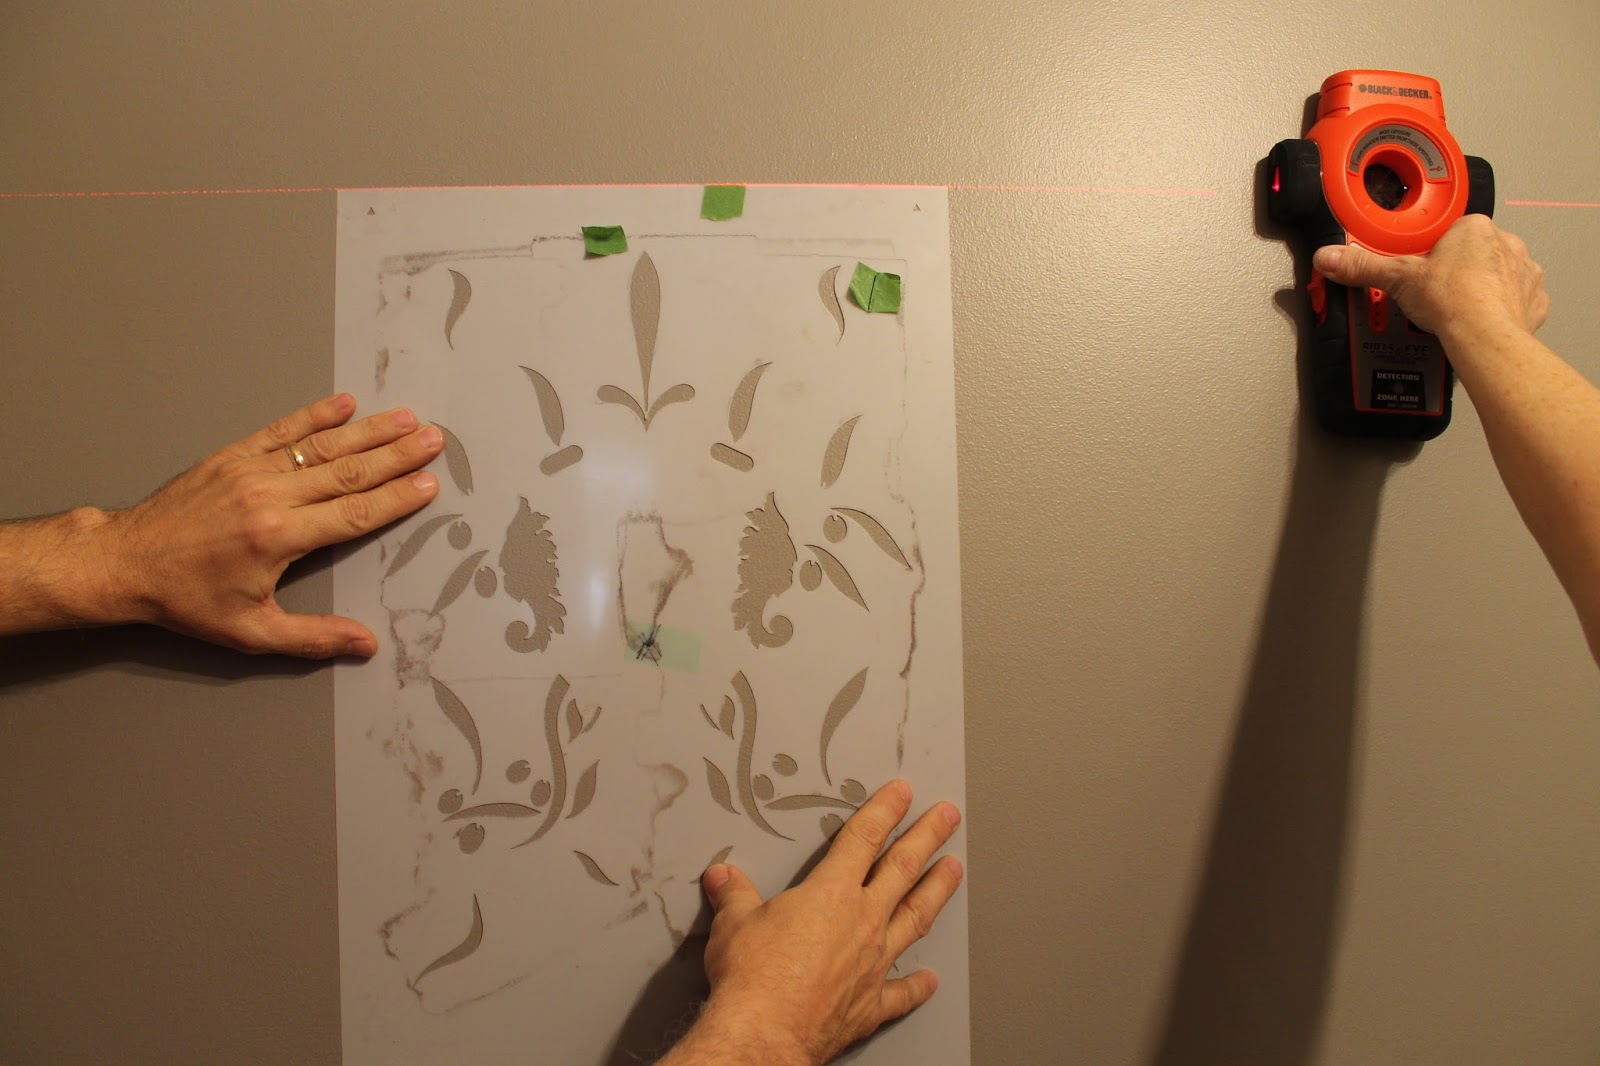
In order to match one stencil to another, it was suggested(and another great point) to place a piece a tape under each corner and draw in the triangle. These are the match up points for stencil B and finding where the next pattern would go.

This picture of the mock up shows the true colors in the room.

Here is my beginning point. However, now it was time to transplant the trees, so this project had to wait for a few weeks.

Now that the trees are moved, I can start stenciling. The stencil maker makes it very clear that once your roller is rolled in the paint, you must roll off most of the paint on paper towels. This is the most crucial step. Thinking that I had most of the paint off, I attempted my first stencil.

Once the stencil is removed from the wall, you MUST clean it immediately. That takes 15 minutes alone just to clean the stencil. If you skip this step, the following stencils will not be sharp. Don't skip this step!

As I returned with the stencil, I realized that as much paint I had cleaned off prior to painting, it wasn't enough. This is the close up and I had a major problem with bleeding.

I forged on and left even less paint on the roller for the next pattern. It was so much better.


When I had finished the first stencil on the accent wall, I spent 3 hours the next day touching up the bleed outs. So worth it. At this point I was 98% pleased. When the Mr. returned from work and took a look at it before the touch ups, he mentioned that he could just paint over it. NO! I was willing to get a tiny paint brush and clean every pattern up.

So this is the first stencil done on the accent wall. It took 3 hours to stencil A and 3 hours to touch up.

Notice that I left up the green tape on the 4 corners of every pattern to match up the next stencil.


I was ready for stencil B. I matched up the green triangles and started painting. All I can say is wow, the white paint really made the design pop.


The new charcoal colored hand towels match perfectly with the driftwood grey paint.

I am accenting the room with old silver plate as in the wastebasket(champagne bucket). The tray on the back of the toilet came from Home Goods.

Finally finished. This picture did not show the true color of the grey background.

This picture shows a much better representation of the true color. I love it!


Now all I have to do is go through my estate sale silver plate trays and find a couple to hang over the toilet.
Though this project was labor intensive, I love the stencil makers product.
No comments:
Post a Comment