Years ago, I bought this 'table top' at an estate sale. I liked the lines of it and had always hoped to give it that ol' shabby chic white paint. However, I am so glad that I didn't go that route.
I didn't pay much for it, but put it in 'the pile' in the garage. Later, after inspecting it, I realized that it had some interesting characteristics, as you will see in the next picture.
I must admit, it had a lot of flaws, scratches but something was calling my name.
I pulled out a set of rod iron handles bought at Hobby Lobby at half price. When I placed them onto the top, it all came into place.
But then, I noticed one major flaw. See the crack on the underside of the tray? No amount of wood putty would make this right. Since I decided to refinish instead of paint this tray, I had to think about it in another way.
More interesting characteristics.
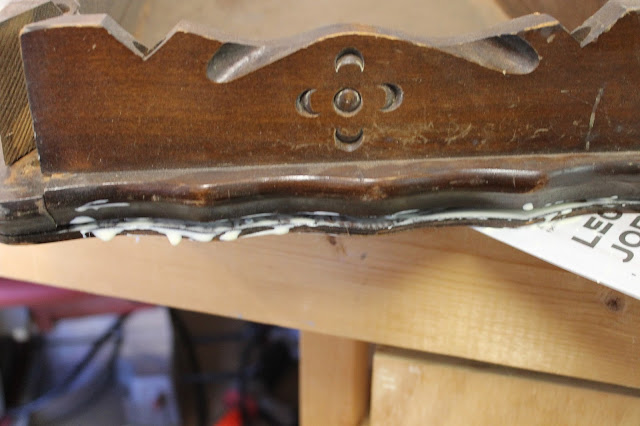
Also, I had to contend with a floppy apron piece too.
I got out the wood glue and clamped it together.
After sanding, I used some old cherry wood stain and stained the entire piece. I even coated the missing piece out of the bottom. Once it was all the same color, no one would know for the better.
The piece came out beautiful.
Using some Annie Sloan wax, I rubbed a layer on. Notice the difference in the next picture of the before on the left, and the after on the right.
Mr. Thrifty used the drill press to put the handles holes in the tray. I did have to use 7 washers underneath the tray to get the handles to lay flush with the top surface.
And here, is the beautiful redone tray. I'm still on the lookout for a 10 inch square piece of black slate to place on the tray if I would like to make a cheese display.
I'm happy with the results in the newly updated tray.


No comments:
Post a Comment