Starting back to project mode has been a real challenge. It becomes so easy to get caught up in learning the tricks of newly acquired electronic equipment. I am determined to get out of this slump and become more productive.
So back to the mirror......
Finishing the mirror has been a bit of a challenge. My original plan was not successful. No time to waste fretting about what never happened.
See how you can change your plan and still have a nice project.
Once the pieces are dry fitted, the mirror is removed from the frame.
Then the entire frame is sanded. Notice what the frame looks like in the portion not sanded at the bottom of the picture.

While sanding, I noticed that two parts of the back of the frame were loose, so I had to stop, re-glue the parts and attach the clamps and wait overnight until they dried.

Then, the entire frame is sprayed with gray primer.

To finish the edges not covered by the mosaics, I was going to silver leaf the rest of the frame first. I am doing this step prior to gluing the mosaics. I think adding the silver leaf will be too messy after the mosaics, so I hope there is success doing it in this matter.
I have used this product previously in redoing my vintage frame that I found in the neighbor's trash.


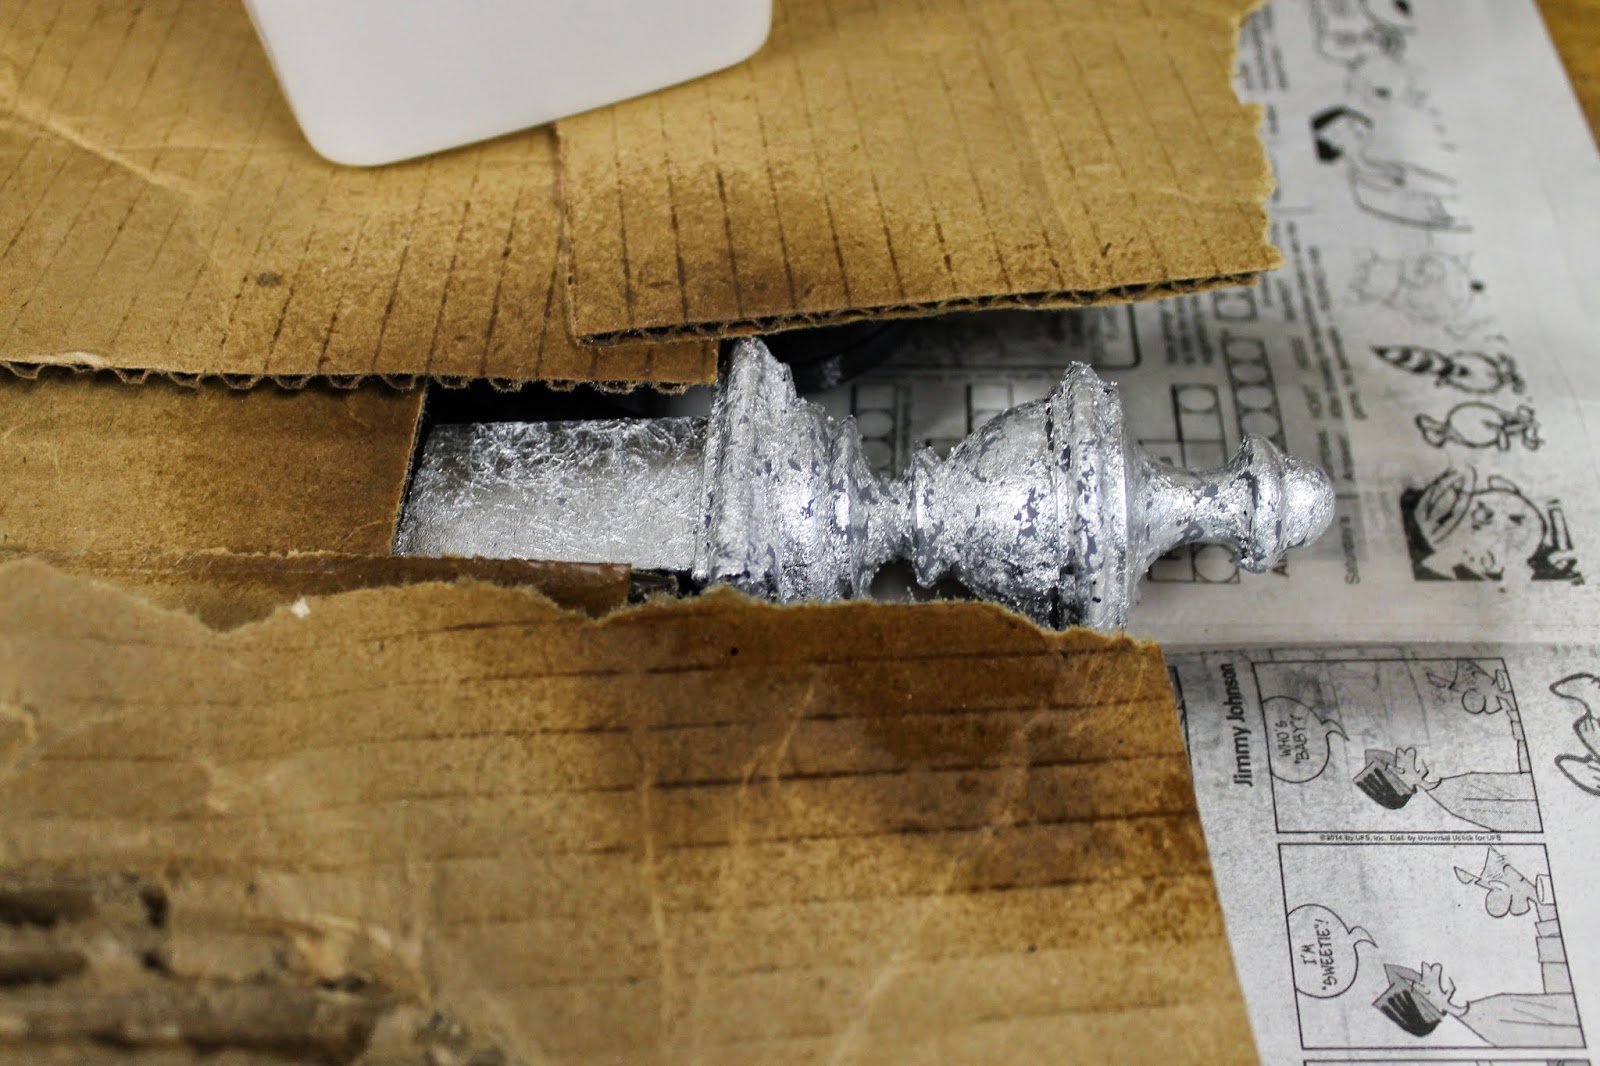
After silvering the finial, I decided to stop. The silvering of the finial itself was a mess. I'm not sure if it was because the areas of the frame were rounded or what.
Instead of using the spray adhesive, I was going to use watered down Elmers glue. The reason for this is because I can brush on specifics areas instead of having the messy overspray that tends to happen with that adhesive.

Instead of silvering the entire frame, I decided to paint the remainder of the frame in Lamp black.


When the silver leaf has dried for a few days, I will spray a high gloss sealer. Waiting for one more day will guarantee that I can begin applying the mosaics.
Using the adhesive, the mosaics are trimmed to fit better into the curved areas of the frame.
After beginning to fit the mosaic squares, I realized that I would need to curve some of the ends. After using my tile cutter, I couldn't get them rounded, so I pulled out the Ryobi hand held sander.
It was a bit tedious, but it got the job done.

Here is a close up of the sanding bit attached to the Ryobi.

IMPORTANT--ALWAYS REMEMBER TO USE SAFETY GLASSES. THE SMALL SHARDS OF MIRROR TILE FLEW EVERYWHERE!

Basically marking each piece on the rounded edges first helped in sanding the individual tiles.

Holding the tile at this angle steered the shards from flying upward.

After 4 hours, this is how much was completed. I figure another 12 hours and this project will be completed. I was originally going to grout after applying the tiles however, I like the look of the black background showing through-sort of like stained glass.

I am hoping to complete this project in the next two weeks.
No comments:
Post a Comment