When last I wrote about the Rescue Mission nightstand, it was at this stage. Because of the cold weather, progress had stopped.

This was the before picture.

Because of the dark stain, even though it was sanded, I still applied a coat of clear shellac to seal the wood.

The Annie Sloan Pure White paint was then applied. This is the first coat. As you can see, some of the stain leaked through the paint. A light sanding and another coat of shellac was painted on.

This picture shows the touch up of the shellac before the second coat of paint was applied.


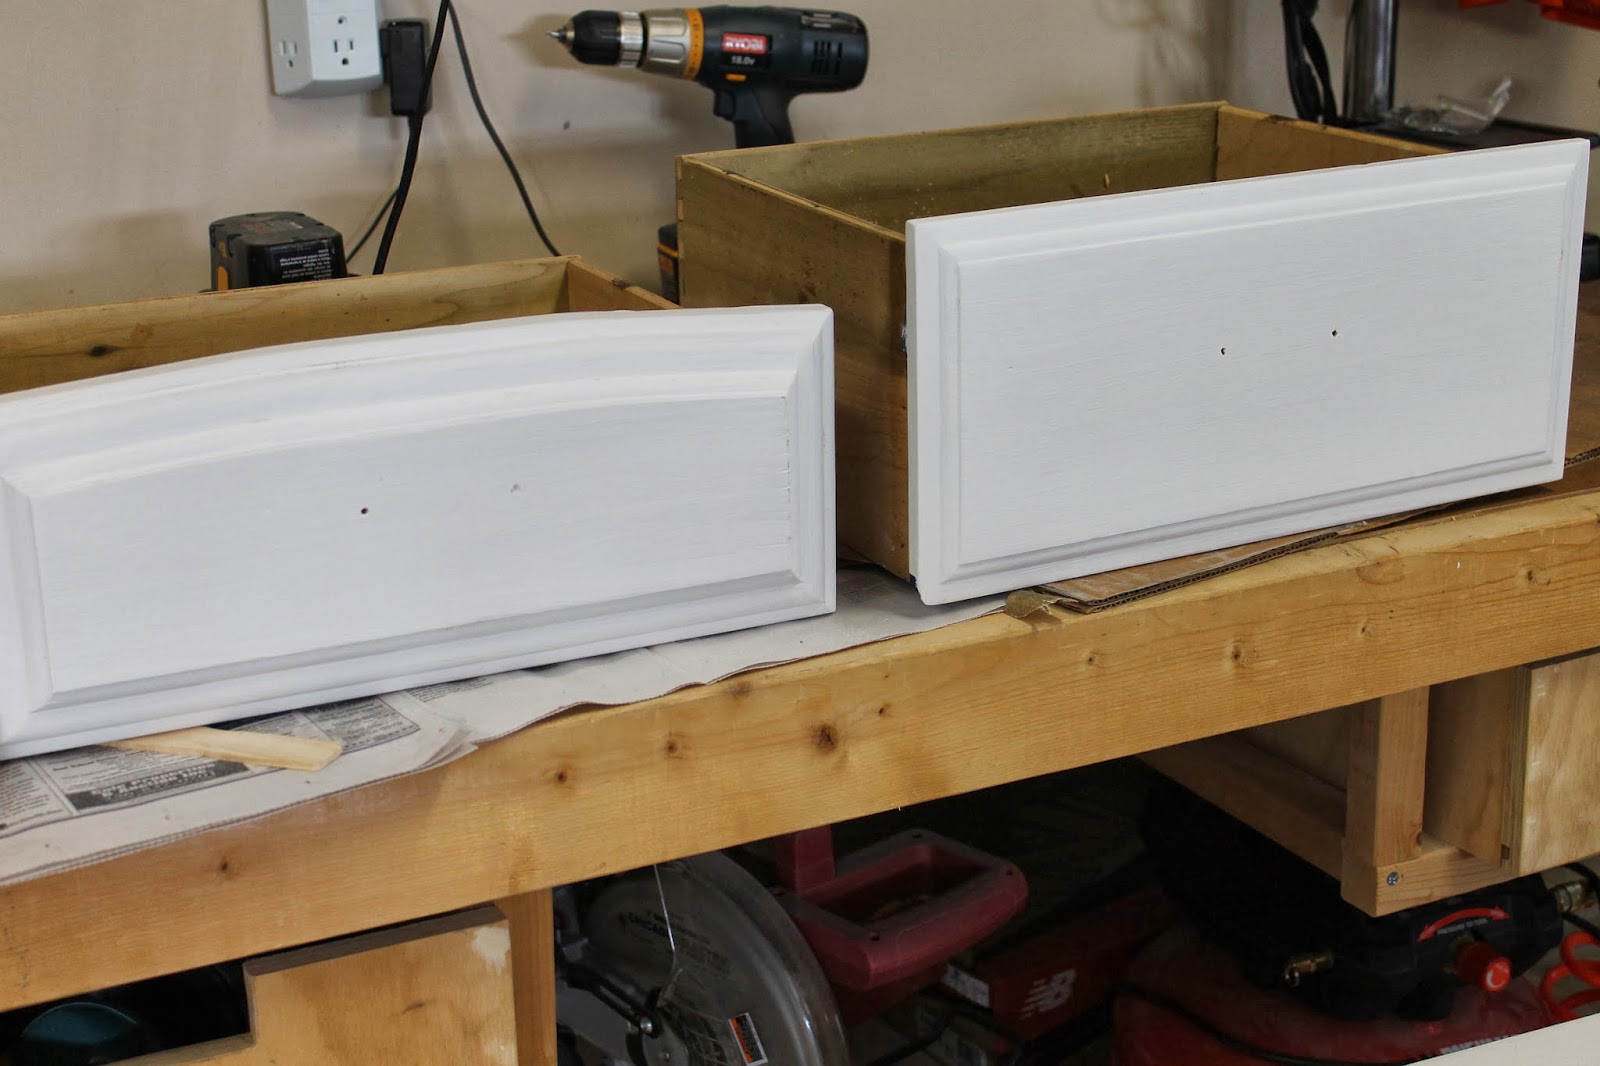
The other drawer.

The second coat of paint shows a more even coat.

Because the chalk paint has the feel of a flat wall paint, I wanted to topcoat it with something a bit more durable than the normal wax. I had heard that polyacrylic would do the trick.
However, I should have tested a small area of the piece before I coated the whole thing. Look at the results. Some people like the crackled look, but that was not what I was looking for.


Instead of giving the nightstand a clear coat, it crackled the entire piece, so back to the drawing board. Now, I had to re-sand the piece and start over. This time I will use the clear wax as the final finish.
The first step was to use my mouse sander to take off the crackled finish. The sanding pad kept gumming up with the paint. Enter Mr. Thrifty.

So, he pulled out this belt sander. It worked well at first, but it too became gummed up.

The next bit was a paint sanding wheel. This worked well until I burned the drill itself out.

My last resort was to pull out the liquid stripper. By now I have spent about 4 1/2 hours sanding. I was really fatigued.

One heavy coat of stripper and 30 minutes later, it was ready to clean off. One of the biggest mistakes you can make when using stripper is to leave it on until it dries. It will become gummy and you will find it very difficult to get off. So follow the directions and take it off after the appropriate amount of time.

Once cleaned off, the pieces look like this.

Then I give it a final sanding, and I am ready to start with the priming process again.

This time, I used Kilz2 primer before adding the paint. However, nothing is easy with this project.
In the next picture you will see the bleed through from the stain. I will persevere even though I have thought of throwing this nightstand into the garbage can more than once. The reality is that every project comes with its unique set of problems.

Stain bleed through on the top of the nightstand.

Time to pull out the shellac again to seal the stain.

After a careful light sanding, a coat of shellac and a few hours to dry, the piece is ready to again start painting the Annie Sloan Pure White paint again.

Adding two coats of paint and the piece is ready for the clear wax and buffing.

Then the handles were added to the door fronts.

Notice something a bit wonky? I thought Mr. Thrifty had not drilled the holes on the right drawer correctly. However, when I unscrewed the handle, I noticed that I had not put the screw into the hole, but rather another space behind the handle. Once in the correct hole, it was perfect.
And now the finished project.

I was finally, pleased with the results. We then moved it into place in the bedroom and it compliments the headboard very well.


And as a reminder, look at a similar nightstand made by Thrifty Décor Chick, another blogger.

I have to admit, I was never so happy to finish this project. Perseverance is key and without it, this would have been a $6.99 piece of junk.
I admire your "stick-to-it-ness". I looks gorgeous!
ReplyDelete