During the summer, I am always on the hunt for items that can be recycled for silent auctions for our schools. One of my better finds incorporated two items into a beautiful piece.
This metal cross was 75% off at Hobby Lobby. This substantial cross was only $3.00 down from $14.99.

The frame was 50% off which lowered the price to around $20.00.

To begin with, the glass was removed from the frame. It will be used for a later project.
A piece of 18x18x1 inch cushion foam was purchased at Hancock Fabrics. On sale it was $6.53.

The next step is using my extra strength Elmer's adhesive spray out and spray directly on the back of the mat board.

Quickly lay the foam on top of the mat board. Press down gently on all areas of the board.

Taking my electric knife, I lay the mat board foam side down on the island edge and trim the sides.
The knife cuts through the foam like butter.

Leftover fabric from my slip covered chair at my vanity would become the fabric mat for the cross. Place the foam on the wrong side of the fabric with enough fabric to wrap around the mat board.

Next, I secure a piece of duct tape on the fabric. Laying the fabric over the foam equidistant on all sides, I'm ready to wrap. Flipping all the pieces over, I push the mat board into the back of the frame. Pull the fabric over and secure the tape onto the mat board back.
Don't worry, no one will ever see it. I'll fill you in on that secret later.

Everything is going along smoothly...not! I didn't take into account that the heavier fabric had so much bulk at the corners, so I had to take it all apart and shave down two sides of the wooden mat board by 1/4 inch. Trust me, it is worth it to do it right. Once I trimmed the board, the foam mat and wrapped the fabric back around it, it was perfect!
Now back to the blog....
A nail needs to be put through the fabric, foam and mat board before closing the back of the frame.

When I nailed the brad through the mat board, I placed a thin piece of wood on the back of the mat board to anchor the nail in place. This will make sure the nail stays put.
When I nailed the brad through the mat board, I placed a thin piece of wood on the back of the mat board to anchor the nail in place. This will make sure the nail stays put.

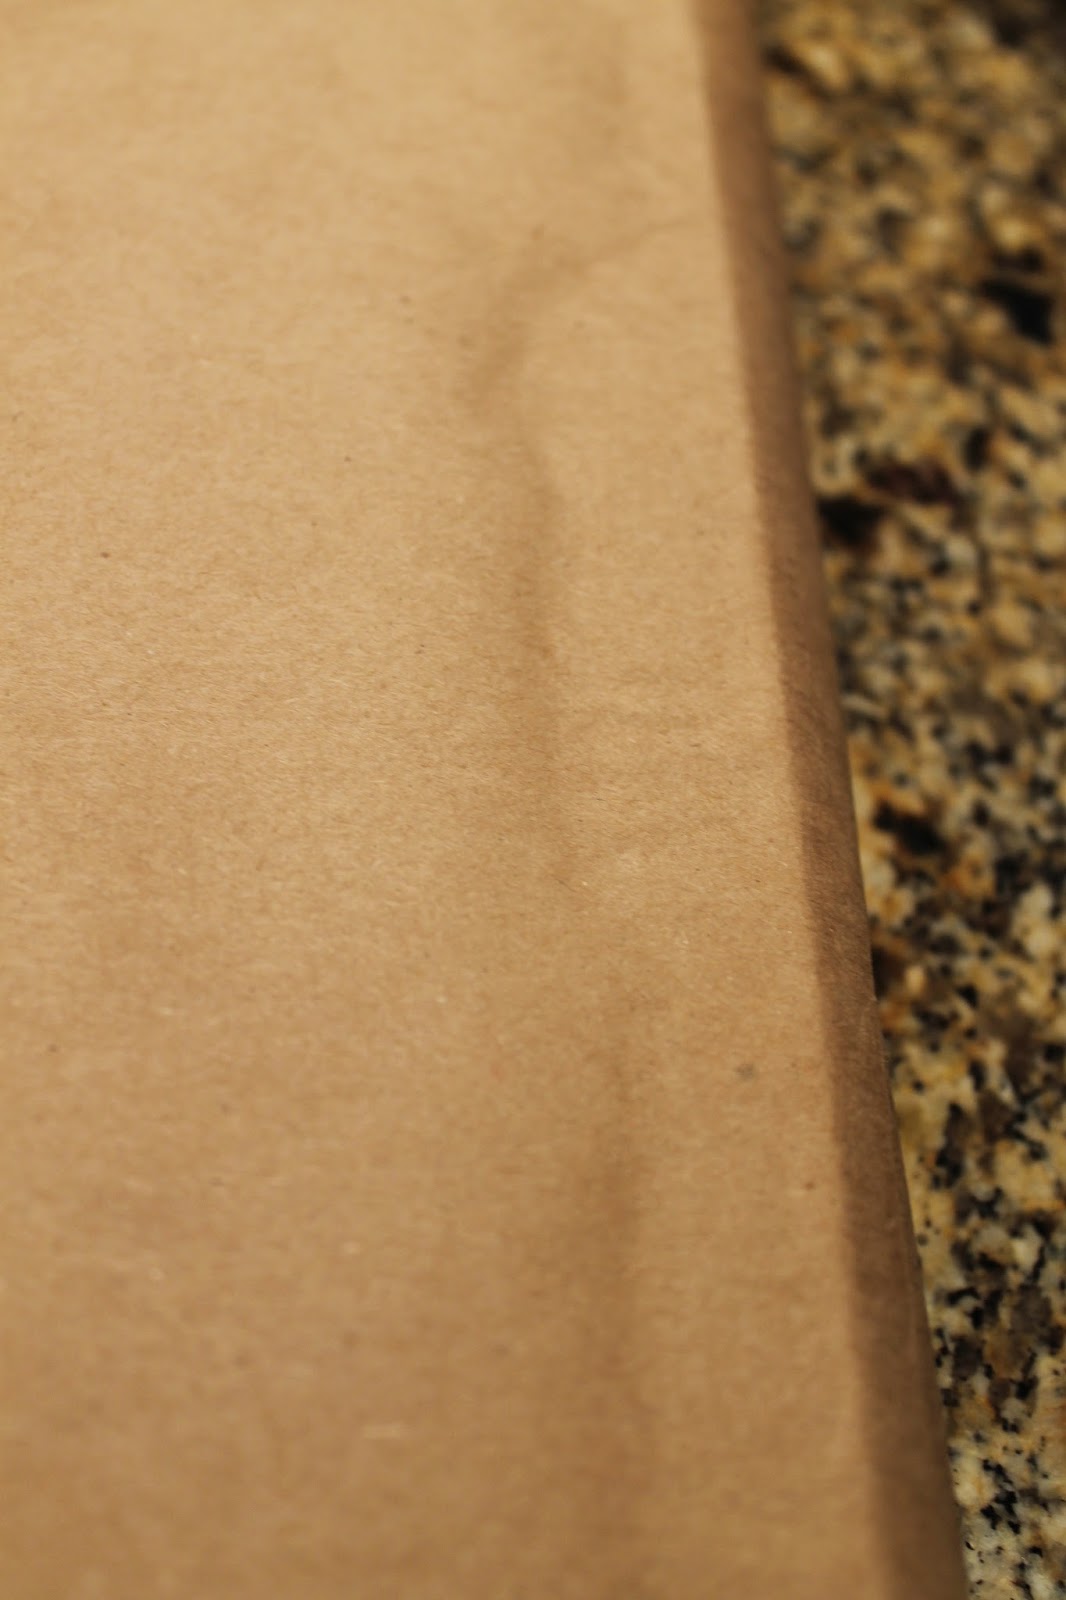
To complete the back, I cut a piece of heavy duty brown mailing paper.

Placing glue on the 4 ridges of the back of the frame, I carefully laid the mailing paper over it keeping it as taunt as possible. Let dry. This is a very important step. If you don't let the glue dry, the paper will not cooperate later on.

The next picture shows the paper fairly taunt with edges laying over the frame.

After the glue is dry, you will notice that the paper is not taunt. Never fear!!!!
Fill a spray bottle with water.

Spritz the back of the frame (paper only) and let it dry.
Spritz the back of the frame (paper only) and let it dry.

I know the paper looks worse than before I spritzed the paper.
Get your hairdryer out. The magic begins.......

Use the hairdryer to dry up the paper. Do all areas of the paper. Is this unbelievable? Taunt as it can be.

Using sand paper, sand off the remaining edges of the frame on all 4 sides. This cleans up the back of the frame.


Attach your saw tooth hanging hardware to the back of the frame. Because this frame was made of resin, Mr. Thrifty drilled two pilot holes first. Because the frame is rather substantial, he used screws instead of the nails to attach the hardware.


Turn the frame over and hang the cross on the nail.
The framed cross has lots of textures from the metal cross to the chenille fabric to the embossed frame. Your eye is drawn to all the dimensions of the piece.


Until the auction, I will keep the frame in my house on the wall with my Mary Altar.

It is my hope that this frame finds a home full of faith.
Well, if this project didn't take a detour. While talking to a friend of mine, she mentioned that one of her dear friends had just moved out west. It just so happened that this special person was my daughter's Theology teacher sophomore year. She is a very dynamic teacher I might add. My friend offered to buy the frame for her friend for a housewarming present. I couldn't refuse!
My project DID find a home full of faith. I hope she enjoys it on her wall and remembers the thought of her friendship that goes along with it.
No comments:
Post a Comment