Back to finishing the Seashell Tray Project. Here comes my favorite part----painting. I love to see how the chalk paint works its magic.
This is the first coat of paint. Notice the uneven paint coverage. Never fear. All that is needed is another coat of paint. Prior to painting the second coat, I lightly sanded the entire door.

The second coat of paint evened out the color.

Once dry, I sanded the underside and the top of the cabinet door outside the molding. I was going to glue on the shells inside of the molding area so there was no reason to sand.

I painted all sides of the handles. Notice the difference in the two handles. The top handle was scuffed up with sandpaper. The sanding gives a more dimensional feel to the handles.

Before attaching the handles back to the tray, I rubbed and buffed a layer of Annie Sloan clear wax onto all the surfaces of the tray and the handles.
Then the handles were reattached. The waxed areas would become smooth as silk.
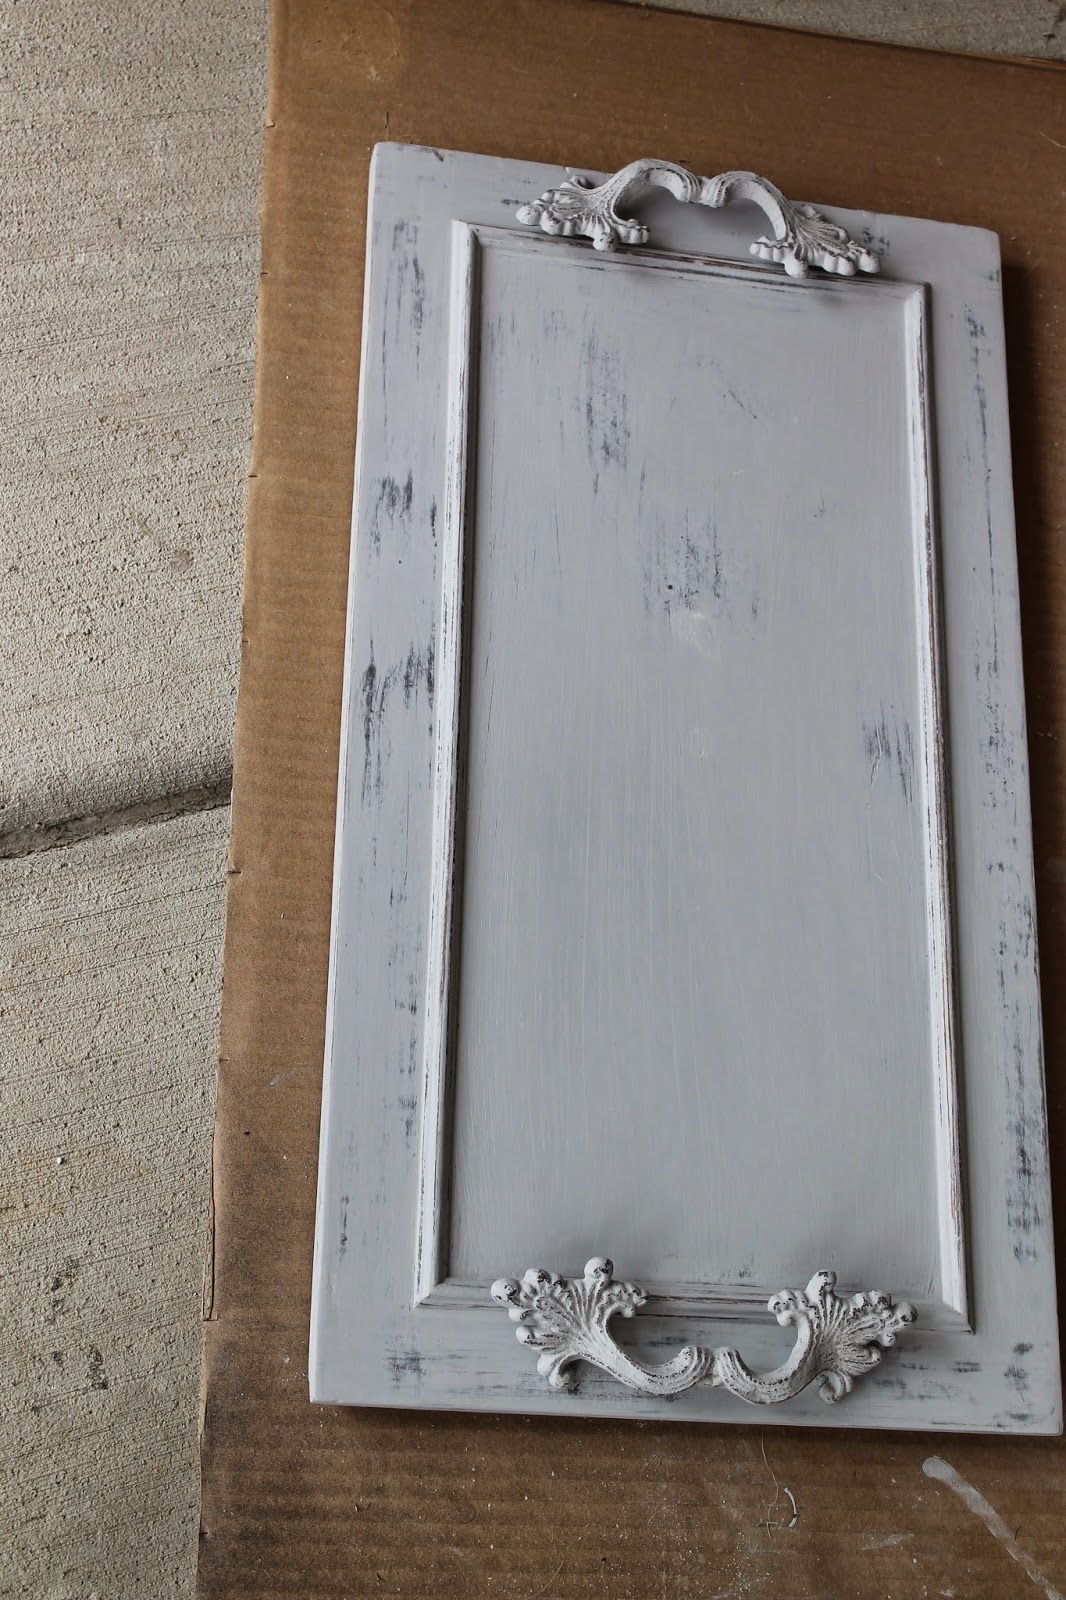
Doesn't look like a cabinet door anymore, does it?

My biggest dilemma in attaching the shells was which adhesive product should I use.
There was the E6000, which did not work. It was messy and left residue all over the shells.

I decided on using the ceramic tile adhesive which I have always used on my mosaic projects.

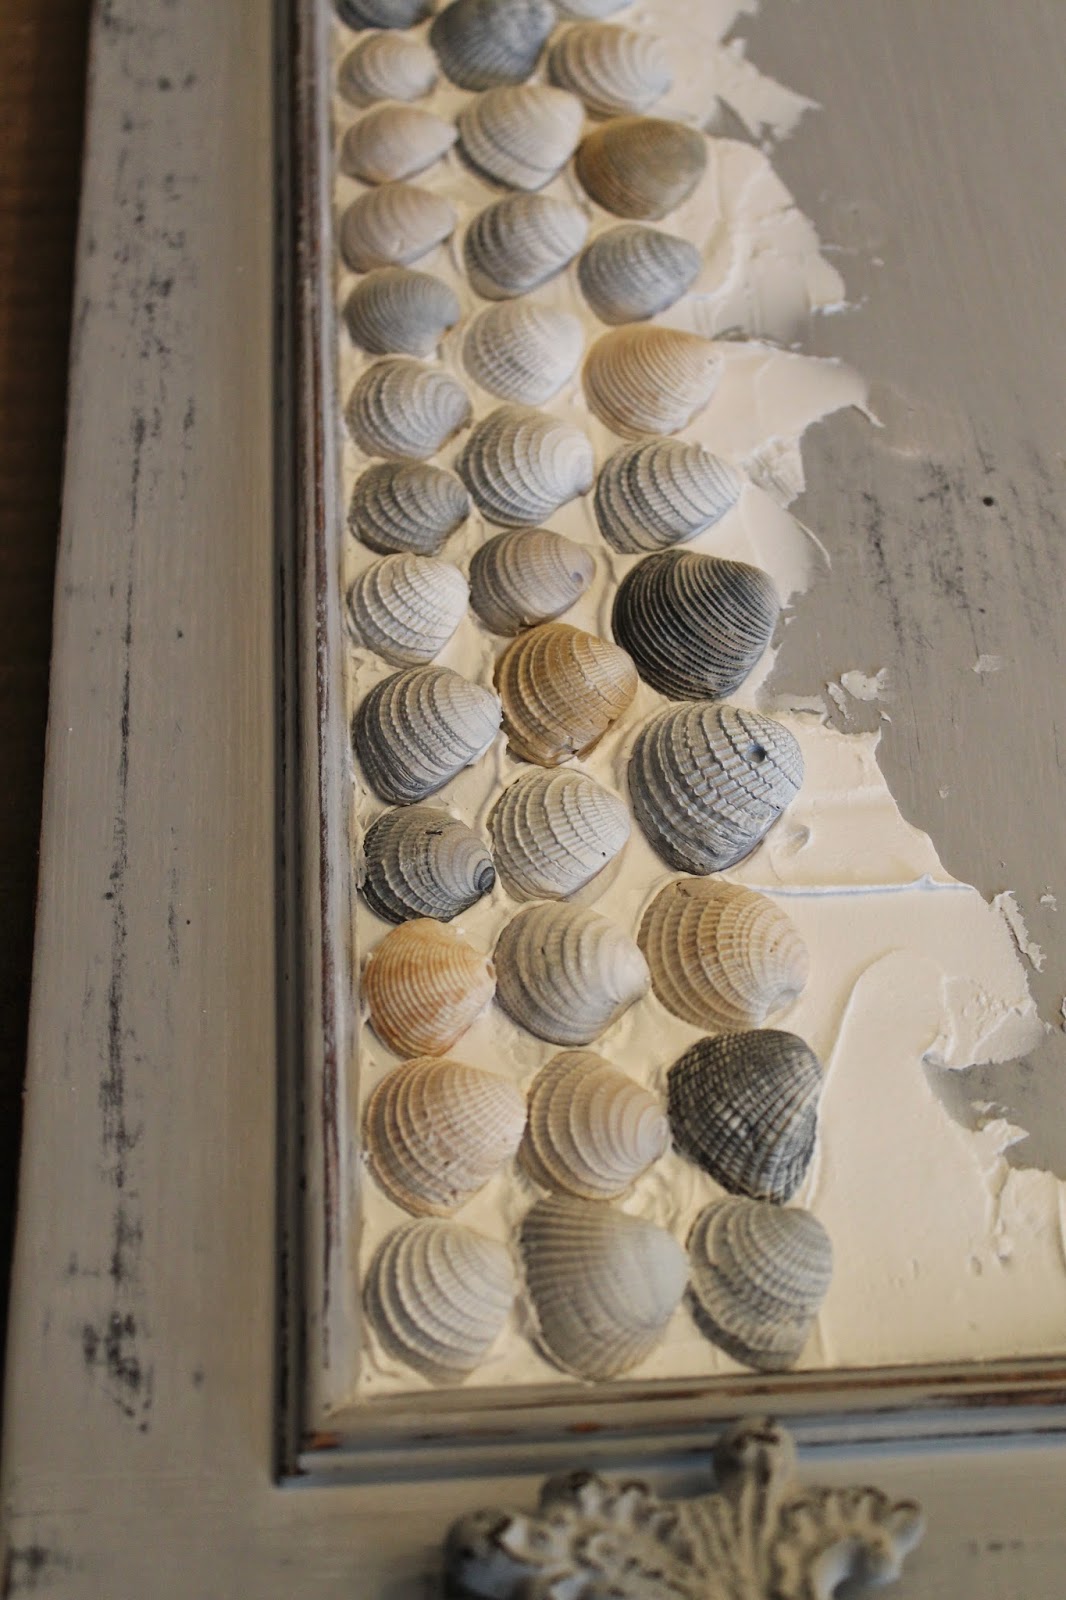
I again dry fitted the shells onto the top of the tray. I was really liking the color contrasts between the paint and the shells.

Notice how I frosted the base of the tray and set each shell into the adhesive.

Because I didn't want the adhesive to dry too fast, I applied it a few rows at a time. It was a bit tedious, but I didn't want to ruin the entire project by slapping on all of the glue at first.
When done placing the shells onto the tray, it looked like this.

After drying overnight, I realized that the shells were still too delicate to leave as is. To make sure the adhesive was dry, I let it dry for a few more days.
Mr. Thrifty took a look at it and mentioned that we should rip off the rectangular molding pieces and buy larger ones so we could have the shells under glass. My fear was that any attempt at removing the molding would possibly break the shells already dried in the adhesive. It was too late for that now. I would have to forge ahead.

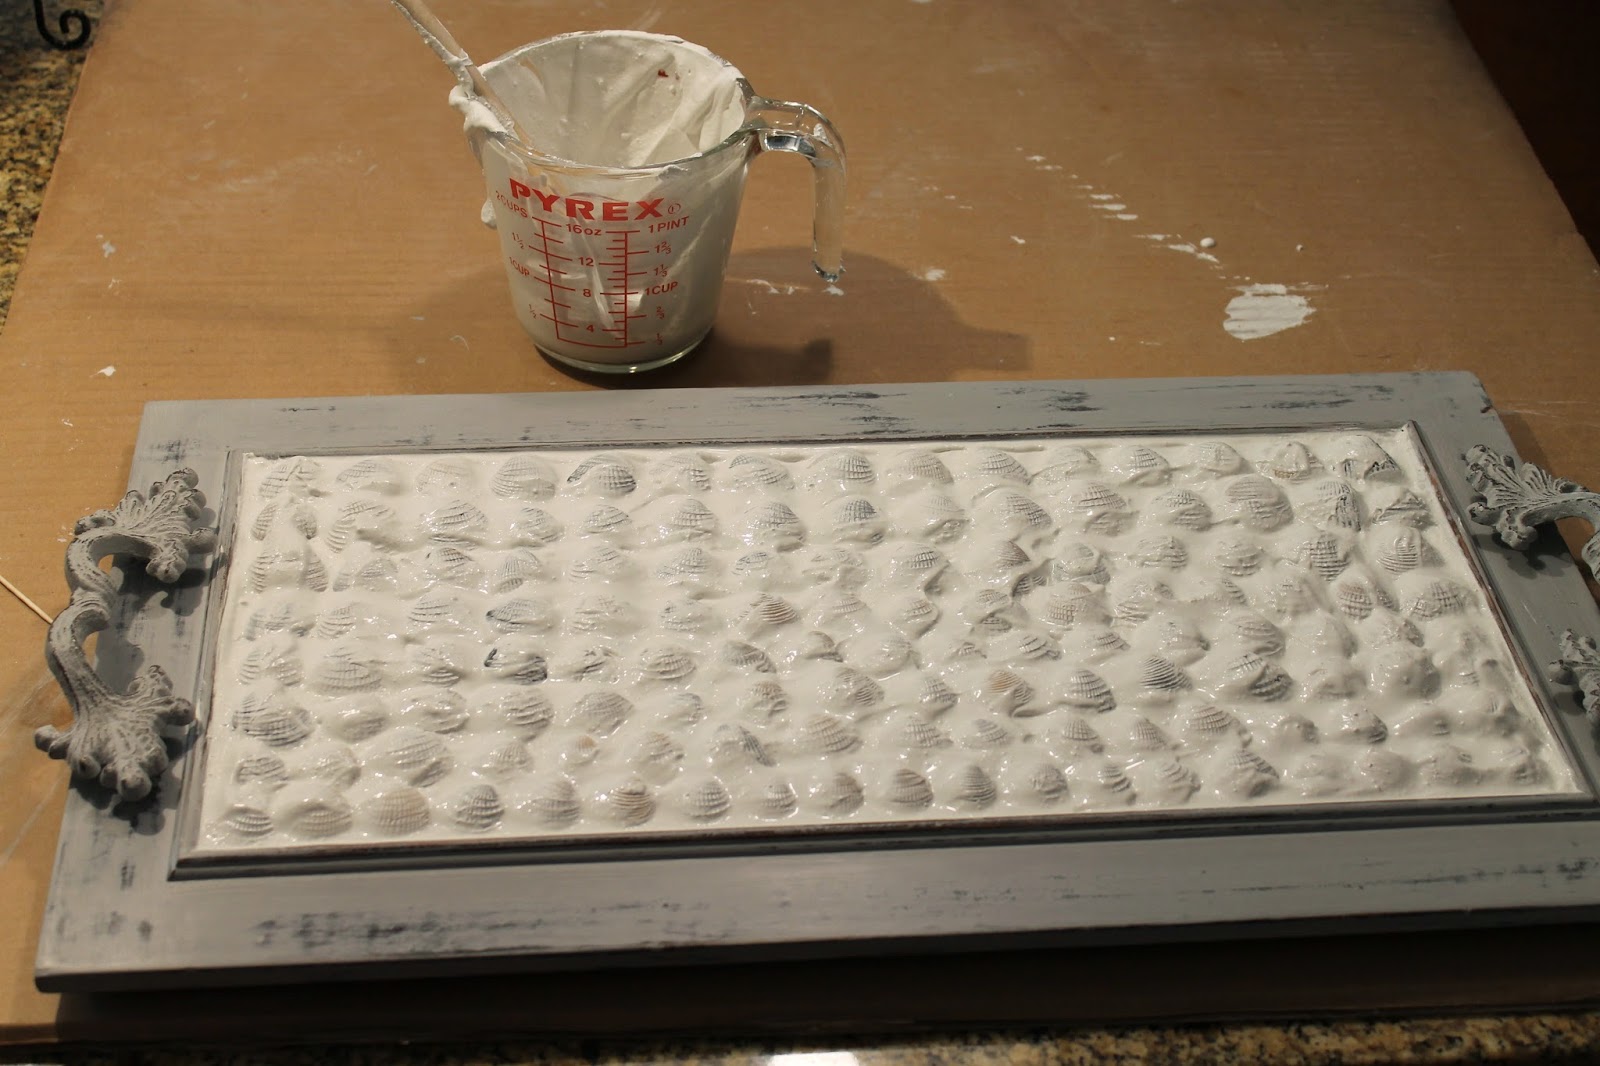
After contemplating how to finish the tray, I decided to mix up a very thin set of un-sanded grout and carefully fill the shell area without covering too much of the shells.
I have used this grout mixture at least 3 times before. The box is still 4/5ths full. It doesn't take much of the mixture to use for each individual project.

The directions are shown in picture form on the back of the box. I just usually 'wing' it.

Spread the mixture over the shells making sure that no air pockets form.
Wait 20 minutes and then using a damp rag, start wiping the surface until the shells are fairly dry.
Wait another 20 minutes. Wipe again.

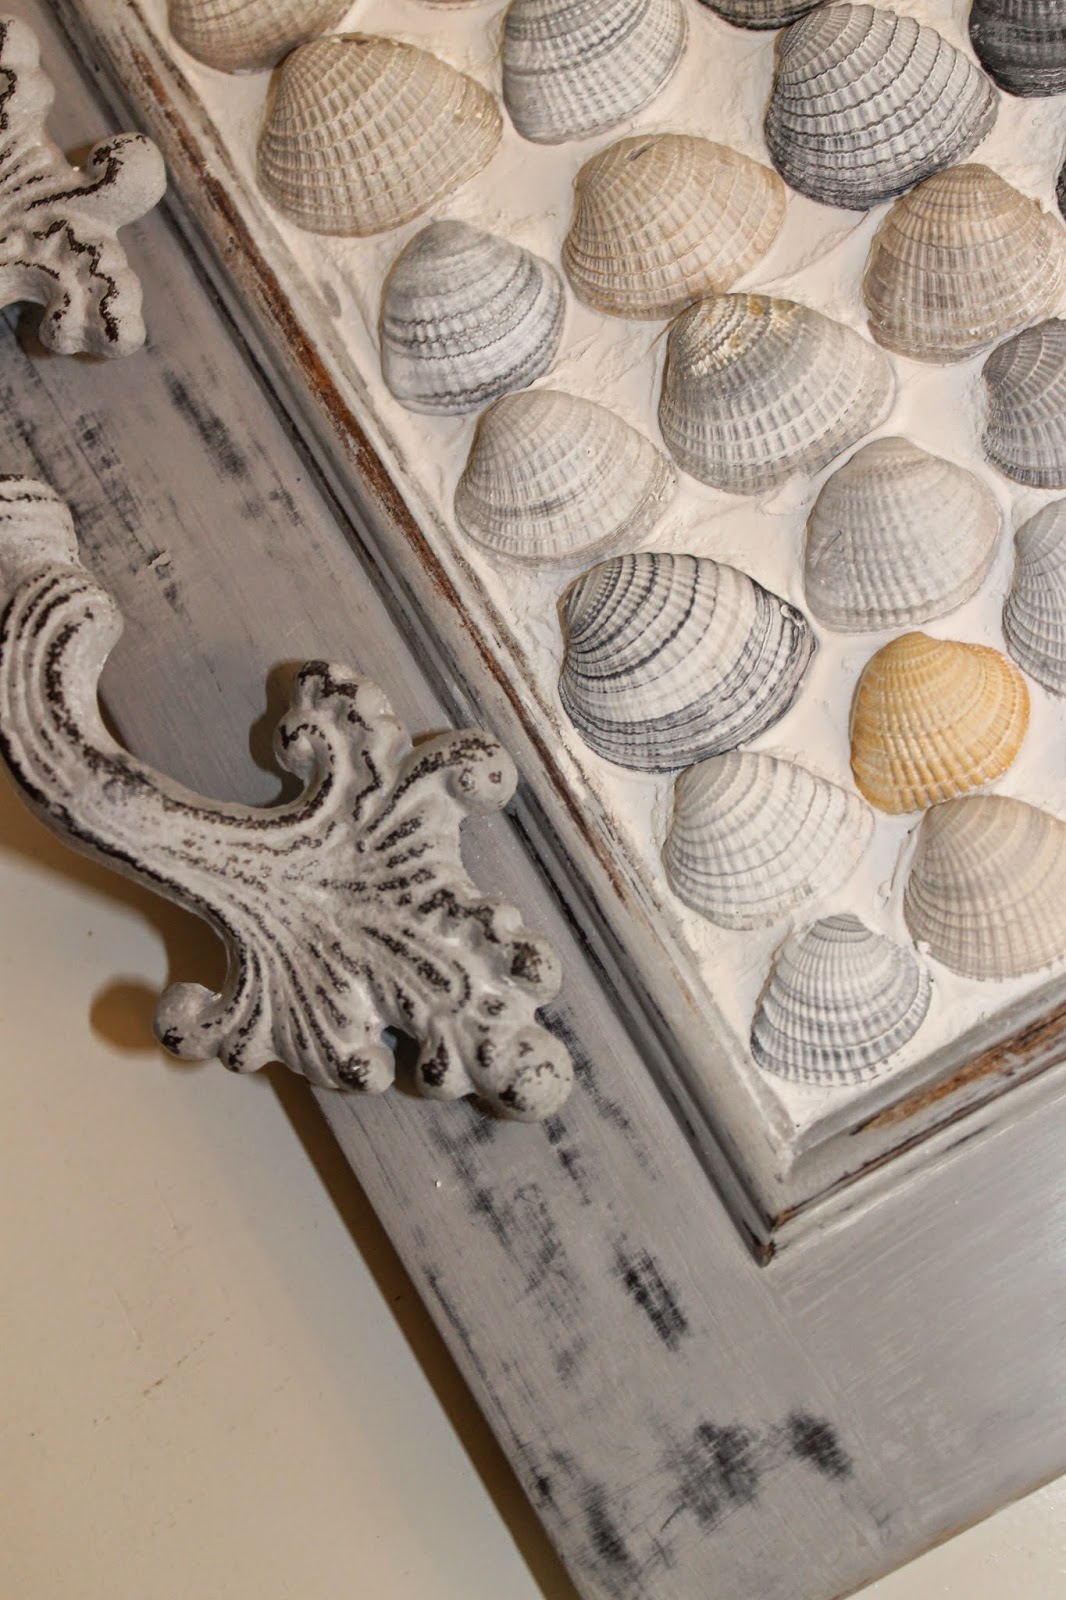
Two days later I took out an old toothbrush and dipped it in water and brushed off each shell dabbing the excess moisture as I went. This cleaned the shell crevices very well.

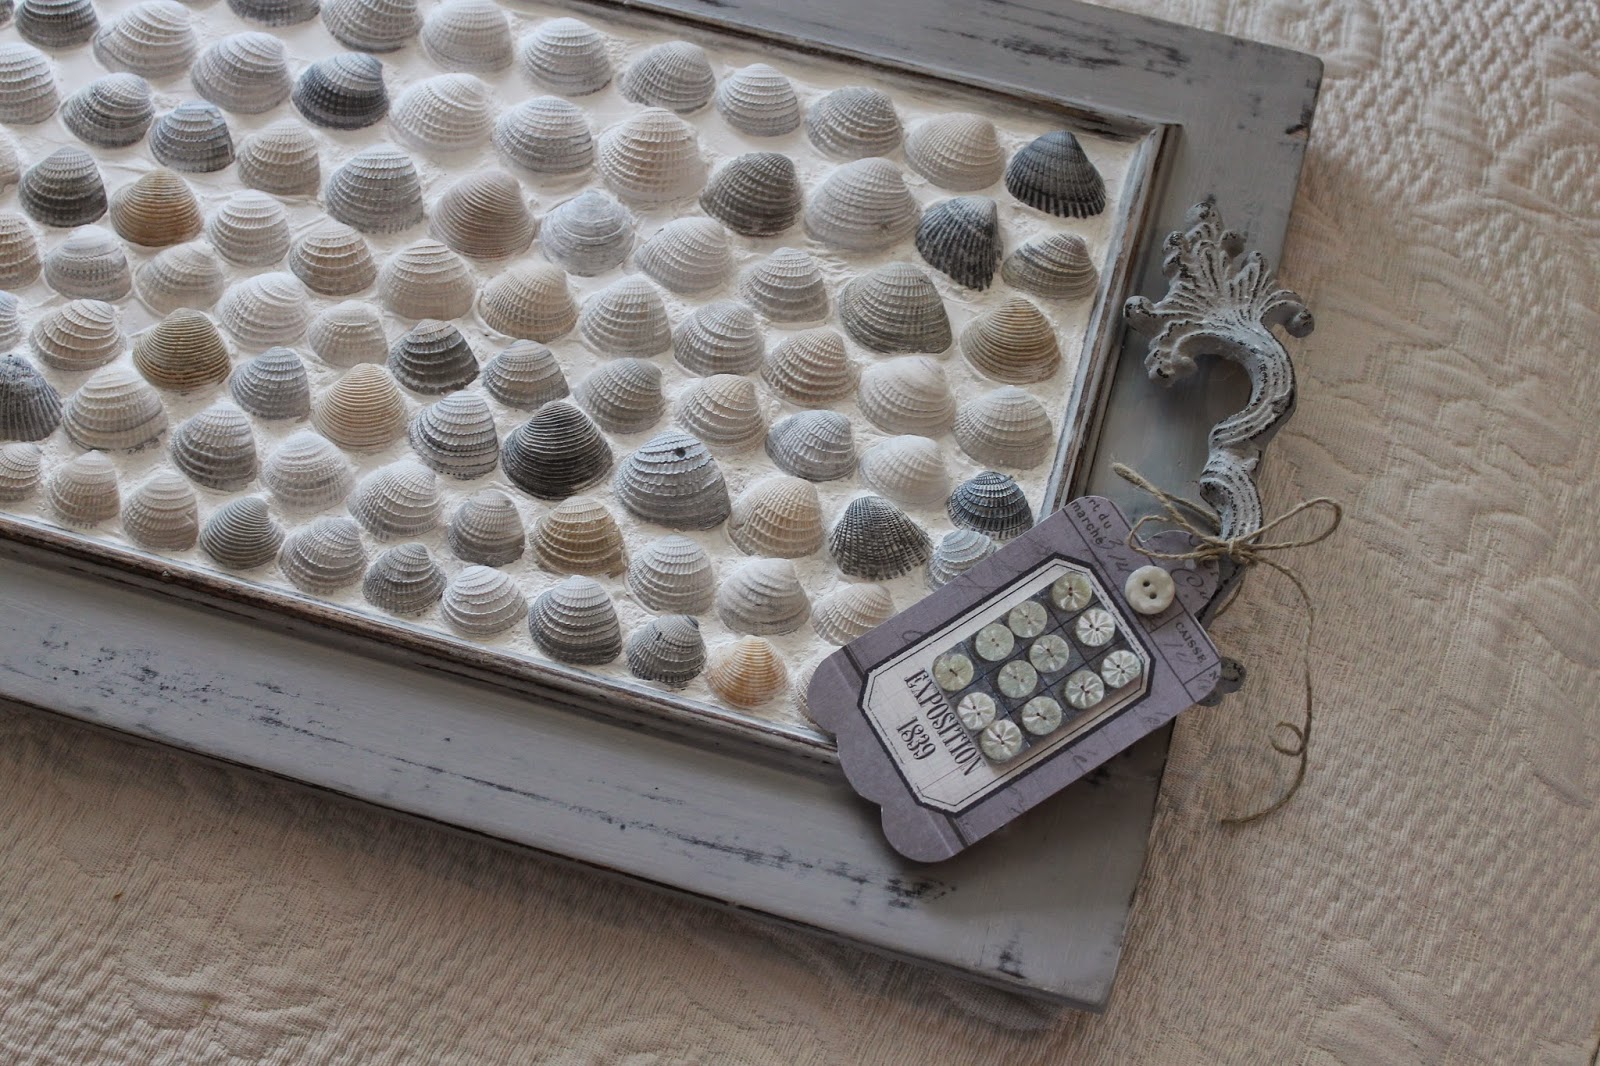
I was happy that the color contrast worked out so well with the Paris Grey distressed paint and the white grout.
What would a present be like without a gift tag?

I like the way the positioning of the buttons on the card coincide with the placement of the shells on the tray.
I hope this present gives Tara joy and a lifetime of happiness.
Happy 50th birthday!
This was the most incredible and beautiful gift. The family knows if our house falls down to grab "Mrs. Lora's Tray!" Thank you my dear friend for your time and talents. This is truly a one of a kind from the mind of a creative genius!
ReplyDelete