Friday, September 28, 2012

The Blanket Chest

My grandmother kept this trunk upstairs in her unfinished attic.  Inside lay decades of handmade quilts.

                                                               
It was a practical piece being that it held a lot of items.  However, it reminded me of some medieval trunk that did not go with any of my furniture. After removing the metal pointed tacks and plates, it was sanded.  I removed the bottom trim so it wouldn't feel so bulky.

In the garden department at Lowe's, I found gate finials.  I purchased 4 to create legs for the trunk.

                                                                    
             When the finials were screwed on and painted, it gave the trunk a more feminine feel.

                                                                            
I found this resin decoration on eBay.  They were very easy to use.  I spray primed both pieces and then painted with my high gloss paint.  An adhesive was used to apply them directly to the front of the trunk. Before gluing them on, I had completely painted the surface of the trunk too so I wouldn't have globs of paint around the decoration.
                                                                  
                                                                               
This is one of those pieces that I move around the house.  Now, it sits in front of our bed.  It has also been used as a coffee table for the living room and a base to place the Christmas tree upon.  Having a piece with multiple functions is a must if you like to move furniture around the house.  And I do.....


Tuesday, September 25, 2012

Junk in the Trunk

When we first arrived in Arkansas, the termite man came out to the house on a very hot July day to treat the home.  The poor man was very thin and watching him work in the heat disturbed me.  So throughout the day, I kept a glass of icy lemonade filled for him.  He was so grateful that when he left, I walked to his truck to sign the work order,  I spied a bunch of stuff thrown into the bed of it.

 In particular, there was an interesting piece that was a hand carved shelf that was very rough looking.   Some other termite customer had given it to him on a previous job.  My first thought was that it reminded me of Hobo art.  I made a comment about the unusual piece.  Next thing I know, he offers to give me the  piece for free.

I wish that I had taken a picture of it back then. The back of the shelf had hand carved birds and a bunny in it.  It was absolutely charming.  It must have laid in water because it was water stained.  After some sanding, I primed and painted the piece.  I had envisioned my smaller pieces of blue and white china pieces  lining this shelf even before I painted it.


There was a precious dutch couple that I had purchased when I was in Holland.  A pair of dutch shoes, a tea cup and saucer, a platter and lid and a miniature white and blue water pitcher, and a nest with eggs completes the arrangement. 


This piece I bought on a Sister's Weekend in Atchison, Kansas at Nell Hill's.


It fits perfectly in the upstairs bathroom complimented by a Home Goods blue toile shower curtain.


             I smile every time I walk into this bathroom.  What a story about the 'junk in the trunk'!

Friday, September 21, 2012

Eyelash Yarn Lampshade

While I first envisioned my Blue willow and white living room, I had trouble finding lampshades for my table top lamps.  I bought the lamps while at a flea market years ago for $5.00 each.

                       Initially, I got out my rolls of leftover vinyl wallpaper to create a lampshade.


I had previously used left over wall paper and pleated them. A bit of glue gun secured the wallpaper pleats to the lamp shades.


I wanted a subtle look that didn't scream 'all blue' accessories.  While at Jo Ann Fabrics, I spied eyelash yarn.

The next picture is a sample of eyelash yarn.  I found it at Hobby Lobby.  I'm sure that the blue variegated style is still around, but Hobby Lobby did not carry it.


  The neat thing about this type of yarn is that it is variegated.  I first took a piece of packing tape and taped the initial yarn on the underside corner of the lampshade.  The remaining process involved wrapping very closely through the lampshade until the entire shade was finished.  A second piece of packing tape secured the last piece of yarn underneath the shade.

                                    Here is the resulting inside of the lampshade.


                                                              And the shade itself.


                                        Finally, adding some bling to the lamp  finished it.

Adding cobalt blue and Chinese blue pottery completes the scene.


This makes such a relaxing and soothing entrance into the foyer.


Tuesday, September 18, 2012

Oriental Blue Mantle

I have been collecting blue Oriental ceramic pieces for years.  Most of them were picked up at estate sales for very reasonable prices.

 When contemplating which pieces to use, I use 3 as my magic number.  One architectural piece and two blue pieces usually do the trick.


The white gingerbread piece was previously a music stand on an old piano.  The books were covered in blue and white contrasting wrapping paper.


The ceramic planter actually has 2 parts.  The bottom piece holds water overflow. The funny thing about this base is that they are not a matching set.  However, only a very observant eye would notice that.

                                   One last addition of three cobalt blue nesting balls completed the look.


Our public library has a 25 cent used book sale every year.  My youngest loves to find old books with me to use and also to read.  Sat. was a lucky day.  I found these three books and added them to the mantle. Aren't these beautiful books for just $.75?


  Instead of remaining with just white and blue, I added  a  window box that was planted in May. 


              Sitting it underneath the blue and white china plate mosaic mirror completes the scene.


                                     The base is made up of a vintage sewing machine base.


And while the planter is outside catching some sun, I exchanged it for the cobalt blue pitcher.


All of the blue and white china pieces work throughout the year.  Wait to see how great they look with the burnt orange colors of autumn.

Thursday, September 13, 2012

What can you do with a vintage sewing machine base?

When I purchased my grandmother's house, in the basement sat a vintage rod iron sewing machine base.  The treadle was missing, but that was fine with me. Instead of having the sewing cabinet attached to the base, laying on top of it was a piece of plywood covered in batting and cotton fabric. Grandma used the table as a cutting table or general workspace.

  I'm not sure the origin of the base, but I wanted to transform it into a worthy fixture in my house.  As many items of mine, it sat waiting for a transformation.

                    Later, I finally sanded the piece and top coated it with high gloss black paint. 


                 The only thing remaining was to find a suitable top.  While living in Chicago, I visited a marble and granite store and found a beautiful piece.  I loved the veining of this marble.


      Once the piece was  cut and edges smoothed, it was ready to be attached to the base.
         Actually, the marble was so heavy that I just laid it on top of the rod iron base.

 
 This table can be placed in any room of the house. It is elegant yet practical but still remains a part of our family history.


Sunday, September 9, 2012

TRANSFORMATION WITH SLIPCOVERS


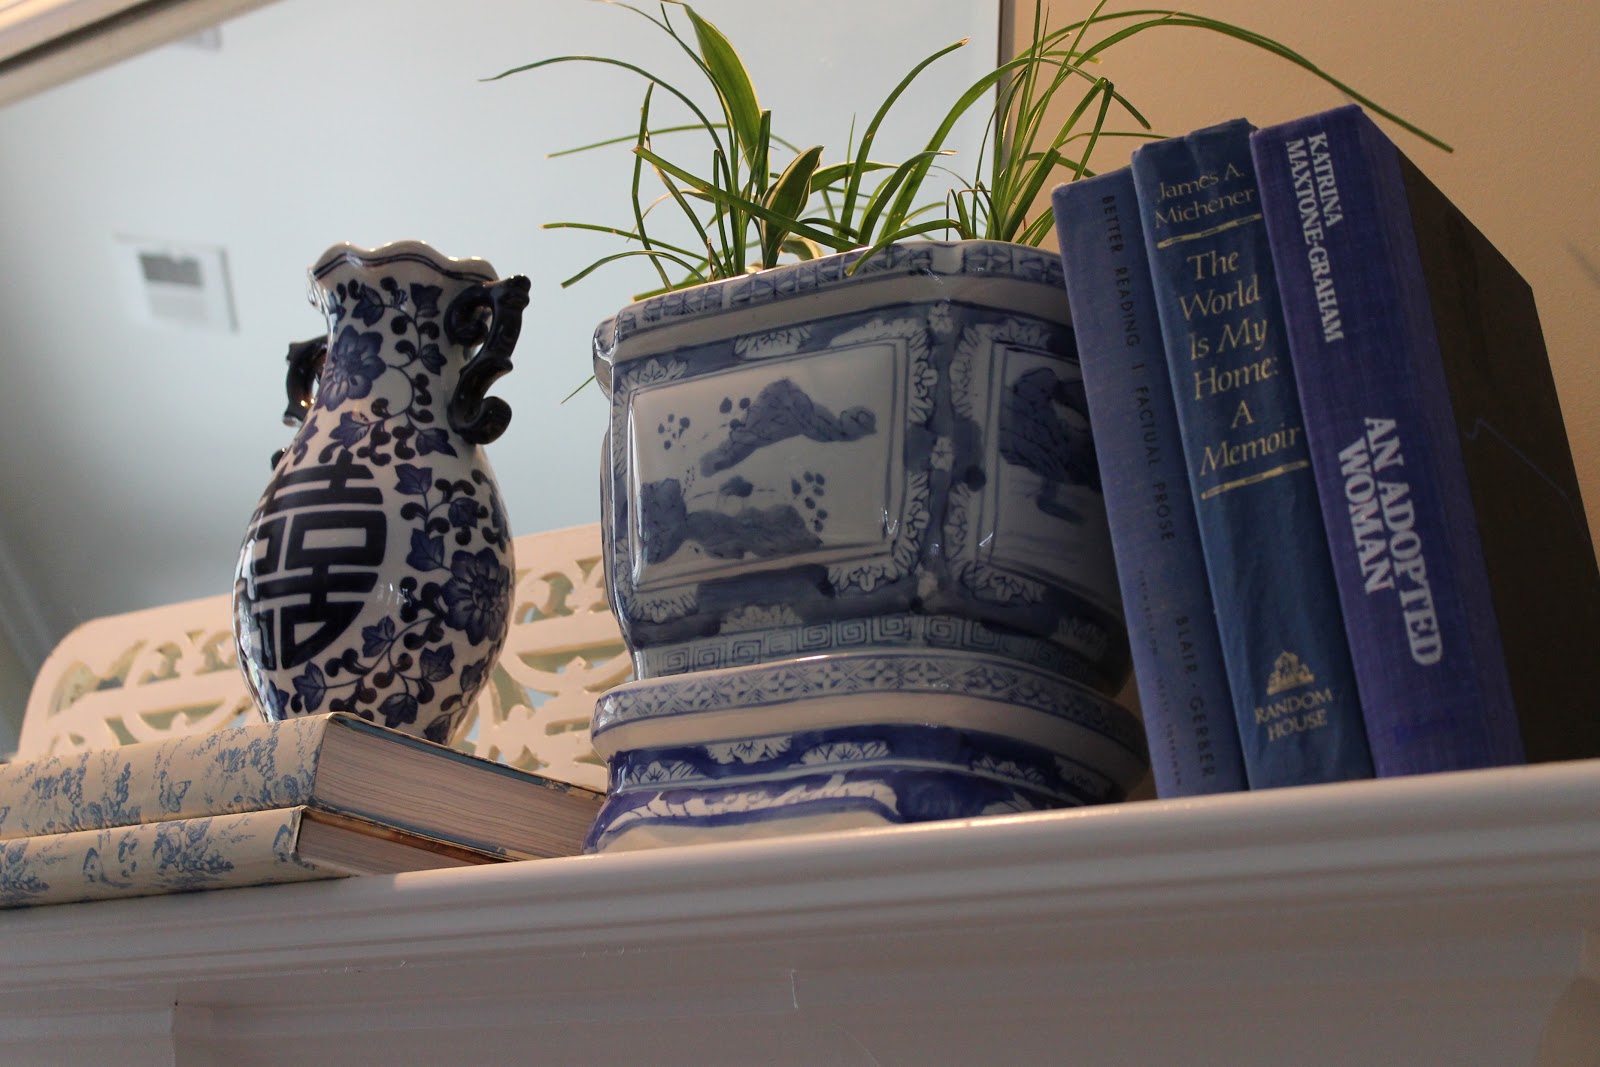
In the early 2000's, I began to leave behind the darker colors in decorating and lean  towards blue and white, more specifically, Chinese Blue Willow.


The blue mosaic mirror that I have blogged about before committed me to the fresh look of blue and white in the great room.

 With a mother of young children at the time, I recall people mentioning to me that white was not a color to maintain in a household with children.  Except, there was an option--SLIPCOVERS!!!!! 


There was one particular fabric that I kept going back to.  It was an soft white matelassé.  It wears well and can be washed in cold water easily.  Also, it looks brand new when put back on the couch, hassock, club chair or chaise.
I'm going to show you some before pictures. 

This slipcover came from a slip cover manufacturer.  As much as I washed it, it would clean up well.  However, it didn't have the custom like slipcover look.


As you can see, this is a very vintage chair--my grandmother's.  She had a matching couch that I have donated.  I wished I would have had the forethought to have saved it.  I love the fringe on this even though it won't show.  This club chair is the one in the house that everyone gravitates to.  I also have a hassock that I cover with a ruffle from this same slipcover company.  I love the fact that I can just toss it in the washer and put it back on the pieces wet.  The pieces dry and shrink up a bit, creating the mattelasse puckering.

After my slipcover lady did such a fine job on the chaise, I asked her to complete another slipcover.  This covers the old club chair above. 

Here is a close-up of the side piece of the new slipcover.  This fabric was purchased from Gifford Street Fabrics here in Huntsville.  It was $17.95 a yard.  It is called Marilyn Snow.


My slipcover lady has great ideas on enhancing each individual piece.  I love this short skirt.  This chair also looks  upholstered.  She does a separate cushion cover.


The slipcover lady always uses heavy duty Velcro to complete the last seam for a little room to place the slipcover on the chair.  This is the seam in the back before the Velcro is closed.


                                                                And after.


                                   This is the seam standing farther away from the chair.


Here is a picture of the footstool.   This too, was pulled from the Prince William County Dump.  Mr. Thrifty steam cleaned it before I added this fabric.  It shows the pillow ticking pink fabric that I had slip covered before without its ruffle.

                                                 
First, I laid the flat piece of fabric over the footstool, cornered all the edges and secured them with a safety pin underneath at each corner.

                                                           
                                                               This is the ruffle.

                                                                       
                           As you can see, it is one piece with elastic ruffling the top edge.

Here is the finished footstool.  Remember, this is the original fabric from the first slipcover.  I like to mix and match the Mattelasse fabrics.  I think it gives the pieces more dimension.  I actually have 6 different types of off white mattelasse in this room.

                                                                    
I'd  like to add that my pillows are the pieces that really pop the color blue in the room.  I try to use two different fabrics on each pillow.  That way, when a different season comes around, I just flip the pillow for a different look using the light floral for summer and the blue tartan for winter.


                         If I wanted to change the whole color scheme, I could just pick another color palette                                         and completely change the look of the room.

                        
  You too can manage off white slip covered furniture in your room.  The washing machine is my friend!
 

Wednesday, September 5, 2012

Blue Willow Upcycled Silver Tray

In keeping with the blue willow theme in the great room, I went back to my pile of mosaics to create a tray to sit on the bench in front of the couch.  All of my mosaics come from Goodwill, thrift shops or estate sales.  Often, the price is dirt cheap when a piece has a chip in it.  Since I will break the piece with a hammer anyway, it doesn't matter.

                                      Here is a sampling of my various mosaic chips.


Going to my pile of estate sale old silverplate, I pulled a tray out that had a marred surface.  Since I was painting the silverplate tray white, it didn't matter that the tray was scratched.  I wanted to show the delicate scultping of the tray design.


I spray painted a white primer as the first coat to the tray.  That was followed up with two coats of my favorite white appliance paint that I have used on my chandeliers.


The final step was to cut a pattern of the base of the tray that I wanted to mosaic.  I used a brown paper bag.  Then, I placed the pieces on the pattern in somewhat of a random pattern. 


Simply spreading tile adhesive over a small area at a time, I place the pieces until it is finished.  This is allowed to dry overnight.  The next day, I grout with a bright white unsanded grout.  It is important not to buy the sanded grout.  The unsanded type looks very smooth and isn't a distraction to the completed project.


                                                        Here is the completed tray.


                                   The tray is a great place for refreshments while watching TV.