Thursday, December 21, 2017

CHRISTMAS DECOR 2017 AND MANTLE


This year my decorating cost absolutely nothing, well almost nothing and I can't wait to share with you how this happened.

For years, I had wanted to use my Oriental blue and white pottery in my Christmas decorating, but I couldn't manage a theme.  This year, my theme was the Nativity.  So... let's begin.


It all started with a trip to Home Depot.  I went into the Garden department and inquired about purchasing some evergreen greenery.  The store employee took me to the Christmas tree trimming department and pointed to a bin of cut limbs.  "Take all you need, she said."  When I asked her how much they were, she told me that they were free.  I do have one disclaimer, but I will fill you in on that in a minute.


I loaded up my trunk and came home.  I don't have to tell you how thrilled I was.


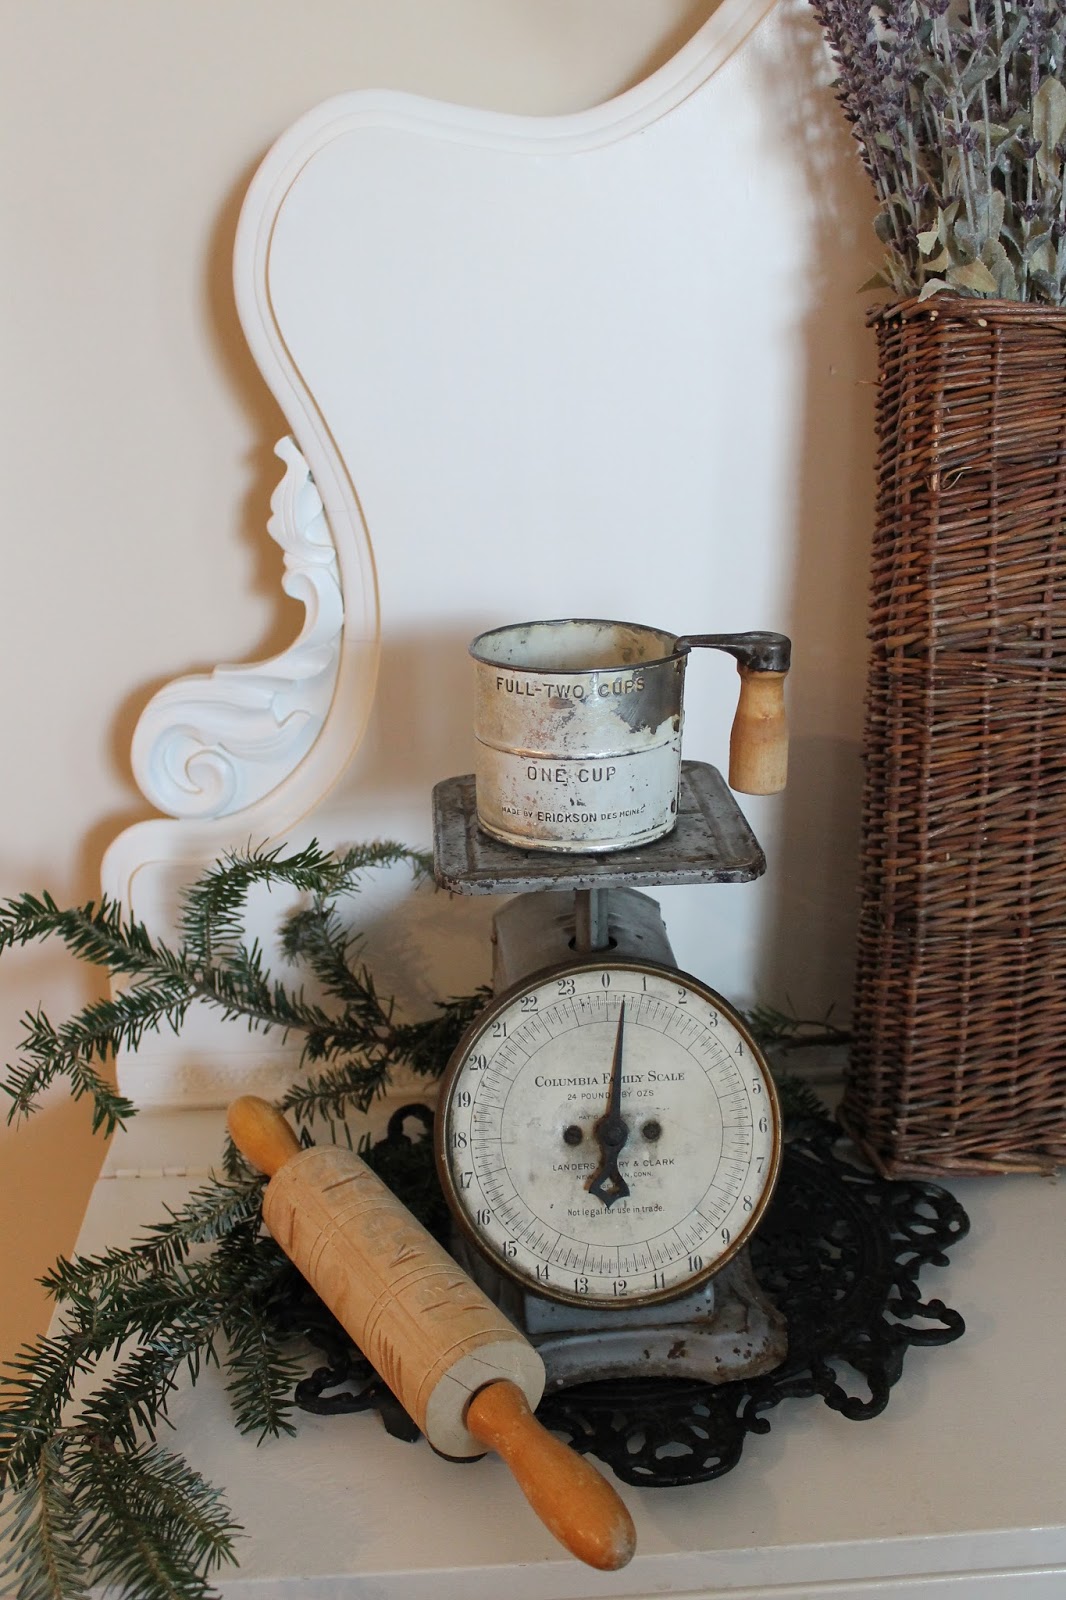
The first place I placed the greenery was around the vintage scale of my grandparents.

Here is the disclaimer.  Right before I went to Home Depot, I stopped at Fresh Market and found a bunch of greenery with some cedar. This I purchased for $4.99.   I placed that bunch in the pitcher on the coffee table.


Then, it was on to the mantle.  I bought this Nativity set at the base thrift shop last year for $5.00.  I was attracted to the simple cream pottery.  This would be the centerpiece of the mantle. I placed other pieces of my Oriental pottery, a West Point plate and some inexpensive cobalt blue pitchers that I had received with fresh flowers years ago.  More greenery and tree branches were placed in my large vase on the floor.


I love how the mantle and coffee table incorporate the whole feeling in the great room.


More greenery was placed on the top of the kitchen eat in buffet.  All my blue and white pottery is accented in the cabinet.


More greenery was put on the top of the Menu frame.


It is time to sit back and enjoy the scenery.  And I haven't even got to the Christmas tree yet. 


I love this room in the morning  as the sun creeps in, casting sunbeams across the mantle.


Friday, December 15, 2017

PETITE NATIVITY


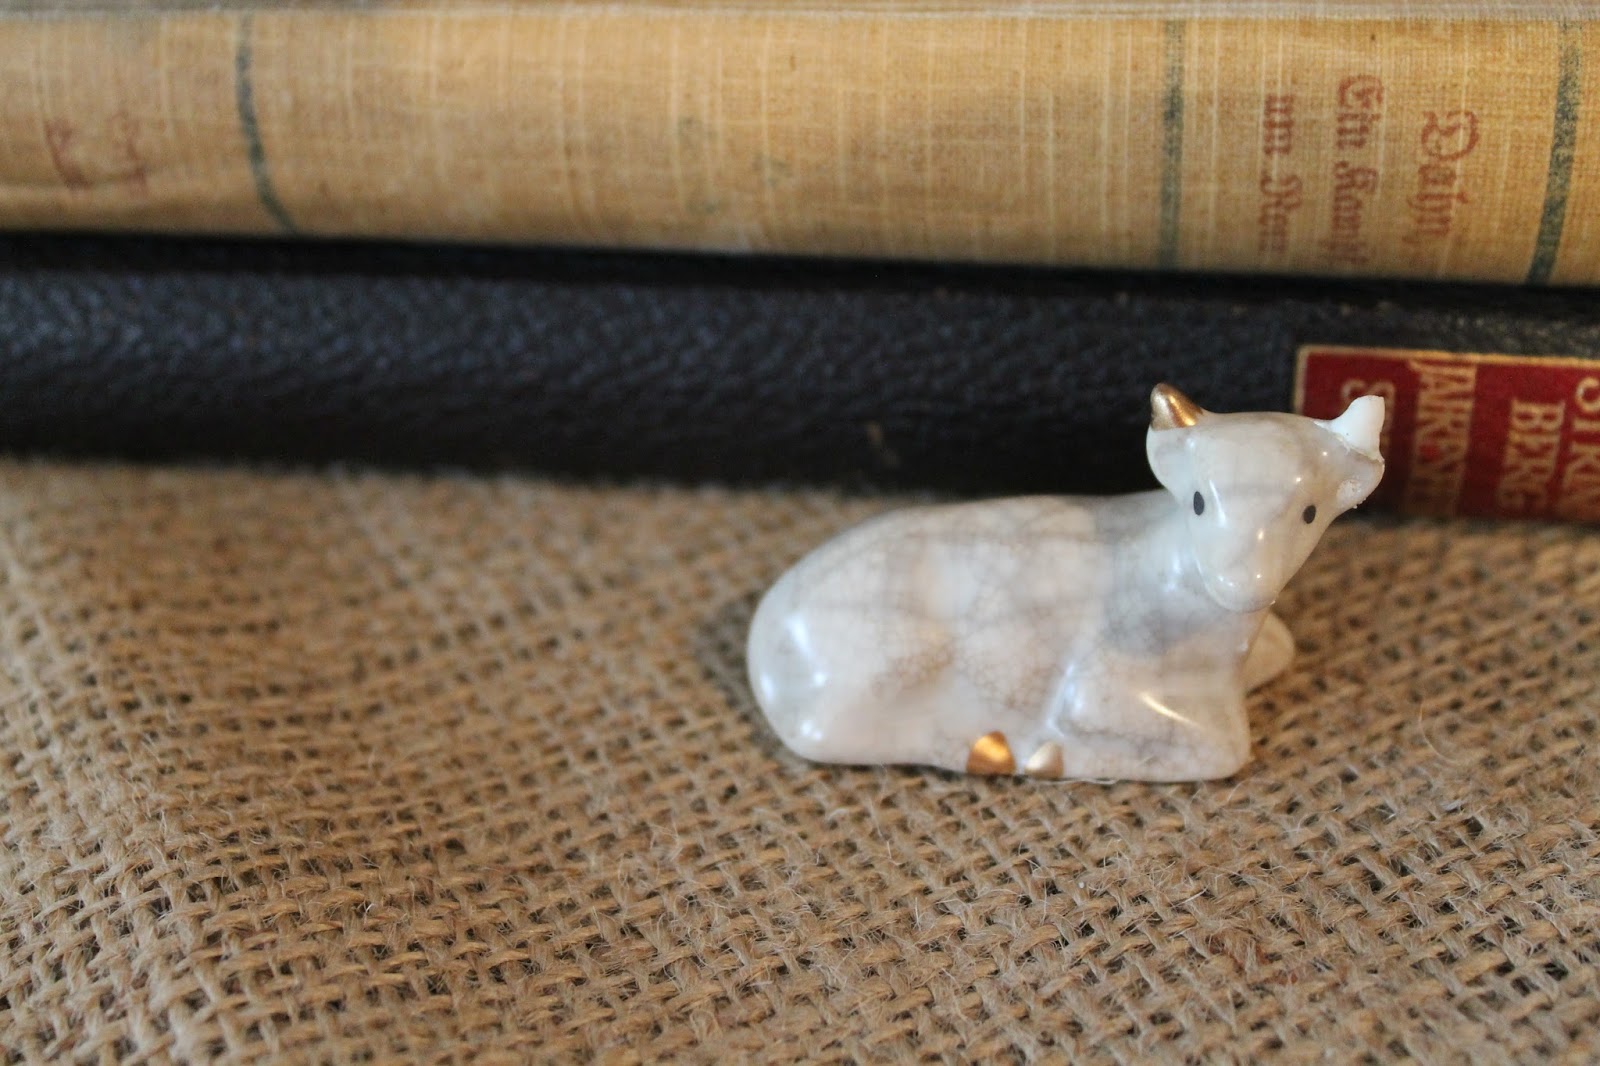
I ordered a beautiful petite Nativity set from Victorian Trading Company.  When it arrived, the cow was missing an ear.  I called the company to ship it back and the customer service was amazing.  They immediately sent me a complete new set.  You don't normally have such an amazing service.  I will definitely be ordering from them in the future.


Meanwhile, I figured that I could fix the broken ear. I got the spackle out of the garage and molded a new ear onto the cow.


I touched up the ear with some gold guilding paste.  It looks almost brand new.


Meanwhile, the other set arrived and it looks beautiful under the vintage gardening dome.


There is the cow.


 A beautiful homemade card from my dear friend Susan adds to the most beautiful  vignette in the great  room.


Sunday, December 10, 2017

UPDATING THE TRUMEAU MIRROR


I have a great story behind this next project. 

 When my Dad and Mom married in 1962, they were given a beautiful Wedgewood cigarette holder. It's funny that neither one of them smoked, but the delicate blue and white container just spoke of Mom's favorite colors.  This would be my inspiration for updating the Trumeau mirror.


Before picture.....I originally bought this piece because of the raised cherub in the top of the mirror.


I laid a piece of newspaper on the mirror itself and taped around the edges so I wouldn't have to clean paint off the mirror.  This really saves time after painting.


I used all Annie Sloan products on the mirror. I purchased a small bottle of Louis Blue-my favorite Annie Sloan color.  I also bought a bottle of the white wax too.  It is always fun to try a new product and I was hoping to have a white film on top of the blue to tone it down.  Clear wax from Annie Sloan was going to be used for the top coat.  I love the way the clear wax buffs out.


This picture shows the first coat which does not cover completely.  That is ok since I was planning to paint two coats.


Here is a close up of the first coat.


Notice how much brighter and more uniform the coverage is after the second coat.


Once the second coat was dry, I applied the white wax.  It subdues the blue color. 


Then I applied the clear wax, let it dry and buffed it out.  I liked the finish but it was missing something.


In order to make the raised areas pop, I used a small paint brush and painted those areas with white chalk paint.  I immediately wiped off the surfaces of the white paint with a rag so the recessed areas would pop...and they did.


Once I was satisfied with the end product, I clear waxed over the previously painted white areas.


I think I accomplished my idea of painting the mirror in lines with the Wedgewood cigarette holder. I think Mom would love it.


Here is the before and after.  I think it is a huge improvement.  And the piece fits in perfectly with the new and improved guest room.


Well, this project is almost done--wait, there is just one more project.


Wednesday, December 6, 2017

REPAINTING A DRESSER WITH BLEED THROUGH


Happy St. Nicholas Day!
and now on to today's project...

Here is the culprit to my bleed through frustration.  I painted this at least 15 years ago before chalk paint.
Since this dresser resides in the bedroom I was updating, I thought I would give it another shot.  I was tired of looking at the orange bleed through.  The bleed through is caused from the oils in the wood. 
After research on this problem, it is recommended after sanding a piece of furniture to apply a coat of sealer.  I found a great spray on product.  This time I did not sand down to the bare wood.  I roughed up the piece with the sander, cleaned it off with a damp cloth before applying the sealer.


Even the drawers had bleed through.  What an eyesore!


While sanding, I noticed that one of the drawers was falling apart.  I had to take a step back and glue and clamp the drawer, so I had to wait another day to paint.


Taping came next.


Once everything was taped, I sprayed the entire surfaces with the Zinnser spray shellac.  It dries in about 30 minutes.
I purchased a similar type of chalk paint from Maison Blanche called Maison White.


Here is the top after one coat of the paint.  So far, so good.


I had a bit of bleed through so I sprayed another coat on top of the problem areas.  Then I top coated it.  I replaced the top two drawers with glass knobs just to add a bit of class.


Unfortunately, I still experienced a bit of bleed through but I decided to live with it.  Instead of waxing, I used a new product, Milk Paint Co. dead flat finishing cream.  Oh my goodness!! How easy is the application with this product.  I used a 1 inch foam brush and put a coat on all the painted areas.  No buffing, but a nice protective, non yellowing top coat.


This dresser looks 95% better, so I am just going to live with it.


Saturday, December 2, 2017

ADVENT ‘WREATH’ 2017


I think you know that my favorite expression-from trash to treasure- is my living testament.


Over the years, I have used an Advent wreath base made by my father. 


 This year, I wanted to put a twist on it.  I went into my storage armoire and started pulling out glass vessels.  I came up with a glass pepper shaker and three crystal candles.


After placing the candles in the vessels, my 'wreath' was done.  I believe that it is stately besides being practical.


Sometimes simple is better.....


I added the mercury pillars with candles.


Something was missing from my simple Advent wreath.
A large mercury ornament rounded out the vignette. 

I realize that there are no greens, therefore no wreath.  However, the 4 candles are present, so this year, this is our Advent 'wreath'.